IA1B
INSTRUCTION MANUAL
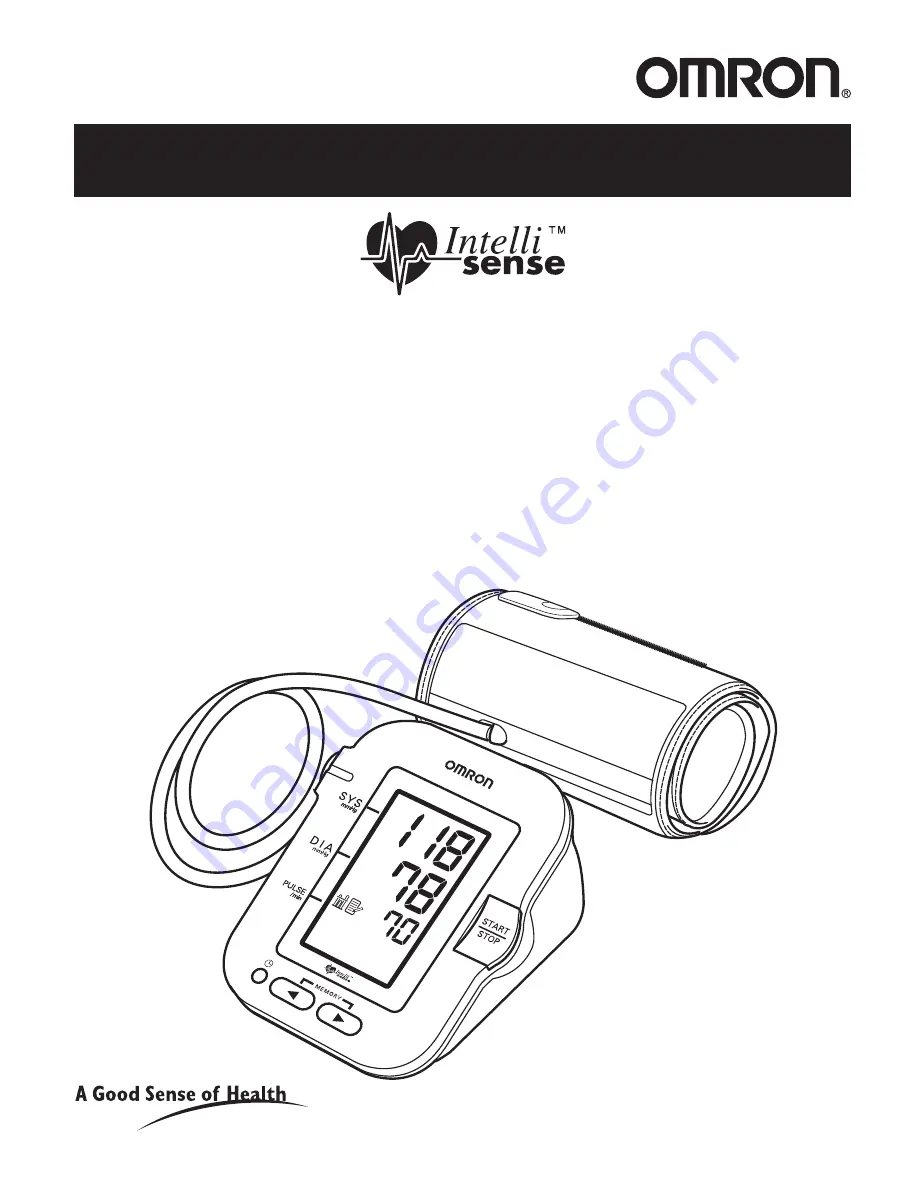
Automatic Blood Pressure Monitor
with Fit Cuff
=
Fit Cuff
!"#$%
Model
EN_TC-cover[IA1B]
8/16/04, 9:40 AM
1
Page 1: ...IA1B INSTRUCTION MANUAL Automatic Blood Pressure Monitor with Fit Cuff Fit Cuff IA1B Model ...
Page 2: ...ence Guide 7 Initial Set Up 9 How to Install and Replace Batteries 9 How to Set the Date and Time 10 Correct Usage 13 How to Apply the Arm Cuff 13 How to Take a Measurement 16 How to Use the Memory Function 20 Troubleshooting 22 Care and Maintenance 24 Specifications 25 1 ...
Page 3: ...intelligence to sense both your systolic and diastolic blood pressure values and the result is personalized inflation for every reading This virtually eliminates discomfort or incorrect readings due to improper cuff inflation The IA1B also stores up to 90 sets of measurements in memory and displays an average reading based on the three most recent measurements Please read this instruction manual t...
Page 4: ...n indicates actions that are prohibited what you cannot do Matters involving prohibited actions are indicated by text or pictures in or near the icon The icon indicates compulsory actions that must always be followed Matters involving compulsory actions are indicated by text or pictures in or near the icon The icon indicates general compulsory items Caution Self diagnosis of measured results and t...
Page 5: ...t Do not inflate the arm cuff when it is not wrapped around your arm When using batteries the battery liquid may leak and damage the main unit Please observe the following points When you are not going to use the unit for a long period of time approximately three months or more take out the batteries Replace old batteries with new ones immediately Do not use old and new batteries together Do not i...
Page 6: ...d Pressure Memory Symbol Average Value Symbol Movement Error Symbol Battery Low Symbol Display START STOP Button Memory Date Time Setting Battery Compartment Air Jack AC Adapter Jack Irregular Heartbeat Symbol Heartbeat Symbol Pulse Display Deflation Symbol Date Time Display 5 ...
Page 7: ...Know Your Unit Arm Cuff Accessories Air Tube Air Plug Connects to Air Jack Storage Case Four batteries 6 ...
Page 8: ...ny tight fitting clothing from your upper arm 2 Sit on a chair with your feet flat on the floor and place your arm on a table so that the arm cuff will be at the same level as your heart 3 Apply the arm cuff to your upper arm The cuff blue strip should be at the center of your inner arm so that the air tube is in line with your middle finger 4 Secure the cuff around your arm using the velcro strip...
Page 9: ...is complete the monitor displays your blood pressure and pulse rate and automatically deflates the cuff Notes Always wait at least 2 3 minutes before taking another blood pressure measurement You may require more rest time between readings depending on your individual physiological conditions Only use the IA1B to measure your own blood pressure since the results of measurements are stored in memor...
Page 10: ...tes If the battery low symbol appears on the display replace all four batteries at the same time Long life alkaline batteries are recommended Remove the batteries if the monitor will not be used for three months or more If the batteries are removed for a long period of time the Date Time setting will need to be reset See How to Set the Date and Time for details Dispose of batteries according to ap...
Page 11: ...use of the memory and average values functions Set the monitor to the correct date and time before taking a measurement for the first time 1 When the monitor is powered up for the first time the display will show 2004 2 Press and hold the Date Time setting button The year digits 2004 will flash 3 Press the button to advance the digits one at a time or Initial Set Up 10 How to Set the Date and Time...
Page 12: ...s to a lower number press the button to recede the digits one at a time If you hold down the button the digits will advance or recede rapidly 4 Press the Date Time setting button to confirm the setting when the desired number appears on the display 5 Repeat steps 3 and 4 to set the month and date or or 11 How to Set the Date and Time ...
Page 13: ...Initial Set Up 6 Repeat steps 3 and 4 to set the hour and minutes for the time or or 7 Press the START STOP button when you have finished setting the date and time 12 How to Set the Date and Time ...
Page 14: ...r plug is securely inserted in the main unit 2 Remove tight fitting clothing from your upper arm 3 Sit in a chair with your feet flat on the floor and place your arm on table so that the cuff will be at the same level as your heart 13 How to Apply the Arm Cuff ...
Page 15: ... the blue strip is along the center of your inner arm and the air tube is in line with your middle finger The bottom of the cuff should be approximately 1 2 cm above your elbow 7 Secure the cuff around your arm using the velcro strip Note Make sure the cuff is wrapped firmly in place Correct Usage Velcro Grip 1 2 cm Air Tube Blue Strip 14 How to Apply the Arm Cuff ...
Page 16: ...m The grip should be at the center of your inner arm Notes Be careful not to rest your arm on the air tube otherwise it will restrict the flow of air to the cuff The cuff should be approximately 1 2 cm above the elbow Grip 15 How to Apply the Arm Cuff ...
Page 17: ...ll until the entire measurement process has been completed Note Do not inflate the cuff if it is not wrapped around your arm 2 Inflation stops automatically and measurement starts As the cuff slowly deflates decreasing numbers appear on the display and the Heart Symbol flashes at every heartbeat In rare circumstances a higher inflation may be necessary In these cases the monitor automatically rein...
Page 18: ...onitor off Note If you forget to turn the monitor off it will automatically off after five minutes Important Wait 2 3 minutes before taking another blood pressure measurement Waiting between readings allows the arteries to return to the condition prior to taking the blood pressure measurement If you move during measurement the movement error symbol may appear Repeat the measurement and remain stil...
Page 19: ...lar heartbeats cause the measurement to be invalid no result is shown If the irregular heartbeat symbol is shown after your have taken a measurement repeat the measurement If the irregular heartbeat symbol is shown frequently please let your doctor be aware of it Instructions for special conditions If your systolic pressure is known to be more than 220 mmHg press and hold the START button until th...
Page 20: ...ndition where the heartbeat rhythm is abnormal due to flaws in the bio electrical system that drives the heartbeat Typical symptoms are skipped heartbeats premature contraction an abnormally rapid tachycardia or slow bradycardia pulse This can be caused by heart disease aging physical predisposition stress lack of sleep fatigue etc Arrhythmia can only be diagnosed by a doctor through a special exa...
Page 21: ...om the last three readings To ensure that the measurement results are recorded correctly make sure that the date and time are set correctly before taking a measurement When 90 sets of readings are stored in memory the oldest set will be deleted to store a new set The date and time of stored readings will be alternately displayed To View the Average Value Press the memory button The average values ...
Page 22: ...e through the previous measurement values button from the most recent to the oldest button from the oldest to the most recent Keep the button pressed down to cycle rapidly through the previous values To Delete All the Values Stored in Memory Caution You cannot delete the stored readings partially all the readings in the monitor will be deleted To delete stored readings press the button and the Sta...
Page 23: ...ent on p 16 Cuff over inflated The indicates Remove the arm cuff irregular or weak pulses Wait 2 3 minutes and then are detected but result take another measurement can be considered Repeat the steps under reliable How to take a measurement on page 16 If this error continue to appear contact your doctor Batteries have run down Replace all four AA batteries with new ones ...
Page 24: ...ed Cannot measure or Is the cuff wrapped Attach the arm cuff readings are too high firmly around the arm correctly The blood pressure is Blood pressure readings constantly vary with different each time time of measurement and nervous condition The reading is extremely Take deep breaths to relax before taking a low or high measurement 23 ...
Page 25: ...umidity moisture or direct sunlight Do not fold the cuff or tubing tightly Do not inflate the monitor over 300 mmHg Do not disassemble the monitor Do not subject the monitor to strong shocks or vibrations for example dropping the monitor on the floor Do not use volatile liquids to clean the monitor THE MONITOR SHOULD BE CLEANED WITH A SOFT DRY CLOTH Do not wash the arm cuff or immerse it in water ...
Page 26: ...ype pressure sensor Power Source 4 AA batteries Battery Life Approx 300 uses when used once a day for 2 minutes Operating Temperature Humidity 10 C to 40 C 30 to 90 RH Storage Temperature Humidity 20 C to 60 C 10 to 95 RH Main Unit Weight Approximately 355 g not including batteries Main Unit Dimensions Approx 155 mm l x 84 mm w x 131 mm h Cuff Size Approximately 152 mm w Cuff tube 600 mm l Cuff Ci...