RTD THERMOMETER
3
4. OPERATION INSTRUCTIONS
4.1 Power-Up
Press the “
” key to turn
ON
the thermometer and Press and hold “
” buttons for 3 seconds
to
OFF
.
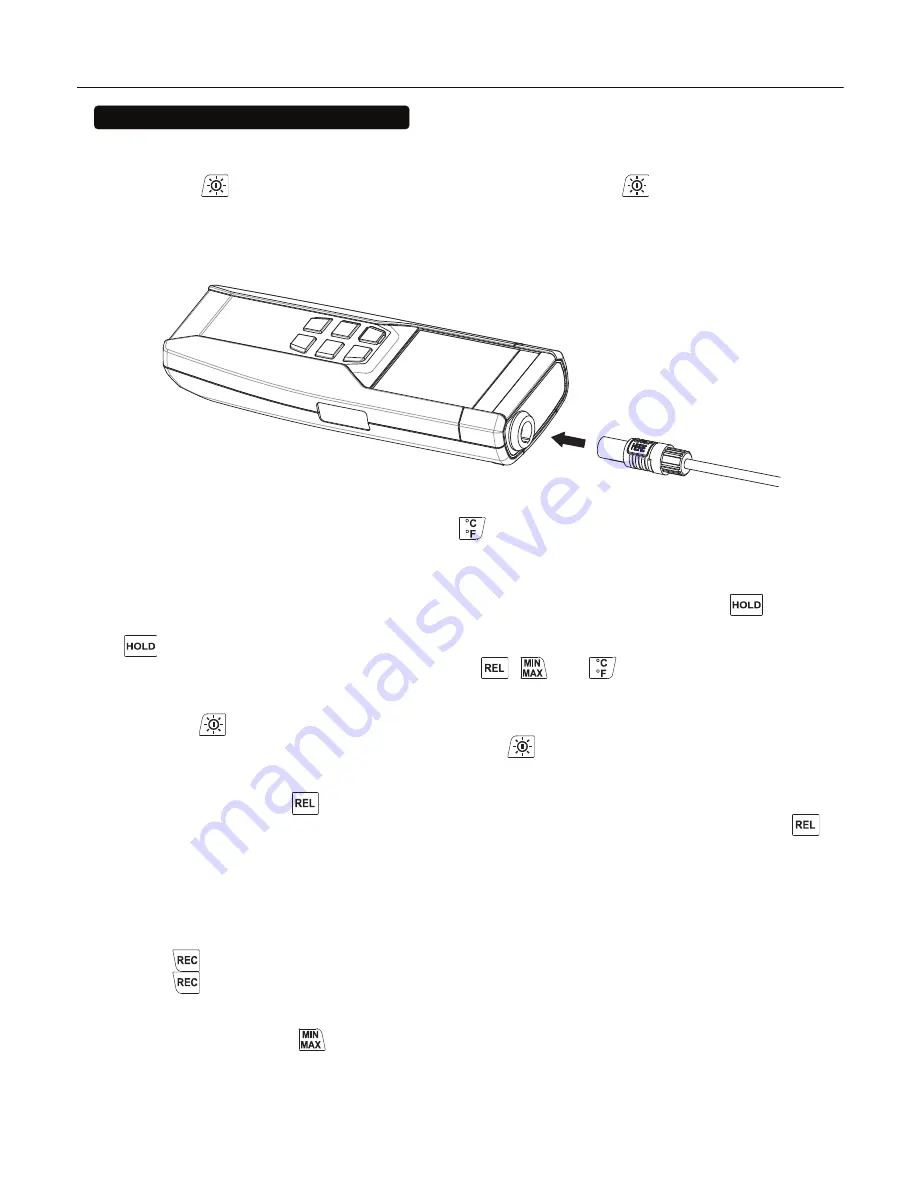
4.2 Connection the Temperature Pprobe
For measurement, plug the temperature probe into the input connectors.
4.3 Selecting the Temperature Scale
When the meter is first powered on, the default scale setting is set at Celsius (°C) scale. The user
may change it to Fahrenheit (°F) by pressing
button and vice versa to Celsius and change
the default scale.
4.4 Data-Hold Operation
The user may hold the present reading and keep it on the display by pressing the
button.
When the hold data is no longer needed, one may release the data-hold operation by pressing
button again.
When the meter is under Data Hold operation, the
,
and
button are disabled.
4.5 Back light Operation:
Press the
button will turn the back light on and Pressing it once again will it turn off.
The meter will turn the back light off if there is no push
button for 30 seconds.
4.6 Relative Operation:
When one presses the
button, the meter will memorize the present reading and the difference
between the new reading and the memorized data will be shown on the display. Press the
button again to exit the Relative operation.
4.7 Record Operation:
Starting and Stopping Logging Setup, memory clear, and PC communications are inaccessible
during logging.
Set the logging interval. (See “Changing the Logging Interval.”)
Press
button to start logging. The display shows “
REC
”.
Press
button again to stop logging.
4.8 MAX/MIN Operation:
When one presses the
button the meter will enter the MAXMIN mode. Under this mode the
maximum value, minimum value is kept in the memory simultaneously and updated with every new
data.
When the
MAX
symbol is displayed, the Maximum reading is shown on the display.


