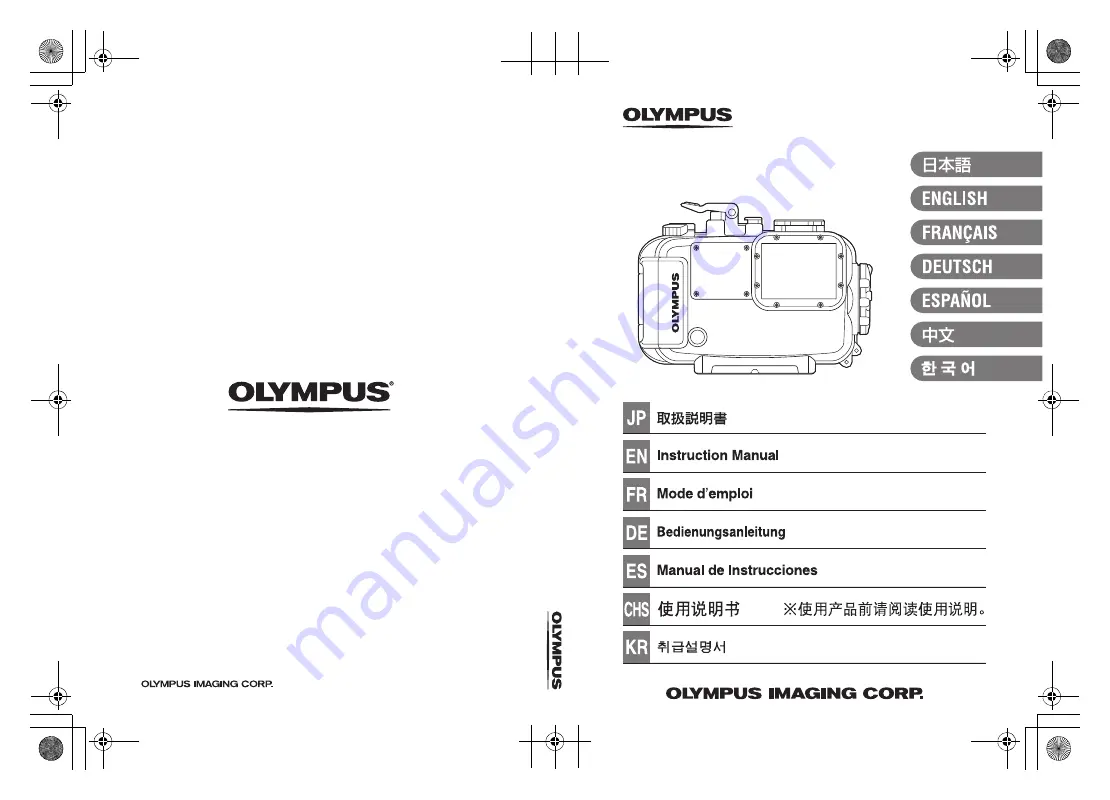
PT-057
Ins
tr
u
c
tion M
a
nual
©2014 Printed in China
WC833901
date of issue 2014.12.
PT-057_1-4.fm 1 ページ 2014年11月4日 火曜日 午後5時38分
Page 1: ...PT 057 Instruction Manual PT 057 2014 Printed in China WC833901 date of issue 2014 12 PT 057_1 4 fm 1...
Page 2: ...shall in no way be responsible for accidents involving immersion of a digital camera in water In addition expenses incurred for damage of internal materials or loss of recorded contents due to water e...
Page 3: ...c 2 Do not store with a battery in the digital camera housed in this product Storage with a battery inserted may lead to leakage of the battery liquid and fire 3 If leakage of water should occur with...
Page 4: ...with high temperature and humidity or with severe temperature changes Locations with volatile substances 3 Opening and closing at locations with much sand dust or dirt may impair the waterproof chara...
Page 5: ...e Case after taking pictures in the water it may cause the loss of transparency of the lens inside even if you insert the supplied silica gel to the Case when drying the camera is insufficient Chemica...
Page 6: ...ve the O ring 15 Remove any sand dirt etc 16 How to Apply Grease to the O ring 17 Install the O ring 18 3 Install the digital camera 19 Open the Case 19 Load the digital camera 20 Make sure the camera...
Page 7: ...Function 29 Remove the O ring 29 Remove any sand dirt etc 29 How to Apply Grease to the O ring 29 Install the O ring 29 Replace consumable parts 29 7 Appendix 30 Specifications 30 PT 057_EN book Page...
Page 8: ...dealer if accessories are missing or damaged O ring remover Hand strap Lens cap Silica gel 1g Silicone grease Instruction manual this manual Case body Check that the O ring is installed Monitor hood o...
Page 9: ...ever 5 Shutter button 6 ON OFF button 7 Accessory mount 8 Slide lock 9 Open close dial 0 Lock knob a Lens ring b Front button for TG 860 only c Rear lid d Monitor inner hood e O ring f Tripod seat g L...
Page 10: ...w pad X m OK button 1 n jY button button arrow pad T o MENU Wi Fi button 2 p Arrow pad W q Monitor window Memo The Case operation parts marked by correspond to the operation parts of the digital camer...
Page 11: ...rap on the Case body How to use the hand strap Pass your hand through the hand strap and adjust the length with the stop button Hand strap ring Hand strap Installation illustration Installation comple...
Page 12: ...er the other Removal Remove the monitor hood from the guides above and below the monitor window one after the other by widening the monitor hood Mounting and removing the lens cap Fit the lens cap ont...
Page 13: ...to install 1 Attach the optical fiber cable adapter to the diffuser shown in the figure below 2 Put the underwater optical fiber cable plug all the way into the insertion slot of the optical fiber cab...
Page 14: ...ining number of pictures to be taken 3 Remove the hand strap from the digital camera When a digital camera is loaded without removing the hand strap the hand strap may get caught between the Case lids...
Page 15: ...ction may be damaged Before using always perform the following advance checks Remove the O ring 1 Open the Case For details about how to open the Case see P 19 of this manual 2 Insert the O ring remov...
Page 16: ...swab Also remove any sand or dirt adhered to the O ring contact surface on the front lid of the Case CAUTION When a sharp object is used to remove the O ring or to clean the inside of the O ring groo...
Page 17: ...s or unevenness After spreading the lubricant check visually and by touch that the O ring is not scratched and that its surface is flat If it is damaged in any way be sure to replace it with a brand n...
Page 18: ...tick out from the groove When sealing this product make sure that no hairs fibers sand particles or other foreign matter stick not only to the O ring but also to the contact surface front lid Even a s...
Page 19: ...ure below and turn the open close dial counter clockwise 3 of figure below 3 Turn the open close dial to the position where it cannot be turned further 4 Open the rear lid of the Case gently CAUTION D...
Page 20: ...g between the bottom of the digital camera and the Case The silica gel bags are provided for prevention of fogging CAUTION If the silica gel bag is caught when the Case is sealed water leakage will o...
Page 21: ...bags inserted all the way When the silica gel bags are not inserted correctly it causes entrapment when closing the rear lid Is the O ring attached properly to the opening on the Case Is there any dir...
Page 22: ...ck the Case The Case is sealed 3 Slide the lock knob towards the LOCK side CAUTION If the open close dial is not fully turned the Case will not be sealed This will cause water leakage Close the rear l...
Page 23: ...ess the shutter button on the Case and confirm that the camera shutter releases Also operate other control buttons on the Case and confirm that the camera functions properly Confirm the rubber around...
Page 24: ...er enters the Case Next immerse the Case for 30 seconds and check that no water drop etc has entered the Case Then immerse the Case for 3 minutes operate all buttons and levers and check the following...
Page 25: ...e flash it can also be enabled if required for example when shooting a manta ray HUnderwater Macro Suitable for close up shooting of small fish and other underwater creatures Natural colors of the und...
Page 26: ...e and then press the OK button When the Underwater Wide Angle 1 or Underwater Macro mode is selected you can easily lock the focus position AF lock operation by pressing the OK button When the focus i...
Page 27: ...th pure water Wipe off any waterdrop Remove any drops of water from the Case Use air or a soft cloth not leaving any fibers to thoroughly wipe any waterdrop from the joint between the front and rear l...
Page 28: ...dy onto the Case and the camera Before opening the Case make sure that your hands or gloves are free of sand fibers etc Do not open or close the Case at locations where there is water spray or sand Ta...
Page 29: ...to P 17 Install the O ring Refer to P 18 Replace consumable parts The O ring is a consumable product Independent of the number of times the Case is used it is recommended that the O ring should be re...
Page 30: ...ital camera STYLUS TG 850 Tough STYLUS TG 860 Tough Pressure resistance Depth of up to 45 m Main materials Body Polycarbonate Lens window Multiple coat glass Operating environment 0 C 40 C 32 F 104 F...
Page 31: ...Silicone grease PSOLG 3 Optical fiber cable PTCB E02 Underwater flash UFL 3 Short arm PTSA 02 PTSA 03 Maintenance kit PMS 02 O ring remover 2 PTAC 05 Balance weight PWT 1BA PWT 1AD PT 057_EN book Page...
Page 32: ...PT 057_EN book Page 32 Friday November 21 2014 10 13 AM...