NG058202
Printed in MALAYSIA
857C087-20
PC
DOCK
OK
STORING ONLY
EXIT
20SEC. TILL AUTO-STORE
STORE PRINT
DOCK MODE
STORE SEL. PRINT
OK
GO
SELECT
RESTART
CANCEL
DOCK MODE
SUSPEND
PC
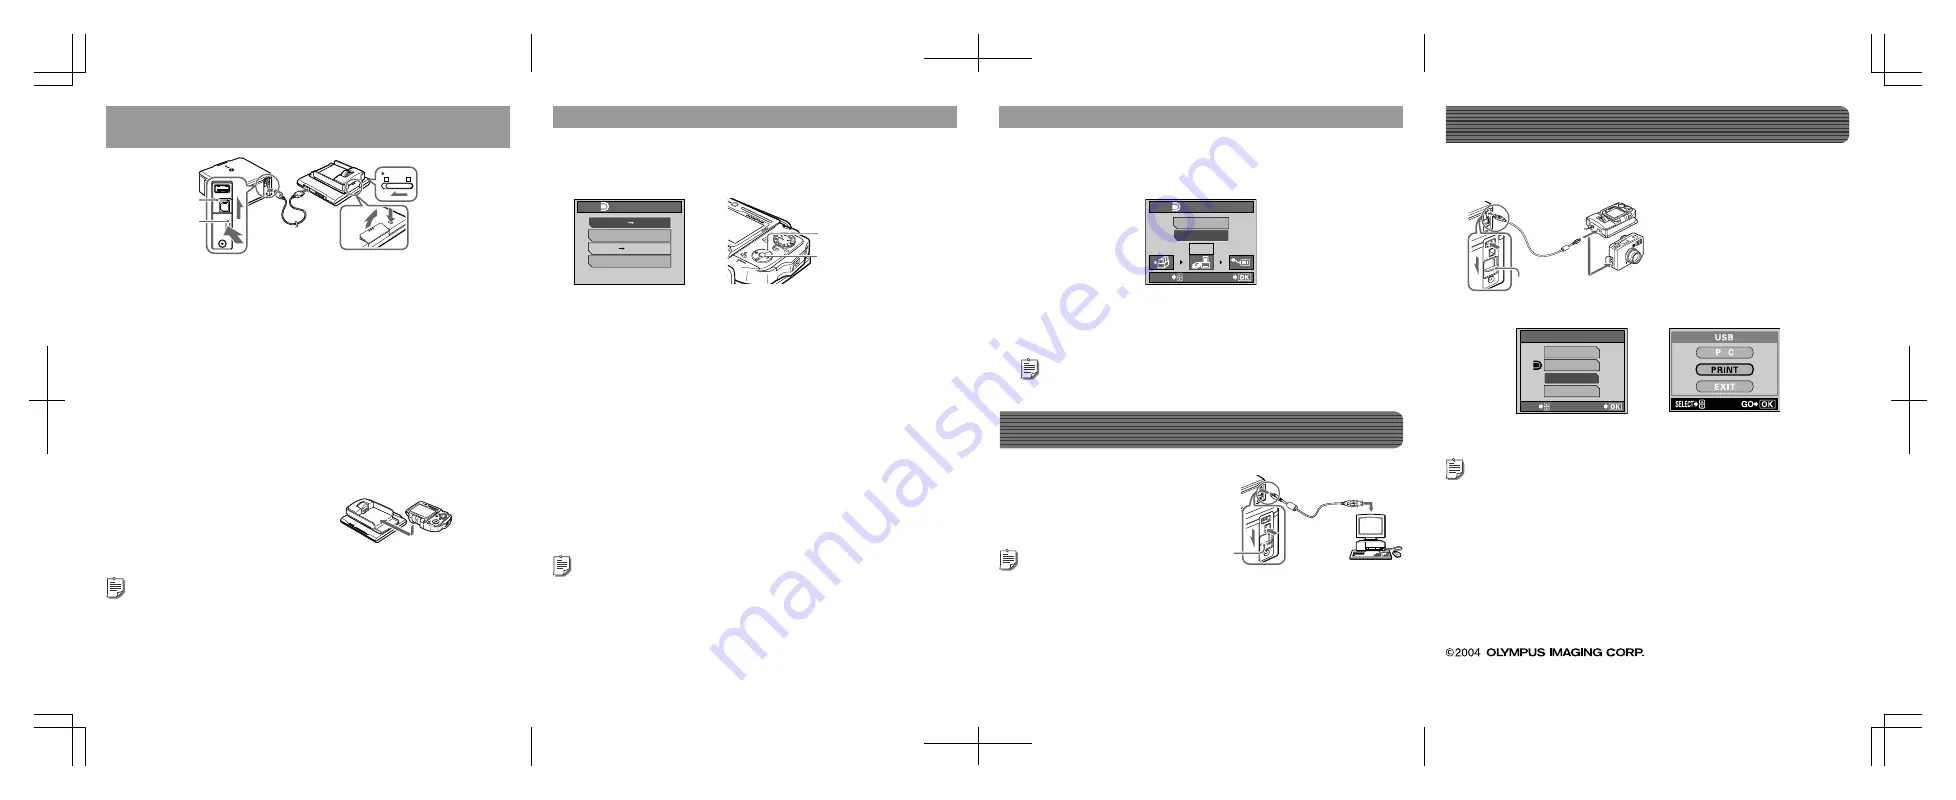
Lower the
shutter
Printing
On the digital camera, select the desired item from the
“
Q
DOCK MODE” menu.
A
Press the
a
/
c
button to select the desired item.
“STORE
:
PRINT”
Stores only the newly taken image fi les of the
digital camera, and print the image fi les with the
print order.
“STORING ONLY”
Stores only the newly taken image fi les of the
digital camera.
“STORE
:
SEL. PRINT”
*
Stores only the newly taken image fi les of the
digital camera, and the print setting screen
appears.
“EXIT”
Closes the “
Q
DOCK MODE” menu without
storing or printing.
* This is for PictBridge mode. For details on the print settings, refer to the reference
manual supplied with the digital camera.
Tips
• “STORE
:
SEL.PRINT” is not available if print orders of image fi les are set.
• The storage unit starts storing image fi les automatically if no menu operation is
performed within 20 seconds.
a
Press the
9
button on the digital camera during
printing.
The confi rmation screen appears.
Use the USB cable supplied with the digital camera for connection.
a
Connect the digital camera to the printer.
Cancel automatic print
b
Select “CANCEL,” then press the
9
button.
Printing is canceled, and the digital camera turns off
automatically.
Tip
If you select “RESTART,” printing will restart.
Printing with a PictBridge-compatible camera
b
Control print operations using the digital camera.
Tip
For details on PictBridge, refer to the instruction manual supplied with the digital
camera.
Use a commercially available USB cable (A-B type, less than 3 m (9.8 ft.)).
Connect your PC to the printer.
Printing with a PC
Tip
For details, refer to the user’s manual supplied with the printer.
Dock&Done-compatible
camera
Another PictBridge-compatible
camera
Connecting the Dock&Done-compatible digital
camera to the storage unit
a
Set the print order (DPOF) for the image fi les to be
printed on the digital camera.
b
Connect the printer and the storage unit with the
Dock&Done cable KP16 (sold separately), connect the
AC adapter and the power cord to the printer, then
turn the printer on.
c
Dock the cradle of the digital camera to the storage
unit.
d
Turn on the storage unit, then set the Dock&Done/PC
mode switch to “
Q
DOCK.”
e
Set the digital camera on
the cradle.
The “
Q
DOCK MODE”menu is
automatically displayed on the camera screen.
Tip
For details on connections, refer to the user’s manual supplied with the storage unit.
SEL.PRINT
EXIT
PC / PRINTER
GO
SELECT
PC
Dock&Done-compatible
digital camera screen
Sample digital
camera screen
Q
Dock&Done
storage connector
Lift the shutter
9
button
ac
buttons
Lower the shutter
B
Press the
9
button.


