


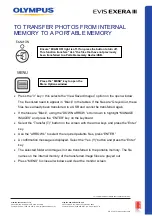


TO TRANSFER PHOTOS FROM INTERNAL
MEMORY TO A PORTABLE MEMORY
•
Press the “3” key = this selects the “View Saved Images” option on the open window.
The files listed need to appear in “Black” in the tables. If the files are “Greyed out, these
files have already been transferred to a USB and cannot be transferred again.
•
If the files are “Black”, using the “DOWN ARROW” scroll down to highlight “MANAGE
IMAGES” and press the “ENTER” key on the keyboard.
•
Select the “Transfer (T)” button on the screen with the arrow keys and press the “Enter”
key.
•
Use the “ARROW’s” to select the required patients files, press “ENTER”
•
A confirmation message is displayed. Select the “Yes (Y)” button and press the “Enter”
key
•
The selected folder and images in it are transferred to the portable memory. The file
names on the internal memory of the transferred image files are grayed out.
•
Press “MENU” to close all windows and clear the monitor screen
Ensure “EXAM ON” light is off. If on press the button to turn off.
This function transfers “ALL” the files that have not previously
been transferred to a Portable memory Device/USB.
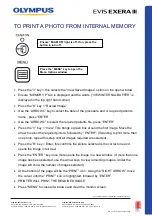
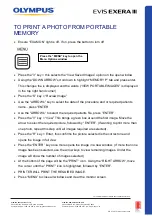
Press the “MENU” key to open the
Menu Options window
QR 07.2
81
V1.0
November
2019
For
complete
product details see Instructions for Use.
OLYMPUS AU STRALIA PTY LTD
3 Acacia Place, Notting Hill VIC 3168, Australia
Customer Service: 1300 132 992 | www.olympusaustralia.com.au
OLYMPUS NEW ZEALAND LIMITED
28 Corinthian Drive, Albany, Auckland NZ 0632
Customer Service:
0508 659 6787
| www.olympus.co.
nz