background image

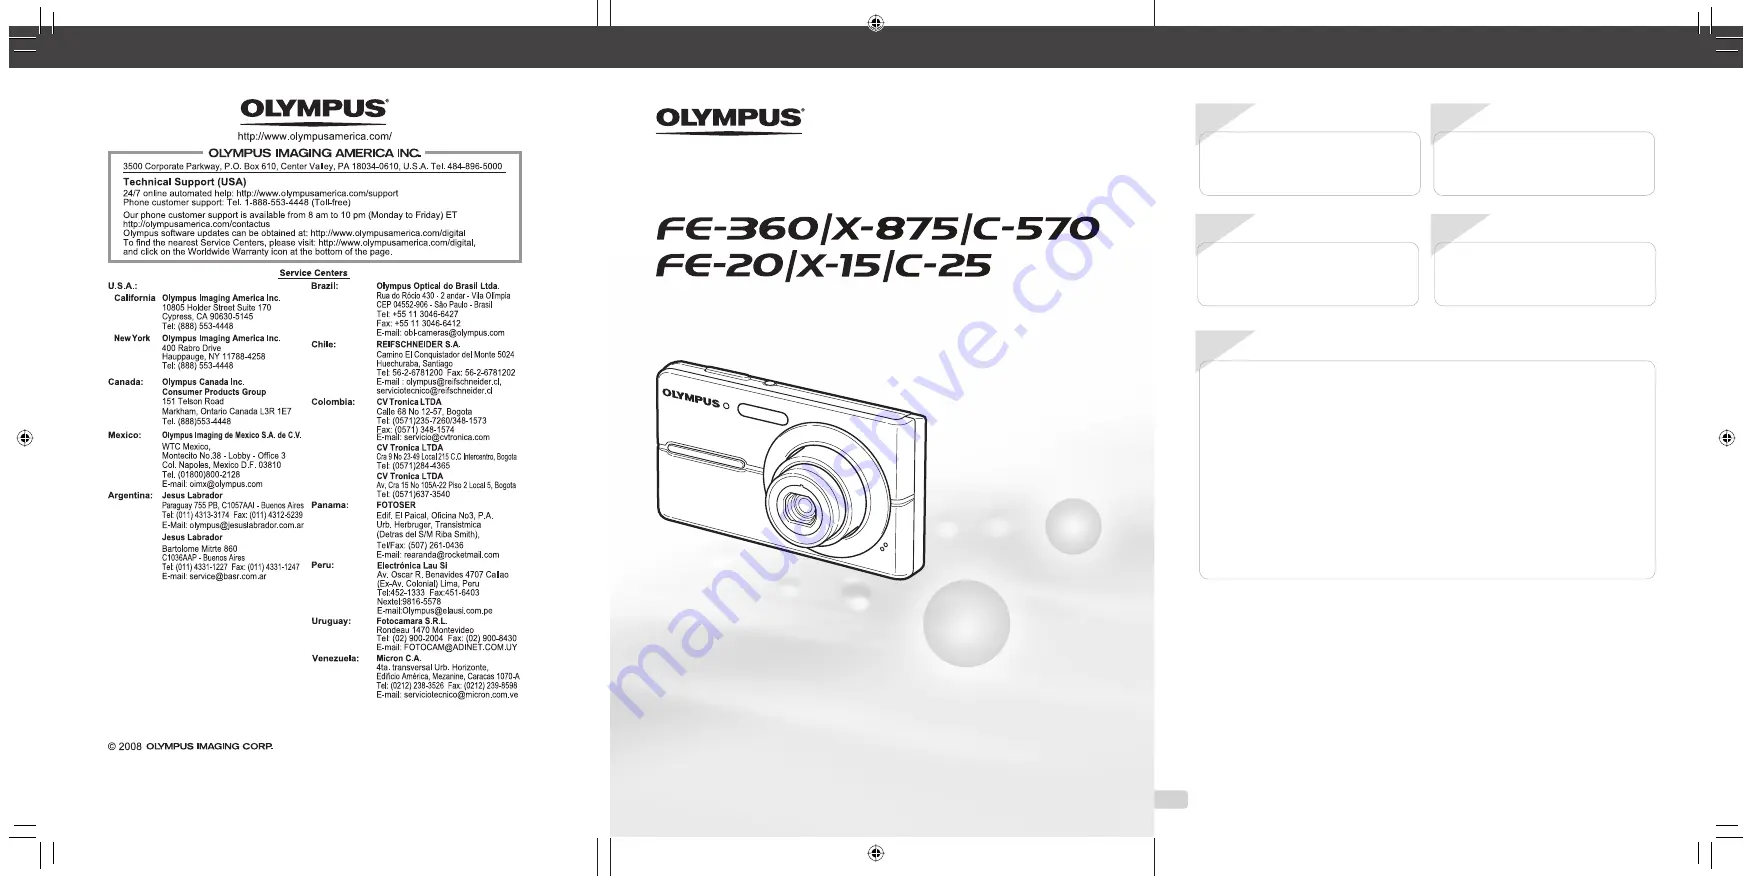
DIGITAL CAMERA

  Thank you for purchasing an Olympus digital camera. Before you start to 

use your new camera, please read these instructions carefully to enjoy 
optimum performance and a longer service life. Keep this manual in a 
safe place for future reference.

 We recommend that you take test shots to get accustomed to your 

camera before taking important photographs.

  In the interest of continually improving products, Olympus reserves the 

right to update or modify information contained in this manual.

  The screen and camera illustrations shown in this manual were produced 

during the development stages and may differ from the actual product.
Unless otherwise speci

 ed, the explanation about these illustrations is 

provided for FE-360/X-875/C-570.

Instruction Manual

00_cover_FE360_en.indd 1

6/23/2008 11:56:33 AM

2

EN

Step

4

Step

1

Step

3

Step

2

How to Use the Camera

“Three Types of Setting Operations” 

(p. 3)

Printing

“Direct printing (PictBridge)” 

(p. 34)

“Print Reservations (DPOF)” 

(p. 37)

Shooting and Playing Back Images

“Shooting, Playback, and Erasing” 

(p. 14)

Preparing the Camera

“Preparing the Camera” 

(p. 10)

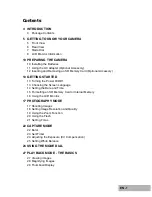
Names of Parts ......................................6

Preparing the Camera .........................10

Shooting, Playback, and Erasing .......14

Using Shooting Modes ........................17

Using Shooting Functions ..................19

Using Playback Features ....................22

Menus for Shooting Functions ...........24

¾

¾

¾

¾

¾

¾

¾

Menus for Playback, Editing, and 
Printing Functions ...............................28

Menus for Other Camera Settings .....31

Printing .................................................34

Using OLYMPUS Master 2...................39

Usage Tips ...........................................41

Appendix ..............................................45

Index .....................................................59

¾

¾

¾

¾

¾

¾

¾

Contents

Contents

01_outline_menuoperation_FE360_e2 2

6/23/2008 11:57:19 AM

Printed in China 

VS865901

00_H4_FE360_en.indd 62

6/23/2008 12:00:02 PM

Summary of Contents for C-570

Page 1: ...se illustrations is provided for FE 360 X 875 C 570 Instruction Manual 00_cover_FE360_en indd 1 6 23 2008 11 56 33 AM 2 EN Step 4 Step 1 Step 3 Step 2 How to Use the Camera Three Types of Setting Oper...

Page 2: ...se illustrations is provided for FE 360 X 875 C 570 Instruction Manual 00_cover_FE360_en indd 1 6 23 2008 11 56 33 AM 2 EN Step 4 Step 1 Step 3 Step 2 How to Use the Camera Three Types of Setting Oper...

Page 3: ...esired menu and press the B button Pressing and holding the E button displays an explanation menu guide of the selected option BACKUP NO 1 2 3 SETUP SET OK ENGLISH PIXEL MAPPING MEMORY FORMAT MENU EXI...

Page 4: ...esired menu and press the B button Pressing and holding the E button displays an explanation menu guide of the selected option BACKUP NO 1 2 3 SETUP SET OK ENGLISH PIXEL MAPPING MEMORY FORMAT MENU EXI...

Page 5: ...37 1 D IMAGE QUALITY p 24 2 K CAMERA MENU WB p 25 ISO p 25 R Still images movies p 25 PANORAMA p 26 FACE DETECT p 26 3 f p 27 4 R RESET p 27 5 C P AUTO p 26 6 j SILENT MODE p 33 7 x SETUP MEMORY FORMA...

Page 6: ...r p 33 34 39 3 Battery card compartment cover p 11 4 Self timer lamp p 20 Camera unit 1 3 2 6 7 5 4 8 5 Flash p 19 6 Lens p 45 53 7 Microphone p 25 29 8 Tripod socket p 50 book_FE360_en indb 6 book_FE...

Page 7: ...klight boost erase p 20 p 16 23 29 8 Shutter button p 14 9 Zoom buttons p 19 10 g E button information display change menu guide p 21 22 p 17 11 B button p 3 12 Arrow pad p 3 F P button exposure compe...

Page 8: ...per macro p 20 5 AF lock p 17 6 Battery check p 10 7 Flash standby camera shake warning flash charge p 19 p 41 8 AF target mark p 14 9 Recording with sound p 25 10 Number of storable still images rema...

Page 9: ...reservations number of prints p 37 p 36 3 Adding sound p 29 4 Protect p 29 5 Battery check p 10 6 Aperture value p 14 7 Exposure compensation p 19 8 White balance p 25 9 Image size p 24 10 File numbe...

Page 10: ...ies Charge the battery when the error message shown below appears BATTERY EMPTY Monitor top right Error message Flashes in red Checking the contents of the box Digital camera Strap LI 42B Lithium Ion...

Page 11: ...he card and pull it out Loading the battery and the xD Picture Card sold separately into the camera Do not insert anything other than an xD Picture Card or the microSD Attachment into the camera 1 2 1...

Page 12: ...ration guide The symbols 1243 displayed on various setting and movie playback screens indicate that the arrow pad be used 2008 10 26 2008 10 26 12 30 12 30 100 0004 100 0004 00 14 00 34 00 14 00 34 IN...

Page 13: ...n the time signal hits 00 seconds To change the date and time adjust the setting from the menu X Date time p 37 Changing the display language The language for the menu and error messages displayed on...

Page 14: ...ng with automatic settings h mode This is a fully automatic mode that allows the user to take pictures by simply pressing the shutter button without using the menu to make detailed settings 1 Press th...

Page 15: ...utton 1 1 IN 8M 8M 2008 10 26 2008 10 26 12 30 12 30 100 0001 100 0001 NORM NORM Playback image Number of frames 2 Use klmn to select an image Displays 10 frames before the current image Displays next...

Page 16: ...rame Press and hold down n to play a movie and press and hold down m to play a movie in reserve Press the B button to resume playback 2008 10 26 2008 10 26 12 30 12 30 100 0004 100 0004 00 14 00 34 00...

Page 17: ...ct the current shooting mode display and use mn to select P Using the best mode for the shooting scene f mode f p 27 1 Press the m button 2 Use klmn to select f and press the B button PORTRAIT SET OK...

Page 18: ...s of each mode Shooting movies n mode 1 Confirm the mode indicator is n 00 34 00 34 IN QVGA QVGA 15 15 A mode indicator When the mode indicator is not n press n K button 2 Press the shutter button hal...

Page 19: ...COMP Exposure compensation value 2 Use klmn to select the desired brightness and press the B button Using the zoom Pressing the zoom buttons adjusts the shooting range Pressing the wide W button Pres...

Page 20: ...shooting Using the self timer After the shutter button is pressed all the way down the picture is taken after a time delay 1 Press the Y button OFF OFF P OK OK 8M 8M NORM NORM SET SET SELFTIMER SELFTI...

Page 21: ...400 ISO 400 NORM NORM Normal No information Grid Using the FUNC menu The shooting mode can be changed to h P h f The f is changed to the scene mode which was selected f p 27 in the shooting mode in to...

Page 22: ...quick selection of a target image Closeup view up to 10x magnification allows checking of image details 1 Press the zoom buttons 2008 10 26 2008 10 26 4 4 IN 12 30 12 30 2008 10 26 2008 10 26 12 30 1...

Page 23: ...ack My Favorite images ADD FAVORITE MY FAVORITE SET OK EXIT SLIDESHOW MENU CANCEL 2 Use kl to select SLIDESHOW and press the B button To register additional My Favorite images 1 Press the m button whi...

Page 24: ...at A4 8 5 11 in 3M 2048 1536 Suitable for printing pictures up to A4 8 5 11 in 2M 1600 1200 Suitable for printing pictures at A5 5 7 in 1M 1280 960 Suitable for printing pictures at postcard size VGA...

Page 25: ...ay give it a grainy appearance Submenu 2 Application AUTO The camera automatically adjusts the sensitivity according to the shooting scene 64 100 200 400 800 1000 The value of the ISO sensitivity is f...

Page 26: ...in the frame You have to remember what the part in the frame looked like and take the next picture so it overlaps 3 Repeat Step 2 until the number of required frames is taken and then press the B but...

Page 27: ...he shooting time during which no other pictures can be taken 2 Available in the FE 360 X 875 C 570 only To select a mode Using the best mode for the shooting scene f mode p 17 Shooting with DIS MODE h...

Page 28: ...e B button The selected image is registered to the internal memory as a separate My Favorite image SET SET OK MENU BACK Registered pictures cannot be erased even by formatting the internal memory The...

Page 29: ...repeat Steps 1 and 2 to make settings for other images and press the B button The new picture orientations will be saved even after the power is turned off Adding sound to still images R q PLAYBACK M...

Page 30: ...ress the S button to erase the selected images 4 Use kl to select YES and press the B button The images with a R mark are erased To erase all images ALL ERASE 1 Use kl to select ALL ERASE and press th...

Page 31: ...ges displayed on the monitor is selected 1 The available languages vary depending on the country and or region where the camera was purchased Adjusting the CCD and the image processing function PIXEL...

Page 32: ...ra starts in the mode in effect when turned off When set to YES the following settings will be saved Flash Macro Exposure compensation White balance ISO Still REC Face detect All shooting settings exc...

Page 33: ...ystem as the one of connected TV NTSC PAL 3 Turn on the TV and change INPUT to VIDEO an input jack connected to the camera For details on changing the input source of the TV refer to the TV s instruct...

Page 34: ...1 PictBridge is a standard for connecting digital cameras and printers of different makers and printing out pictures directly The printing modes paper sizes and other parameters that can be set with...

Page 35: ...the printer s standard STANDARD STANDARD PRINTPAPER SET OK MENU BACK SIZE BORDERLESS 5 Use kl to select the BORDERLESS or PICS SHEET settings and press the B button Submenu 4 Application OFF ON 1 The...

Page 36: ...eat Steps 6 to 7 to select the image to be printed make the detailed settings and set SINGLEPRINT 9 Press the B button PRINT SET OK MENU BACK PRINT CANCEL 10Use kl to select PRINT and press the B butt...

Page 37: ...card Single frame print reservations 1 Press the q button and then press the m button to display the top menu 2 Use klmn to select PRINT ORDER and press the B button PRINT ORDER SET OK U EXIT MENU 3 U...

Page 38: ...the B button Resetting the print reservation data for selected images 1 Follow Steps 1 and 2 of Resetting all print reservation data p 38 2 Use kl to select and press the B button 3 Use kl to select K...

Page 39: ...aster 2 folder Browse window appears after starting the software When you start OLYMPUS Master 2 for the first time after installation Default Settings and Registration screen appear Follow the instru...

Page 40: ...r while the camera and the computer are connected System requirements Windows Windows 2000 Professional XP Home Edition XP Professional Vista Macintosh Mac OS X v10 3 or later On a computer running Wi...

Page 41: ...aking a picture If the camera is left for another 12 minutes it automatically turns off Press o to turn the camera on Press n K button to set a shooting mode Wait until flash charge stops blinking bef...

Page 42: ...n a computer If the image still cannot be viewed the image file is corrupted r THE IMAGE CANNOT BE EDITED Problem with selected image Use photo retouch software etc to edit the image on a computer CAR...

Page 43: ...frame Camera shake Taking pictures without camera shake Taking pictures using h mode p 18 Select j SPORT in f mode p 27 The j SPORT mode uses a fast shutter speed and can reduce the blur incurred by a...

Page 44: ...sensitivity noise small colored spots and color unevenness that were not in the original image can occur and the image can appear grainy The resulting image is grainier than with low ISO sensitivity a...

Page 45: ...r type of battery with the supplied battery charger It might cause explosion leaking overheating or fire This power unit is intended to be correctly orientated in a vertical or floor mount position Ca...

Page 46: ...ompatible with this camera xD Picture Card 16MB to 2GB TypeH M M Standard Using a new card Before using a non Olympus card or a card that was used for another purpose in a computer or other device use...

Page 47: ...ATE Recording length Internal memory Using a 1 GB xD Picture Card With sound Without sound With sound Without sound C 640 480 N 10 sec 11 sec 8 min 54 sec 9 min 5 sec O 21 sec 22 sec 17 min 48 sec 18...

Page 48: ...used without observing the information given under this symbol serious injury or death may result WARNING If the product is used without observing the information given under this symbol injury or de...

Page 49: ...not use force Contact authorized distributors service centers Damages such as scratches on the microSD Attachment or card could result in the camera overheating and or malfunctioning CAUTION Stop usin...

Page 50: ...th clean running cold water immediately If the fluid burns your skin seek medical attention immediately Never subject batteries to strong shocks or continuous vibration CAUTION Before loading always i...

Page 51: ...f light may appear on the top bottom of the monitor but this is not a malfunction When a subject is viewed diagonally in the camera the edges may appear zigzagged on the monitor This is not a malfunct...

Page 52: ...nformation contained therein Olympus reserves the right to alter the features and contents of this publication or software without obligation or advance notice FCC Notice Radio and Television Interfer...

Page 53: ...ong 200 220 50 BF India 230 240 50 C Indonesia 127 230 50 C Japan 100 50 60 A Korea rep 220 60 C Malaysia 240 50 BF Philippines 220 230 60 A C Singapore 230 50 BF Taiwan 110 60 A Thailand 220 50 C BF...

Page 54: ...t the enclosed Olympus imaging product s and related Olympus accessories individually a Product and collectively the Products will be free from defects in materials and workmanship under normal use an...

Page 55: ...TABILITY OF THE PRODUCTS OR THEIR FITNESS FOR A PARTICULAR PURPOSE OR RELATING TO THE INFRINGEMENT OF ANY PATENT COPYRIGHT OR OTHER PROPRIETARY RIGHT USED OR INCLUDED THEREIN IF ANY IMPLIED WARRANTIES...

Page 56: ...ing 1 Sales receipt showing date and place of purchase 2 Copy of this limited warranty bearing the Product serial number corresponding to the serial number on the Product unless it is a model on which...

Page 57: ...200 mA Charging time Approx 5 hours Operating environment Temperature 0 C to 40 C 32 F to 104 F operation 20 C to 60 C 4 F to 140 F storage Dimensions 62 0 mm W 23 0 mm H 90 0 mm D 2 4 0 9 3 5 in Weig...

Page 58: ...ital ESP metering system Shutter speed 4 to 1 2000 sec Shooting range 0 6 m 2 0 ft to W 1 0 m 3 3 ft to T normal 0 1 m 0 3 ft to W 0 6 m 2 0 ft to T macro mode 0 05 m 0 16 ft super macro mode Monitor...

Page 59: ...eration guide 12 A Arrow pad 12 h mode 14 AV cable 33 B Backlight boost 20 BACKUP 31 Battery charger 10 45 Beep 32 Brightness Backlight boost 20 Exposure compensation 19 Monitor brightness s 32 C Card...

Page 60: ...DPOF 37 Protecting images 0 29 R RESETR 27 Rotating images y 29 S f mode 17 27 Self timer 20 Shooting 14 Shooting movies n 18 SILENT MODE j 33 SLIDESHOW y 28 Sound recording R 25 Strap 10 SUPER MACRO...

Page 61: ...esired menu and press the B button Pressing and holding the E button displays an explanation menu guide of the selected option BACKUP NO 1 2 3 SETUP SET OK ENGLISH PIXEL MAPPING MEMORY FORMAT MENU EXI...

Page 62: ...se illustrations is provided for FE 360 X 875 C 570 Instruction Manual 00_cover_FE360_en indd 1 6 23 2008 11 56 33 AM 2 EN Step 4 Step 1 Step 3 Step 2 How to Use the Camera Three Types of Setting Oper...

Reviews: