Margin
Alignment
To
improve
the
appearance of documents and
t
is
sometimes
an
advantage
to
have
the
right
1and
margin
as
Straight
as
tho
left.
A
rough
draft
ol
such
work
should
first
be
typed
so
as
to
calculate
the
aumber
of
letters
that
require
levelling
on
each
line.
(he
shortest
line
of
the
draft
is
taken
as
the
standard
id
a
vertical
line
is
drawn
at
the
end
of
this
as
shown
n
the
example.
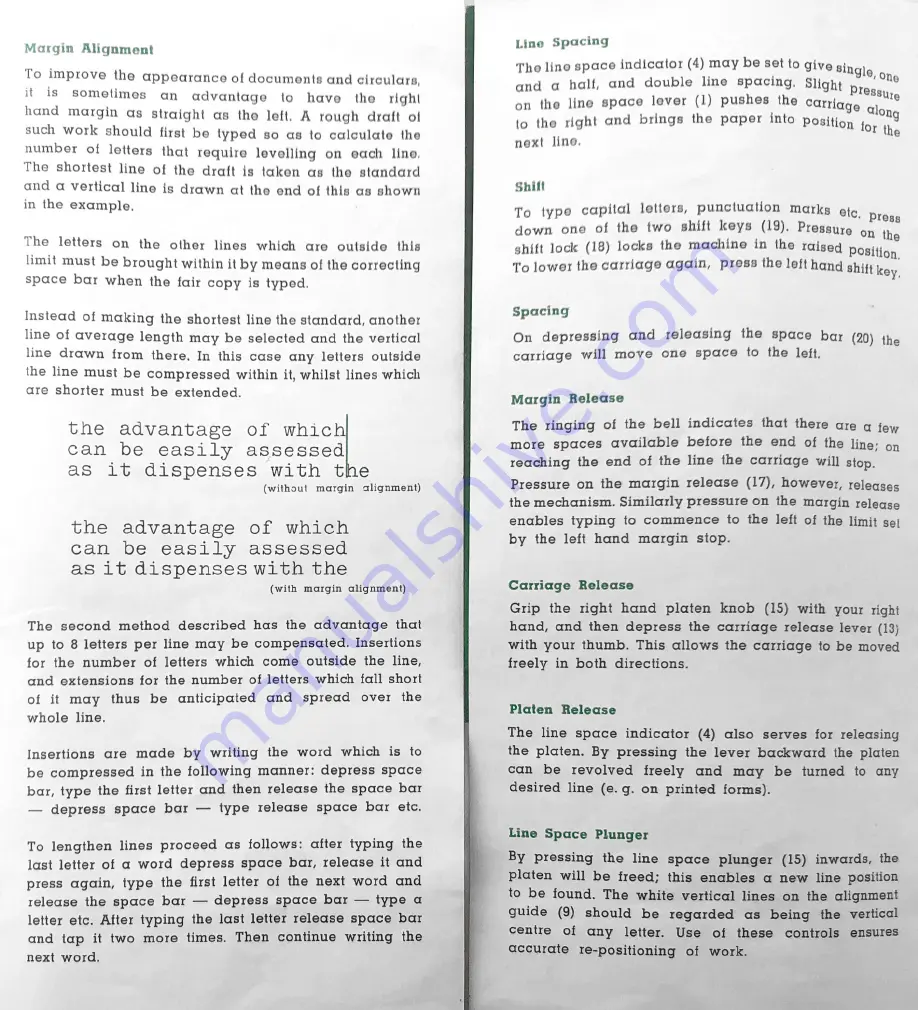
the letters on the other lines which are outside this
limit
must
be brought within it by means of the correcting
space
bar
when the fair
copy
is
typed.
nstead of making the shortest line the standard, another
ine
of
average
length
may
be
selected
and the
vertical
line
drawn
from
there.
In
this
case
any
letters
outside
the
line
must
be
compressed
within
it, whilst
lines which
are
shorter
must
be
extended.
the
advantage
of
whic
can
be
easily
assessed
as
it
dispenses
with
the
(withoul
margin
alignment)
the
advantage
of
which
can
be
easily
assessed
as
it
dispenses
with
the
{with
margin
alignment)
The
second
method
described
has
the
advantage
that
up
to
8
letters
per
line
may
be
compensated.
Insertions
for
the
number
of
letters
which
come
outside
the
line,
and
extensions
for
the
number
of
letters
which
fall
short
of
it
may
thus
be
anticipated
and
spread
over
the
whole
line.
Insertions
are
made
by
writing
the
word
which
is
to
be
compressed
in
the
following
manner:
depress
space
bar,
type
the
first
letter
and
then
release
the
space
bar
—
depress
space
bar
—
type
release
space
bar
etc.
To
lengthen
lines
proceed
as
follows:
after
typing
the
last
letter
of
a
word
depress
space
bar,
release
it
and
press
again,
type
the
first
letter
of
the
next
word
and
release
the
space
bar
—
depress
space
bar
—
type
a
letter
etc.
After
typing
the
last
letter
release
space
bar
and
tap
it
two
more
times.
Then
continue
writing
the
next
word.
Lino
Spacing
The line space indicator (4) may be set to give single
and
a
half,
and
double
line
spacing.
Slight
10
on
the
line
space
lever
(1)
pushes
the
carrig
to
the
right
and
brings
the
paper
into
positi
next
line.
Presay,
ge
Glon
On
for
th
Shitt
To
type
capital
letters,
punctuation
marks
ate.
Pre
down
one
of
the
two
shift
keys
Pressure
on
th
shift
lock
(18)
locka
the
machine
in
the
raigeg
Positio,
To
lower the carriage again,
press the left hang shift ke:
Spacing
On
depressing
and
releasing
the
space
bar
(20)
th
carriage
will
move
one
space
to
the
left.
Margin
Release
The
ringing
of
the
bell
indicates
that
there
are
g
fer
more
spaces
available
before
the
end
of
the
line:
9
reaching
the
end
of the
line
the
carriage will stop.
Pressure
on
the
margin
release
however,
release
the mechanism. Similarly pressure on
the
margin
releas
enables
typing
to
commence
to
the
left
of
the
limit
s¢
by
the
left
hand
margin
stop.
Carriage
Release
Grip
the
right
hand
platen
knob
(15)
with
your
rigt
hand,
and
then
depress
the
carriage
release lever (I<
with
your
thumb.
This
allows
the
carriage
to
be
move
freely
in
both
directions.
Platen
Release
The
line
space
indicator
(4)
also
serves
for
releasin
the
platen.
By
pressing
the
lever
backward
the
plate
can
be
revolved
freely
and
may
be
turned
to
an
desired
line
(e.g.
on
printed
forms).
Line
Space
Plunger
By
pressing
the
line
space
plunger
(15)
inwards,
th
platen
will
be
freed;
this
enables
a
new
line positio:
to
be
found.
The
white
vertical
lines
on
the
alignmen
guide
(9)
should
be
regarded
as
being
the
vertica
centre
of
any
letter.
Use
of
these
controls
ensure
accurate
re-positioning
of
work.


