CHAPTER 6 COPIER MANAGEMENT
6-5
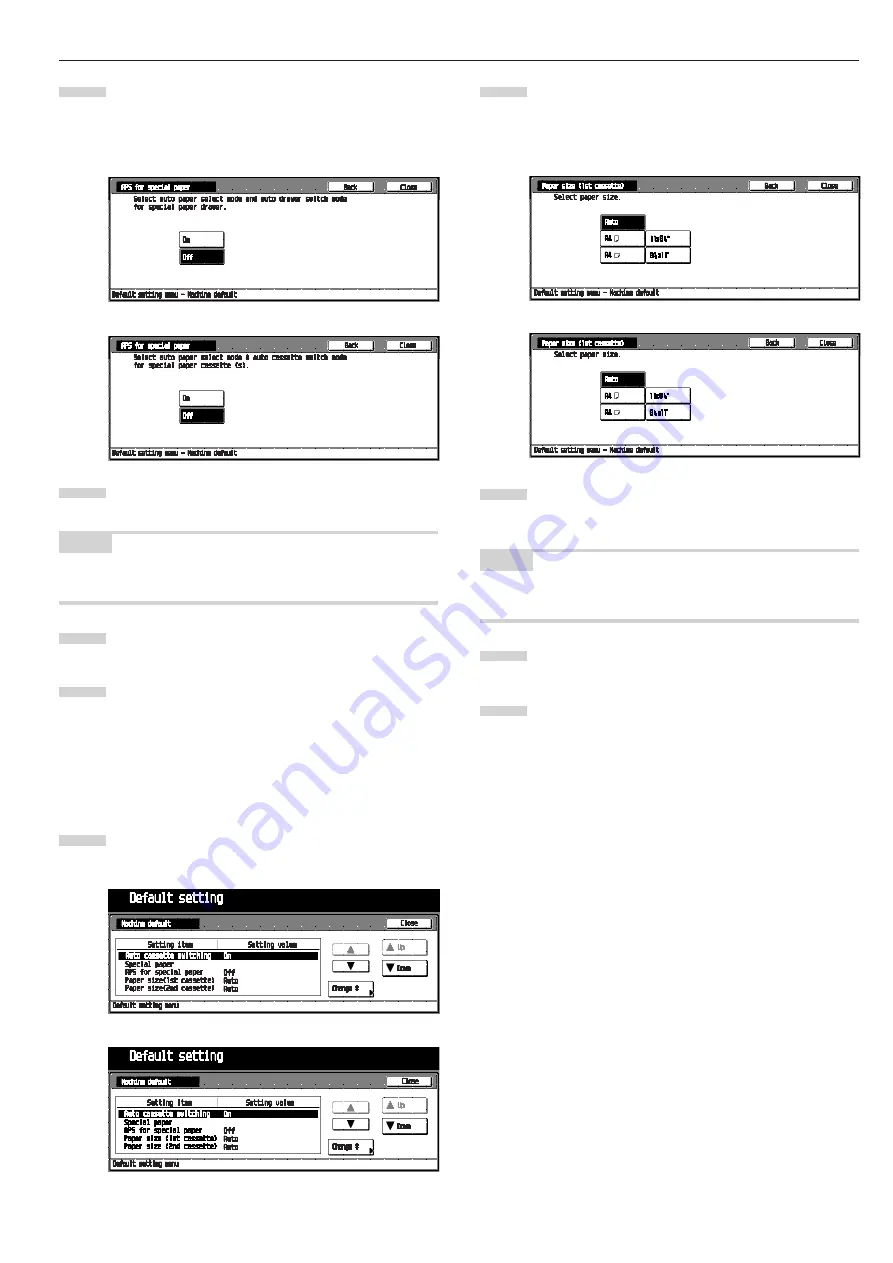
Select “APS for special paper” in the setting item list at
the left-hand side of the screen, and then touch the
[Change #] key.
The “APS for special paper” screen will appear.
To use the paper in the cassette set in the “Special pa-
per”, touch the [On] key.
NOTE
• To cancel the settings, touch [Back] key. The display will return
to the “Machine default” screen.
Touch the [Close] key.
The display will return to the “Machine default” screen.
Touch the [Close] key.
The display will return to the “Default setting menu”
screen.
•
Paper size (1st cassette)
Select what paper size will be displayed on the touch panel for
1st cassette.
Display the “Machine default” screen. (See (2) Access-
ing the machine default setting mode.)
Select “Paper size (1st cassette)” in the setting item list
at the left-hand side of the screen, and then touch the
[Change #] key.
The “Paper size (1st cassette)” screen will appear.
Select the paper size as 1st cassette to be displayed on
the touch panel. To use the auto selection mode, touch
the [Auto] key.
NOTE
• To cancel the settings, touch [Back] key. The display will return
to the “Machine default” screen.
Touch the [Close] key.
The display will return to the “Machine default” screen.
Touch the [Close] key.
The display will return to the “Default setting menu”
screen.
•
Paper size (2nd cassette)
Select what paper size will be displayed on the touch panel for
2nd cassette. (See “Paper size (1st cassette)”.)
2
3
4
5
1
2
3
4
5
Inch specifications
Metric specifications
Inch specifications
Metric specifications
Inch specifications
Metric specifications
Summary of Contents for Omega D 250
Page 6: ......
Page 16: ...CHAPTER 2 NAMES OF PARTS 2 6 ...
Page 30: ...CHAPTER 4 BASIC OPERATION 4 8 ...
Page 36: ...CHAPTER 5 FUNCTIONS 5 6 ...
Page 62: ...CHAPTER 6 COPIER MANAGEMENT 6 26 ...
Page 80: ......


