background image


Olympia Business Systems Vertriebs GmbH 

Zum Kraftwerk 1  

Š

  D-45527 Hattingen 

Tel. 0 23 24 / 68 01-0  

Š

  Fax 0 23 24 / 68 01–99 

http://www.olympia-vertrieb.de 

(15.03.2012)  


O

L

Y

M

P

IA

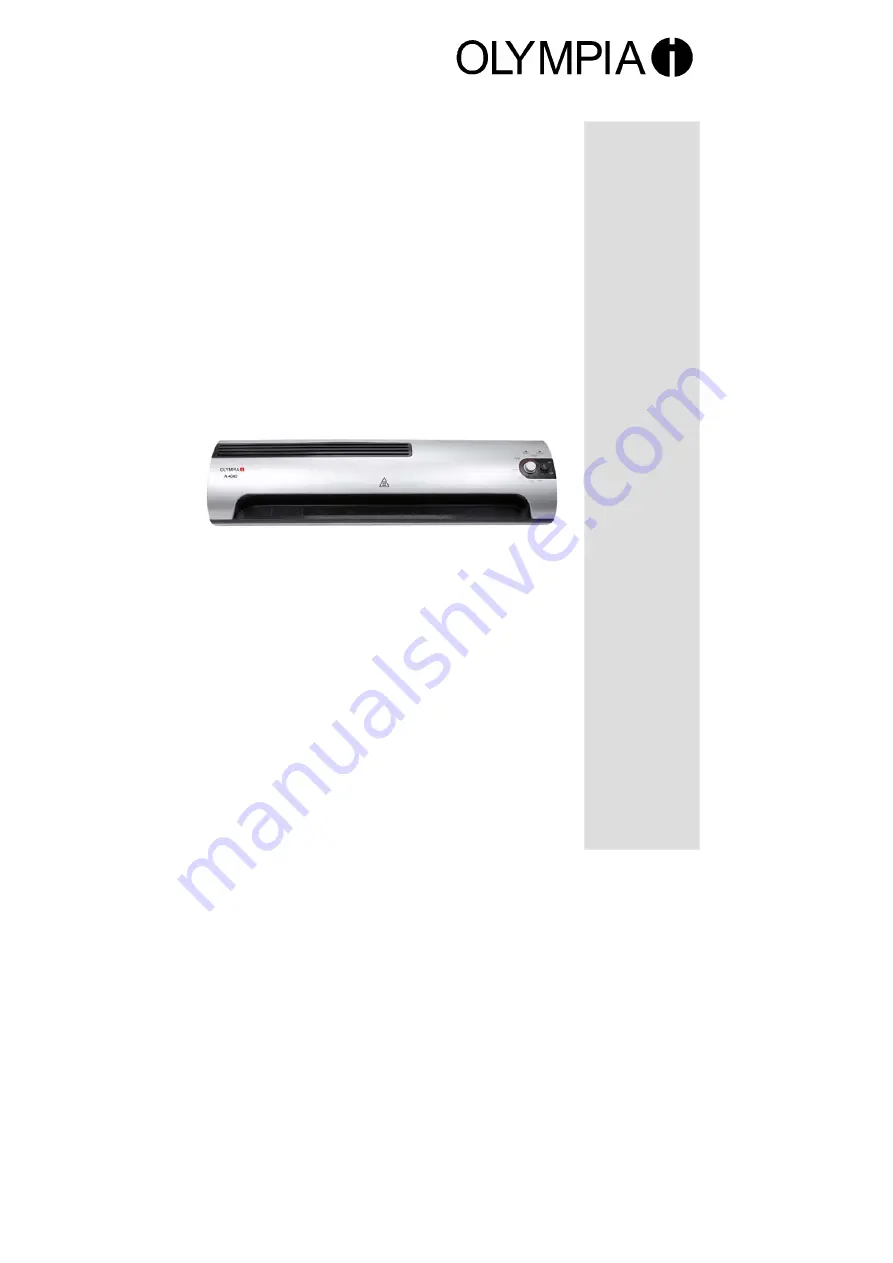
     A2     A 4040 

Laminiergerät  
Laminator  
Machine à plastifier  
Aparato laminador  
Plastificatrice  
Lamineerapparaat  


Summary of Contents for A 4040

Page 1: ...s GmbH Zum Kraftwerk 1 D 45527 Hattingen Tel 0 23 24 68 01 0 Fax 0 23 24 68 01 99 http www olympia vertrieb de 15 03 2012 OLYMPIA A2 A 4040 Laminierger t Laminator Machine plastifier Aparato laminador...

Page 2: ...ion From Liability 12 Intended Use 12 Features 13 Hot Laminating 15 Cold Laminating 15 Clearing Foil Jams 15 Cleaning and Servicing 16 Troubleshooting 16 Disposal Notes 17 Warranty 17 Fran ais Consign...

Page 3: ...responsabilit 33 Impiego conforme alle disposizioni 33 Caratteristiche di prestazione 34 Plastificazione a caldo 35 Plastificazione a freddo 37 Rimuovere l intasamento da pellicola 37 Cura e pulizia...

Page 4: ...tattet 8 Bei Nichtbenutzung des Ger tes Netzstecker ziehen 9 Das Ger t immer sofort ausschalten wenn ein strenger Geruch entsteht oder das Ger t nicht in Betrieb ist 10 Netzstecker nicht mit feuchter...

Page 5: ...ndere Person weitergeben m chten legen Sie bitte diese Gebrauchsanweisung immer dazu Haftungsausschluss Wir bernehmen keine Garantie f r die Richtigkeit der Informationen die sich auf technische Eigen...

Page 6: ...itzung Hochwertiges Heizsystem verhindert Schlieren und Blasenbildung Aufw rmzeit nur ca 4 8 Minuten Abk hlzeit auf Zimmertemperatur 40 60 Minuten Folienst rke von mindestens 75 m und maximal 250 m La...

Page 7: ...he so ein dass allseitig etwa 3 bis 5 mm Abstand vom Folienrand vorhanden ist Achtung Verwenden Sie ausschlie lich Hei laminierfolien 5 F hren Sie die Folie zusammen mit dem Laminiergut in den Einf hr...

Page 8: ...hierbei zuerst einzuf hren Hinweis Um ein Falten der Laminierfolie zu vermeiden darf nie die offene Seite der Laminierfolie zuerst in den Einf hrschlitz des Laminierger tes einf hrt werden Beim Einf...

Page 9: ...s mittel oder aggressive Reinigungsmittel Fehlerbehebung Fehler L sungen Rote LED POWER leuchtet nicht Ger t reagiert nicht Pr fen Sie ob das Stromkabel korrekt in die Standardsteckdose eingesteckt wu...

Page 10: ...h an Ihrem Ger t wider Erwarten ein technisches Problem ergeben beachten Sie bitte folgende Punkte Die Garantiezeit f r Ihr Ger t betr gt 24 Monate Bewahren Sie unbedingt den Kaufbeleg und die Origina...

Page 11: ...11 Vertriebs GmbH...

Page 12: ...witch the unit off immediately if it emits a strong smell or it is not in operation 10 Do not touch the power plug with moist hands 11 Ensure that the On Off switch is in the OFF position before conne...

Page 13: ...cannot guarantee that the information on the technical properties and that contained in this document is correct The product and where applicable its accessories described in this document are subjec...

Page 14: ...rheating High quality heating system prevents smudging and blistering Warm up phase only about 4 8 minutes Cool down phase to room temperature 40 60 minutes Foil thickness minimum 75 m and maximum 250...

Page 15: ...s up 4 Insert the document to be laminated in the pouches so that there is a margin of approx 3 5 mm to the edge of the foil on all sides Caution Only use foil intended for hot laminating 5 Insert the...

Page 16: ...e laminator s insertion slot Insert the ready closed side of the foil first Note To prevent the laminating foil from creasing never insert the open end of the pouch in the insertion slot of the lamina...

Page 17: ...th a little mild soap applied Never use any solvents or aggressive cleaning agents Troubleshooting Fault Corrective measures Red LED POWER does not light up Unit does not respond Check that the power...

Page 18: ...le to end users when the product has reached the end of its lifetime This symbol applies only to the countries within the EEA EEA European Economic Area which comprises the EU Member States plus Norwa...

Page 19: ...ourner dans la zone de travail quand la machine est pr te fonctionner 8 Retirez la fiche de secteur quand vous ne vous servez pas de la machine 9 D brancher toujours imm diatement l appareil quand une...

Page 20: ...smettre ce produit une autre personne veuillez ne pas oublier de joindre ce mode d emploi Exclusion de la garantie Nous n assurons pas de garantie en ce qui concerne l exactitude des infor mations qui...

Page 21: ...ualit emp che la formation de vagues et de bulles Temps de mise en temp rature d env 4 8 minutes seulement Temps de refroidissement temp rature ambiante d env 40 60 minutes Epaisseur de la feuille de...

Page 22: ...t s il y ait une marge d env 3 5 mm par rapport au bord de la feuille de plastique Attention N utilisez que des feuilles plastifier chaud 5 Introduisez la feuille de plastique avec le mat riau plasti...

Page 23: ...t de 60 minutes au maximum 4 Retirez la feuille de protection de la poche de plastique 5 Introduisez le mat riau plastifier dans la poche de plastique de ma ni re ce que de tous les c t s il y ait une...

Page 24: ...les bourrages par les feuilles de plastique se r p tent continuelle ment ou si la feuille bloqu e ne peut plus tre retir e de la machine plastifier veuillez vous adresser notre hotline Entretien et n...

Page 25: ...feuille plastifi e n est pas par faitement transparente Plastifiez cette feuille une nouvelle fois pour am liorer le r sultat de la plastification Le signe CE confirme la conformit aux directives UE...

Page 26: ...s est prohibida la estancia en el rea de trabajo de la m quina en disposici n de servicio 8 En caso de no utilizaci n del aparato se debe sacar la clavija de red 9 Se debe desconectar el aparato inmed...

Page 27: ...cia delante en el aparato laminador Si se laminan Documentos Nacionales de Identidad y otros documentos stos pueden perder su validez ya que a continuaci n no es posible comprobar la autenticidad de l...

Page 28: ...caso de sobrecalentamiento El sistema de calentamiento de alta calidad impide la formaci n de marcas y burbujas Tiempo de calentamiento reducido de s lo aproximadamente 4 8 minutos El tiempo de enfria...

Page 29: ...orde de la pel cula transparente en todos los lados Atenci n Utilice exclusivamente pel culas transparentes de laminaci n en caliente 5 Introduzca la pel cula transparente junto al producto a laminar...

Page 30: ...de protecci n de la funda de pel cula transparente 5 Introduzca el producto a laminar en el compartimento de laminaci n de tal modo que exista una distancia de aproximadamente 3 a 5 mm respecto al bo...

Page 31: ...to con nuestra l nea de asistencia telef nica Cuidado y limpieza Las acumulaciones y restos de pegamento en los rodillos de transporte pueden repercutir sobre el resultado de laminaci n Por este motiv...

Page 32: ...eg rese de que la funda de pel cula transparente haya sido introducida de forma recta en el aparato Siga las instrucciones que figuran en el punto Eliminar un atasco de pel ula transparente para elimi...

Page 33: ...zo dell apparecchio estrarre la spina di alimen tazione 9 Procedere allo spegnimento immediato dell apparecchio non appena si sviluppa un forte odore o in caso di non impiego 10 Non toccare la spina d...

Page 34: ...l documento non cos pi verificabile n caso di cessione del prodotto ad un altra persona si prega di corredare sempre l apparecchio con le presenti istruzioni per l uso Esclusione di responsabilit Non...

Page 35: ...o sistema di riscaldamento contro la formazione di strie e bolle tempo di riscaldamento di soli ca 4 8 minuti tempo di raffreddamento fino a temperatura ambiente ca 40 60 minuti spessore di pellicola...

Page 36: ...e re su tutti i lati una distanza di circa 3 5 mm dal bordo Attenzione Utilizzare esclusivamente pellicole per plastificazione a caldo 5 Inserire la pellicola insieme al foglio da plastificare nella f...

Page 37: ...a stificatrice fino L intervallo di raffreddamento dura fino a 60 minuti 4 Eliminare la pellicola protettiva dalla pellicola per plastificazione 5 Inserire il foglio da plastificare nella busta in pel...

Page 38: ...plastificatrice si prega di rivolgersi alla nostra hotline Cura e pulizia Incrostazioni e residui di adesivo sui rulli di trasporto possono influire sul ri sultato di plastificazione Effettuare quind...

Page 39: ...llicola di pla stificazione sia stata appena inse rita nell apparecchio Per rimuovere l intasamento se guire le istruzioni riportate al punto Rimuovere l intasamento da pelli cola Pellicola plastifica...

Page 40: ...ikt dan moet de stekker uit het stopcontact worden getrokken 9 Het apparaat altijd onmiddellijk uitschakelen als u een sterk prikkelende geur ruikt of als het apparaat niet wordt gebruikt 10 Netstekke...

Page 41: ...product ooit aan een andere persoon willen doorgeven voeg dan deze gebruiksaanwijzing altijd bij Uitsluiting van aansprakelijkheid Wij aanvaarden geen aansprakelijkheid voor de juistheid van deze geb...

Page 42: ...tting Hoogwaardig verwarmingssysteem voorkomt vorming van rimpels of bellen Opwarmtijd slechts 4 8 minuten Afkoelingstijd tot kamertemperatuur ongeveer 40 60 minuten Dikte van de folie minimaal 75 m e...

Page 43: ...het lamineerhoesje dat aan alle kanten 3 5 mm afstand tot de folierand overblijft Let op Gebruik uitsluitend heetlamineerfolies 5 Steek de folie samen met het te lamineren voorwerp in de invoeropening...

Page 44: ...e invoeropening van het lamineerapparaat De gesloten kant van de folie moet het eerst in het apparaat worden ingevoerd Opmerking Om vouwen in de lamineerfolie te voorkomen mag nooit de open kant van d...

Page 45: ...Lijmresten worden door het eruit komend papier meegenomen Deze handeling enkele malen herhalen V r het vochtig afwissen van het apparaat altijd de stekker uit het stopcontact trekken Indien nodig kan...

Page 46: ...ervan dat het lamineerhoesje recht in het apparaat werd gestoken Volg de instructies onder het kopje Klem zitttende folie losmaken op om klem zittende folie uit het apparaat te trekken Gelamineerde fo...

Page 47: ...rato est conforme a lo dispuesto en las directivas y normas vigentes NL De fabrikant verklaart hierbij dat het apparaat voldoet aan de bepalingen in de richtlijnen en normen I Il costruttore dichiara...

Page 48: ...48...

Page 49: ...lt ist nicht Vertragsgegenstand Alle angegebenen Daten sind lediglich Nominalwerte Die beschriebenen Ausstattungen und Optionen k nnen je nach den l nderspezifischen Anforderungen unterschiedlich sein...

Reviews: