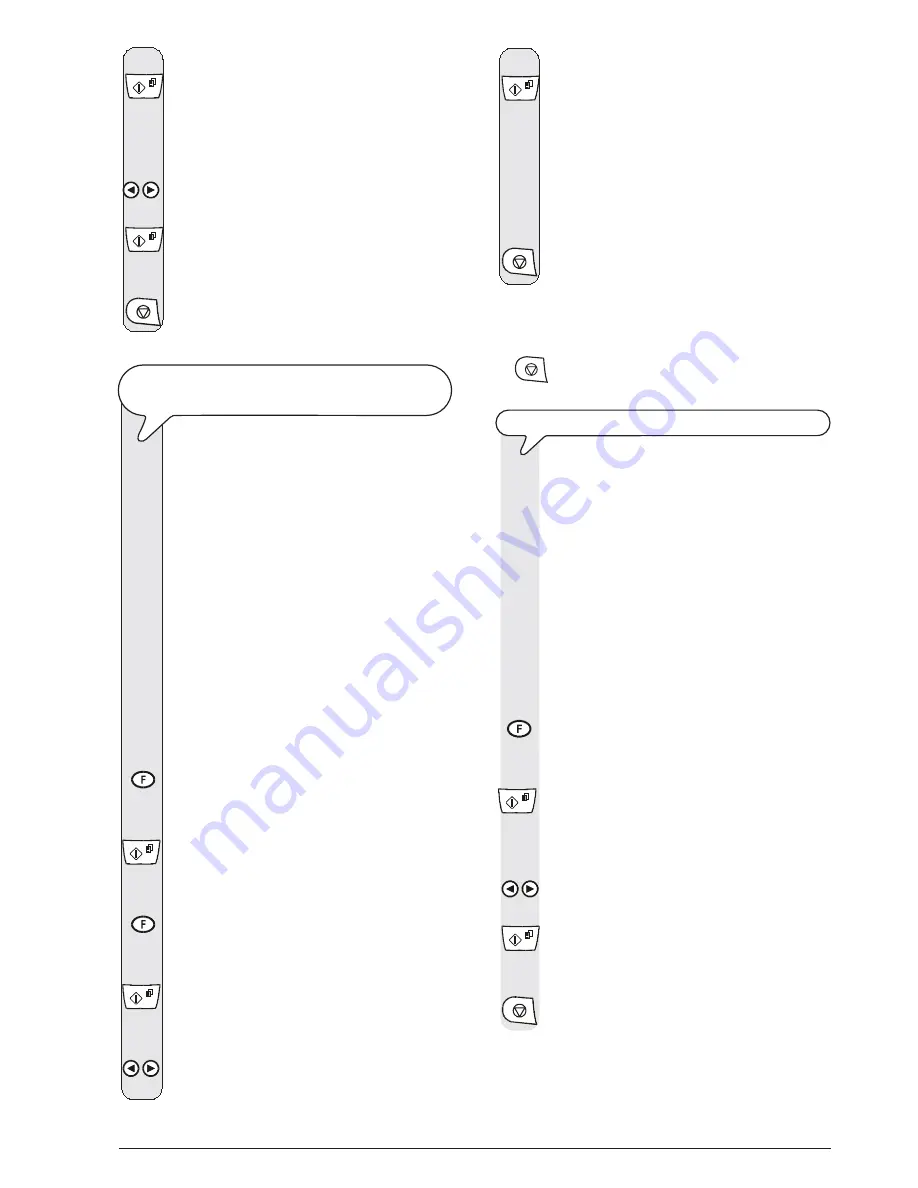
background image

21


4.

Press the key


until the display shows:

RING VOLUME:HIGH


5.

To view the other available options, "RING VOLUME:LOW",
"RING VOLUME: MED" and "RING VOLUME:OFF", press
the keys:


/


6.

To confirm your choice, press the key:


7.

To return the fax machine to its initial stand-by mode, press
the key:


T

O


ENABLE

/

DISABLE


RECOGNITION


OF


THE


RING

FREQUENCY

In some countries, local telephone companies offer the pos-
sibility of 

assigning the same telephone line two or

more numbers

, corresponding to different users. When

an incoming call is received, a 

different ring frequency

will indicate which user is to answer the call.

This function is extremely useful at home or in small offices,
where the same telephone line is shared by more than one
person.

Your fax machine is capable of "learning" one of
these frequencies

 (see the procedure that follows). In

this way, when a call with the specific ring frequency is
received, the fax machine (in "

PHONE/FAX

" and "

TAD/

FAX

" reception modes) prepares exclusively to receive a

document.

This function is

 particularly useful when associated

with silent reception

 in that the fax machine will only ring

if the call is coming from a telephone.


1.

Press the key

until the display shows:

INSTALLATION


2.

Press the key:


The display shows:

TEL. LINE SET-UP


3.

Press the key:

The display shows:

ENHANCED FEATUR.


4.

Press the key


until the display shows:

DISTINC.RING:OFF


5.

Press the keys


/

until the display shows:

CHANGE PATTERN


6.

To confirm your choice, press the key:


The display shows:

AUTODETECT. RING


7.

Call the fax machine with the desired frequency so that the
fax machine detects it.

The display shows:

RING DETECTED


8.

To return the fax machine to its initial stand-by mode, press
the key:


notE

If the fax machine cannot detect that particular frequency, the display
will show the message "RING NOT DETECT.".  At this point, press

the 

 key and repeat the procedure.

T

O


CHANGE


THE


LENGTH


OF


THE


ACOUSTIC


SIGNAL

This function is only enabled in some countries.

When the fax machine is set up for 

automatic reception

with recognition of the type of call

, it behaves as

follows:

if it is being called by a 

fax machine

, it will automatically

prepare to receive a document after the preset number of
rings

if it is being called by a 

telephone

, it will emit an 

acoustic

signal

 for a time of 20 seconds, after which, if you still have

not lifted the handset, it will automatically prepare to re-
ceive a document.
If you want, you can change the length of the acoustic signal
as follows:


1.

Press the key

until the display shows:

INSTALLATION


2.

Press the key


until the display shows:

FAX/TEL TIMER:20


3.

To view the other available values, "15", "30" or "40",
press the keys:


/


4.

To confirm your choice, press the key:


5.

To return the fax machine to its initial stand-by mode, press
the key:


Summary of Contents for Fax-Lab S101

Page 1: ...INSTRUCTIONS Ink Jet Fax Fax Lab 101 121 Fax Lab S101...

Page 2: ...to make any changes to the machine described in this manual at any time and without prior warning This machine has been approved under the terms of Council Decision 98 482 EC for Europe wide connecti...

Page 3: ...IS MISSING NOW IS YOUR NAME AND FAX NUMBER VIII SETTING UP THE FAX MACHINE X TRANSMISSION XII WHAT DOCUMENTS MAY BE USED XII TO SEND A DOCUMENT XII TO HEAR THE DIALLING TONE WHEN SENDING A DOCUMENT X...

Page 4: ......

Page 5: ...have it checked by a qualified engineer RISK OF SUFFOCATION The fax machine and its accessories are wrapped in plastic so do not let children play with the packaging material RISK OF FIRE If you are...

Page 6: ...have not been played Off indicates that the memory is empty With the handset lifted gives access to the special func tions made available by the network manager and com monly known as REGISTER RECALL...

Page 7: ...one or fax number without lifting the telephone handset After two numeric keys 01 50 have been pressed automati cally dials once set the tel ephone or fax number associ ated with them Cancels incorrec...

Page 8: ...onsists of two lines of 16 characters each It shows the date and time menu items error messages reso lution and contrast values PLAIN PAPER FEED COMPARTMENT ASF Maximum capacity 40 sheets 80gr m2 AUTO...

Page 9: ...dition to the fax machine and this manual you will find the follow ing elements in the package The paper support extension The cable for connecting the fax machine to the telephone line The power cabl...

Page 10: ...cribed in the procedure below In the second case you can move on to set the date and time directly TO SET THE LANGUAGE AND THE COUNTRY OF DESTINATION The display shows the language in which the messag...

Page 11: ...to move the cursor to digits to be modified press the keys 9 Then overwrite the digits with the correct ones by pressing the keys 3 To confirm the setting press the key The display shows a country of...

Page 12: ...key until the display shows FAX SET UP 2 To confirm the setting press the key The display shows DATE AND TIME From this point follow the procedure previously described in To set the date and time ALL...

Page 13: ...nformation at the top of the document to be sent name fax number date and time and number of pages may be received by your correspondent s fax machine outside the text area immediately below the top e...

Page 14: ...dy present The fax machine has a memory that enables it to receive up to 19 pages even if you do not add any paper Insert the print head IMPORTANT The print head provided with the machine al lows you...

Page 15: ...clean the nozzles again if the new print test continues to be unsatisfactory repeat the procedure another time At this point if the printing quality still does not meet your expectations clean the ele...

Page 16: ...R THE DIALLING TONE WHEN SENDING A DOCUMENT If these diagrams are not enough see To send a document section Transmission and reception operations TO SEND A DOCUMENT WITH THE RECEIVER RAISED If these d...

Page 17: ...ur correspondents in four different modes that you may access by carrying out the procedure described below These modes are manual reception automatic reception automatic reception with recognition of...

Page 18: ...secondshavepassedandyou have not lifted the receiver Your fax is set to receive automaticaly It will wait to re ceive a document for about 30 seconds then it will return to its initial stand by mode T...

Page 19: ...dialled if the correspondent is free you can start talking The display shows the length of the call in minutes and seconds in the top right hand corner TO TELEPHONE WITH SPEED DIALLING Do not place t...

Page 20: ...he document is neither very light nor very dark LIGHT if the document is very dark DARK if the document is very light 2 Choose the type of resolution on the basis of the following criteria TEXT if the...

Page 21: ...choose the desired resolution setting TEXT or PHOTO press the key 13 If you want to make more than one copy max 9 enter the desired number by pressing the keys 14 If you only want to make one copy ski...

Page 22: ......

Page 23: ...SSAGES AND MEMOS TO A REMOTE TELEPHONE 16 TO OPERATE THE TELEPHONE ANSWERING DEVICE FROM A REMOTE LOCATION 17 SPECIAL FUNCTIONS OF THE TELEPHONE ANSWERING DEVICE 17 TO PRINT THE TAD CONFIGURATION PARA...

Page 24: ......

Page 25: ...dialling mode tone or pulse is compatible with the public telephone exchange that manages the line to which you have connected the fax machine If in doubt about the choice to be made ask your public t...

Page 26: ...up for pulse dialling decadic and you want to change it to tone dialling multifrequency Press the key before dialling the fax or telephone number to change the dialing mode temporarily At the end of...

Page 27: ...send the copy TO PLACE THE DOCUMENT IN THE AUTOMATIC DOCUMENT FEEDER ADF 1 Push the paper support extension in the slot until it clicks into position 2 Insert the document in the automatic document fe...

Page 28: ...of max 64 digits 3 To start sending the document press the key If the document is sent correctly once this operation has been completed the display will show the message TX COMPLETED for a few second...

Page 29: ...ven at a preset time Delayed transmission to several correspond ents max 10 Broadcast transmission See To send a docu ment from the memory TO SEND A DOCUMENT FROM THE MEMORY 1 Insert the document in t...

Page 30: ...call or a telephone call Reception with telephone answering device In this reception mode the TAD receives the calls records any messages left by the correspondent and if he wants to send you a docume...

Page 31: ...er or a telephone number has already been saved the display will show it 6 Dial your correspondent s telephone or fax number max 64 digits To do this press the keys 7 If there are any incorrect number...

Page 32: ...name max 16 characters To do this press the keys 7 To confirm the setting press the key 8 To return the fax machine to its initial stand by mode press the key TO SEND A DOCUMENT WITH ONE TOUCH DIALLIN...

Page 33: ...t sending press the key TO PRINT REPORTS AND LISTS REPORTS By printing out reports the fax machine enables you to check the result of all the transactions carried out transmission and reception the vo...

Page 34: ...pter Troubleshooting guide TO ENABLE DISABLE THE AUTOMATIC PRINTING OF THE TRANSMISSION AND FAILED TRANSMISSION REPORT 1 Press the key until the display shows FAX SET UP 2 Press the key The display sh...

Page 35: ...NUMBERS 1 Press the key until the display shows INSTALLATION 2 Press the key The display shows TEL LINE SET UP 3 Press the key until the display shows PRINT INSTALL 4 Press the key The display shows P...

Page 36: ...note In addition to prevent subscribers from operating the TAD from a remote location without your authorization except to leave mes sages access has been protected by a four digit numeric code set b...

Page 37: ...ive faxes at the moment If you need to speak to me please call back later if you are in but have selected PHONE FAX mode to tell the caller not to hang up for example Please wait CALL TRANSFER MESSAGE...

Page 38: ...e level set in the top right hand corner TO LISTEN TO OUTGOING MESSAGE 1 1 Press the key until the display shows TAD SET UP 2 To confirm the setting press the key The display shows ICM ON SPEAKER 3 Pr...

Page 39: ...inking and will remain on steady TO DELETE MESSAGES AND MEMOS YOU HAVE ALREADY LISTENED TO You cannot delete a message or a memo until you have started listening to it Incoming messages or memos that...

Page 40: ...en time to let you know that there are new messages on the telephone answering de vice In addition to the time and number at which you wish to be called you can program the way in which the transfer i...

Page 41: ...0 after a programming sequence from 1 to 6 aborts the programming function in progress and returns to the operating func tions In this case to resume the programming phase press again To perform both...

Page 42: ...e the outgoing message recorded previously or to record a new one The display shows TO RECORD 8 To start recording press the key The display shows RECORDING 20 SILENT RECEPTION OF INCOMING MESSAGES Us...

Page 43: ...y NOTE If you choose the SURPLUS AUTO setting the fax machine will print the surplus text on another sheet providing the surplus exceeds 12 mm If you choose the SURPLUS ON setting the fax machine will...

Page 44: ...s call your local customer engineering service centre The fax machine is already set up to display the caller ID You may however set it up not to display it as follows 1 Press the key until the displa...

Page 45: ...display shows ENHANCED FEATUR 4 Press the key until the display shows DISTINC RING OFF 5 Press the keys until the display shows CHANGE PATTERN 6 To confirm your choice press the key The display shows...

Page 46: ...e fax machine to its initial stand by mode nOTE If you are connected to a private line follow the same procedure until the display shows PUBL LINE PSTN press the keys to dis play PRIV LINE PBX and the...

Page 47: ...y The display shows VARIOUS SETTINGS 4 Press the key until the display shows TX SPEED 14 4 4 Press the key until the display shows RETRANS DOC OFF 5 To view the other available option RETRANS DOC ON p...

Page 48: ...trans mission In other words a user may connect to another fax machine and request it to send a document specially prepared to him even when the user at the other end of the line is out the transacti...

Page 49: ...tions CANCEL SETTING To cancel the setting The fax ma chine returns to its initial stand by mode CHANGE PARAM To change the time at which the transmission request is to be made or the number of the co...

Page 50: ...the automatic document feeder while the fax machine is making a copy printing a report or printing a document being received the fax machine be haves as follows if it is making a copy the fax machine...

Page 51: ...found Resume transmission of the pages indicated in the report 07 DOCUMENT TOO LONG The document to be sent is too long The time taken to send it exceeds the allowed limits Split up the document to be...

Page 52: ...ed because an error occurred dur ing the reception phase preventing it from being printed immediately check the type of error paper out or jammed ink out etc and correct the fault MEMORY FULL One or m...

Page 53: ...D You have put a telephone call on hold by pressing the key press the key again to resume the conversation with the corre spondent MEMORY TX You have set transmission from the memory NEW PRINT HEAD 1...

Page 54: ...NO Set the value 1 At this point the fax machine automatically cleans the print head and tests the nozzles printing out the result of the diagnostic test Examine the diagnostic test result with refere...

Page 55: ...cleans the print head and tests the noz zles printing out the result of the diagnostic test Examine the diagnostic test result and consult Insert the print head chapter How to get started quickly NOTE...

Page 56: ...To check whether the optical reader is clean make a copy of a blank sheet If any vertical lines appear on the copy and the optical reader looks perfectly clean contact qualified technical staff TO CLE...

Page 57: ...and edge of the fax machine see fig 3 of procedure To clean the optical reader 4 Release the paper feed roller by pressing the lever see fig 4 of procedure To clean the optical reader 5 Remove the rol...

Page 58: ...term storage 5 95 transport CHARACTERISTICS OF OPTICAL READER Scanning method CIS Scanning resolution Horizontal 8 pixel mm Vertical STANDARD 3 85 lines mm Vertical FINE 7 7 lines mm TRANSMISSION CHAR...

Page 59: ...answering device 12 L Linecharacteristics private line 1 public line 1 to connect it to a private line PBX 1 to connect it to a public line 1 Line signals 23 Lists blacklistnumbers 11 listofinstallat...

Page 60: ...nge 8 to send a document with speed dialling 8 toset 8 to telephone with speed dialling XV StationID fax number VIII name VIII name and fax number position IX 22 T Technicaldata characteristicsofoptic...

Page 61: ...on you need and the instructions for handling the waste correctly for example location and times of the waste collection centres etc b When you purchase a new device of ours give a used device similar...

Page 62: ......

Page 63: ...Monochrome print head Model FJ51 Code B0494...

Page 64: ...256603P 01...

Reviews: