


Configuring the Network Settings
- 62 -
7
Select [
Enter
] and then press .
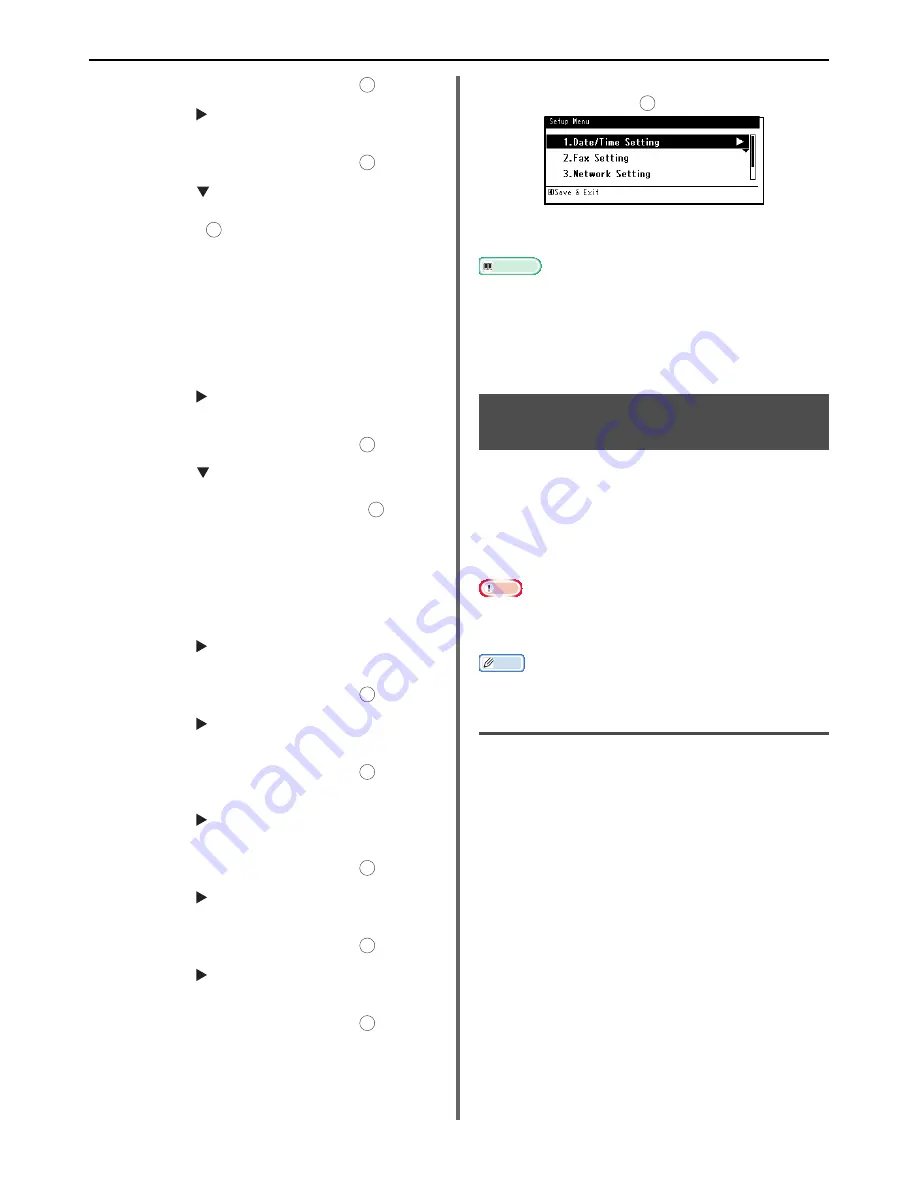
8
Press the and then enter the
information in B-1.
9
Select [
Enter
] and then press .
10
Press the and then select a protocol
for receiving e-mail for the machine, and
then press .
- If you want your machine to receive e-mail from
the POP3 server, select [
POP3
]. Proceed to the
step 11.
- If you want your machine to receive e-mail
without using a mail server, select [
SMTP
].
Proceed to the step 13.
- If you do not want your machine to receive e-mail,
select [
Disable
]. Proceed to the step 13.
11
Press the and then enter the
information in B-3.
12
Select [
Enter
] and then press .
13
Press the and then select an
authentication method based on the
information in B-4. Then, press .
- If B-4 is "Do not authenticate", select [
Do not
authenticate
]. Proceed to the step 24.
- If B-4 is "SMTP", select [
SMTP Auth
]. Proceed to
the step 14.
- If B-4 is "POP", select [
POP Before SMTP
].
Proceed to the step 18.
14
Press the and then enter the
information in B-5.
15
Select [
Enter
] and then press .
16
Press the and then enter the
information in B-6.
17
Select [
Enter
] and then press .
Proceed to the step 24.
18
Press the and then enter the
information in B-3.
19
Select [
Enter
] and then press .
20
Press the and then enter the
information in B-7.
21
Select [
Enter
] and then press .
22
Press the and then enter the
information in B-8.
23
Select [
Enter
] and then press .
24
When the setup menu screen is
displayed, press .
The setup for Scan To E-mail, Scan To Fax Server
and Internet Fax is complete.
Reference
z
For details on how to use Scan To E-mail, refer to
"Scan to
E-mail" P. 102
.
z
For details on how to use Scan To Fax Server, refer to
"Basic Procedure for Scan To Fax Server" P. 91
.
z
For details on how to use Internet Fax, refer to
"Basic
Procedure for Internet Faxing" P. 93
.
Setting Up Scan To Network
PC
The Scan To Network PC function enables you to
send and save scanned images to the "shared
folder" of a computer on the network. To use this
function, register your machine on the computer
as a user and create a shared folder, and then
create a profile on your machine to register the
settings for the computer.
Note
z
Before starting the setup, get permission from the network
administrator to create a shared folder on the computer by
following the procedure below.
Memo
z
The CIFS protocol is used in this procedure.
Checking the Name of the Computer
Check the name of the computer following the
procedure below, and fill in C-1 of the Setup
Information Form.
For Windows 7, Windows Server
2008 R2, Windows Server 2008
and Vista
1
Click [
Start
] and select [
Control
Panel
].
2
Select [
System and Security
].
For Windows Server 2008 and Windows Vista,
select [
System and Maintenance
].
OK
OK
OK
OK
OK
OK
OK
OK
OK
OK
OK


