background image

MB260

- 22 -

Parameters/Setup

Parameters/
Setup

You can setup your machine as you like depending on the 
use. You will find in this chapter description of the 
functions.

You can print the functions guide and the available setup 
of your multifunction machine.

Language

This setting enables you to choose the menu language of 
your choice. By default, the multifunction machine is set 
to English.

To select the language:

!

203 - SETUP / GEOGRAPHICAL / LANGUAGE

1

Press 

!

, enter 

203

 using the keypad.

2

Select the required language using 

!

 and 

"

, then 

press the 

OK

 key to confirm.

3

To exit this menu, press 

.

Technical Parameters

As delivered your machine is preset by default. However, 
you may adjust it to meet your requirements by resetting 
the technical parameters.

To set the technical parameters:

!

29 - SETUP / TECHNICALS

1

Press 

!

, enter 

29

 using the keypad.

2

Select the desired parameter and confirm with 

OK

.

3

With the keys 

!

 or 

"

, modify the parameter 

settings by following the table below and press 

OK

.

Printing the functions guide

!

51 - PRINT / FUNCTIONS LIST

Press 

!

, enter 

51

 using the keypad.

The printing of the functions guide starts.

Print the list of setups

To print the list of setups:

!

56 - PRINT / SETUP

Press 

!

, enter 

56

 using the keypad.

The printing of the list of setups starts.

Lock the machine

This function prevents non-authorized people from 
accessing the machine. An access code will be required 
every time someone wants to use the device. After each 
use, the device will lock automatically.

Before that you have to enter a lock code.

!

811 - ADVANCED FCT / LOCK / LOCKING CODE

1

Press 

!

, enter 

811

 using the keypad.

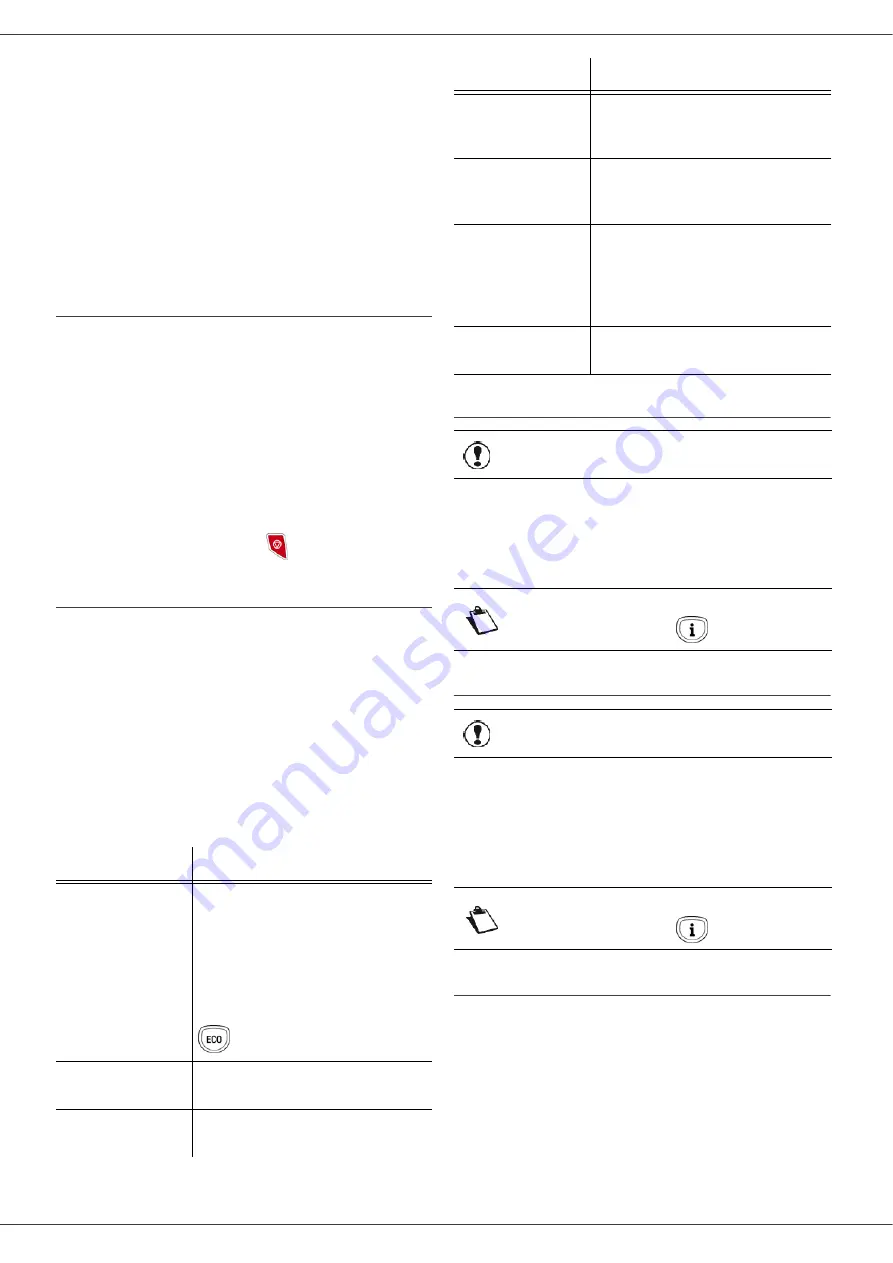
Parameter

Signification

8 - Eco energy

Choosing the printer standby 
delay: the printer will switch to 
standby after a delay (in minutes) 
of NON-operation or during the 
period of time of your choice.

Note

: you can also access this 

parameter by pressing the 

 key from the idle screen.

80 - Toner save 

Makes printing lighter to save toner 
cartridge ink.

90 - RAW Port 

RAW network print port 
connection.

91 - Printer error 
timeout

Time-out before document being 
printed is deleted following a print 
error in PC print mode.

92 - Printer wait 
timeout

Wait time-out for data from PC 
before the task is deleted in PC 
print.

93 - Replace format

Page format change. This 
parameter allows you to print a 
LETTER format document on A4 
pages using the LETTER/A4 
setting.

96 - NBR. WEP 
Keys

Number of WEP keys allowed 
(from 1 to 4).

Important

The printing is not possible on A5 
(or Statement) paper format.

Note

You can also access the 

PRINT

 menu 

by pressing the 

 button.

Important

The printing is not possible on A5 
(or Statement) paper format.

Note

You can also access the 

PRINT

 menu 

by pressing the 

 button.

Parameter

Signification

Summary of Contents for MB260 MFP

Page 1: ...User s Guide 59313601 my okidata com RT322 MB260 MFP...

Page 2: ...e documents through your PC If you have a WLAN adaptor optional you can communicate with a personal computer wirelessly WLAN is an optional working only with a specific adaptor that you can obtain fro...

Page 3: ...Lock the machine 22 Lock the keyboard 23 Lock the Media service 23 Read the counters 23 Scanned pages counter 23 Printed pages counter 23 Display the consumables status 23 Calibrate your scanner 23 Ne...

Page 4: ...nance 42 Service 42 General information 42 Toner cartridge replacement 42 Issues with smart cards 43 Cleaning 43 Scanner reading system cleaning 43 Printer cleaning 43 Printer external cleaning 43 Pri...

Page 5: ...as a Class 1 Laser Product It does not emit hazardous light as the beam is totally enclosed during all phases of customer operation and maintenance For Europe Asia This machine complies with IEC 60825...

Page 6: ...date the copy of the receipt being the proof of purchase In case of a CD ROM fault that due to accident or misuse the CD ROM will not be replaced as per the warranty Responsibility If the CD ROM is no...

Page 7: ...d in the United States and or in other countries All the other brands or products referred to as examples or in order to give additional information are registered trademarks of their respective owner...

Page 8: ...below describes the precautions to be taken when using the machine Never turn the machine off and never open the lids while printing Never use gas or flammable liquids or objects generating magnetic...

Page 9: ...ng into the product You suspect that your product needs service or repair Your product s cover has been damaged Do not incinerate spilled toner or used toner Toner dust might ignite when exposed to an...

Page 10: ...er jams Adding paper in the pile must be avoided because it may cause double feeding When withdrawing the cassette from the main unit always support it with both hands to avoid dropping it If you use...

Page 11: ...these notes could result in moderate or minor injury or damage to the machine or to property Be sure to read these notes Refer to the security notices presented in the Safety booklet Important Indicat...

Page 12: ...cover 3 Power supply cord connection 4 On Off switch 5 Slave USB connection for PC 6 Master USB connection USB key 7 Manual paper feed setup guides 8 Manual input tray 9 Paper tray 10 Cartridge access...

Page 13: ...select 51 FUNCTIONS LIST Confirm with OK To print the functions list with the shortcut method 1 Press 2 Enter 51 with the numerical keypad to directly print the functions list 1 Screen 2 Digital keyp...

Page 14: ...cting the security notices stated at the beginning of this booklet 3 Remove all stickers from the machine 4 Remove the plastic protection film from the screen Feed cassette paper insertion Your device...

Page 15: ...artridge installation 1 Stand in front of the machine 2 Push the left and right sides of the cover and pull it towards you at the same time 3 Unpack the new cartridge Gently roll the cartridge 5 or 6...

Page 16: ...be fed at a time 1 Spread the manual feed guides to the maximum 2 Insert a sheet or an envelope in the manual input tray 3 Adjust the paper guides against the right and left edges of the sheet or the...

Page 17: ...envelope by pressing the folding line of four edges properly after releasing air inside Set envelope in a proper position after aligning in case it is bent or warped Paper conditioning is not allowed...

Page 18: ...4 or 1 page to 9 Confirm with the OK button 6 Adjust the desired zoom level from 25 TO 400 with the buttons or confirm with the OK button only available in 1 Page to 1 copy mode 7 Adjust the desired...

Page 19: ...etup The RESOLUTION parameter allows you to setup the photocopy resolution 841 ADVANCED FCT COPY RESOLUTION 1 Press enter 841 using the keypad 2 Choose the resolution with the buttons or according to...

Page 20: ...utton 4 Quit this menu by pressing the button Paper tray selection The Automatic selection can have two meanings depending on the paper format defined on the paper trays The following table describes...

Page 21: ...ou to define the default paper format of the manual tray and the main tray You can also setup the default scanning width 857 ADVANCED FCT SCAN PRINT PAPER FORMAT 1 Press enter 857 using the keypad 2 S...

Page 22: ...tups starts Lock the machine This function prevents non authorized people from accessing the machine An access code will be required every time someone wants to use the device After each use the devic...

Page 23: ...ters for your machine at any time According to your needs you can read the counters for scanned pages printed pages Scanned pages counter To view the number of pages scanned on your machine 823 ADVANC...

Page 24: ...e into a radio network WLAN 1 Configure the network to your PC 2 Set up the parameters for your machine so that it can function in a network 3 Having set up the parameters for your device install the...

Page 25: ...ppears enter a figure between 1 and 13 1 to 11 for the US and confirm with OK 7 Select your encryption method OFF WEP or WPA and confirm with OK If you choose WEP enter the WEP key that you are using...

Page 26: ...ng the keys or and confirm with OK 2 Select WLAN using the keys or and confirm with OK 3 Select PARAMETERS using the keys or and confirm with OK 4 Select GATEWAY using the keys or and confirm with OK...

Page 27: ...r to the paragraph Software installation page 32 An example of how an AD HOC network may be set up An example of how to configure an Ad hoc network without security protection using the following para...

Page 28: ...ork house once this has been detected 5 Now set up the WLAN network connection of your PC To do this you must configure the element Protocol Internet TCP IP for the WLAN connection that has been creat...

Page 29: ...respecting the insertion way MEDIA ANALYSIS appears on the screen 2 Select PRINT DOC with the or buttons and confirm with OK 3 Select FILE with the or buttons and confirm with OK 4 You have three poss...

Page 30: ...ey Select with the or buttons the file to delete and confirm with OK A star appears on the left side of the file Repeat this step for each file you want to delete Press the button You come back to the...

Page 31: ...he picture will be saved in TIFF format COLOR the picture will be saved in JPEG format You can choose the image resolution that will be digitized to the USB memory key the default resolution is AUTO P...

Page 32: ...the Companion Suite Pro software installation of the drivers only Installing the full software package Turn your PC on Open an account session with the administration rights 1 Open the CD ROM drive i...

Page 33: ...lation of drivers Installing the drivers using the Companion Suite Pro software Turn your PC on Open an account session with the administration rights 1 Open the CD ROM drive insert the installation C...

Page 34: ...installation The Companion Suite Pro software is now installed on your PC You can now connect your multifunction machine refer to paragraph Connections page 35 Installing the drivers manually You can...

Page 35: ...our multifunction machine The PC detects the device and the drivers are automatically installed 3 Once the installation is finished a message indicates that the drivers are installed correctly You can...

Page 36: ...resentation Run the application by clicking on the COMPANION DIRECTOR icon located on your desktop or from the menu START ALLPROGRAMS OKIDATA COMPANION SUITE PRO LL2 COMPANION DIRECTOR Utilities and a...

Page 37: ...p down menu 3 Select the desired scan RESOLUTION in the drop down menu 4 Click OK to confirm the new parameters Removing a device 1 Select the device from the list and click the minus sign or REMOVE b...

Page 38: ...ment from PaperPort 1 Click on FILE SCAN 2 Select the desired scanner 3 Customise the advanced properties of the digitisation by clicking on the ADJUST THE QUALITY OF THE SCANNED PICTURE link 4 Adjust...

Page 39: ...printing 9 Even pages are printed on the other side of the sheets Once all pages are printed remove the explanation sheet CAUTION In manual duplex the print quality and paper transport are not guarant...

Page 40: ...e paragraph Uninstall the drivers using the Companion Suite Pro software If you have installed the drivers manually see paragraph Uninstall the drivers manually Uninstall the drivers using the Compani...

Page 41: ...ARE DEVICE MANAGER or START CONTROL PANEL HARDWARE AND SOUND DEVICE MANAGER depending on the operating system 2 In the OTHER DEVICES sub menu select the OKI MB260 item and click on the right button of...

Page 42: ...toner cartridge at any time before it reaches its end of cycle To replace the toner cartridge proceed as shown below 1 Insert the smart card provided with the new toner cartridge as shown on the pictu...

Page 43: ...t Printer issues Error messages When the printer encounters any of the problems described below the corresponding message is shown on the machine display PLEASE WAIT NEW TONER REMOVE CARD PLEASE WAIT...

Page 44: ...the connection to the PC the problem encountered during printing PC printing via USB connection PAPER JAM EXTERNAL TRAY CAUTI ON The fusion unit can reach a very high temperature during the operation...

Page 45: ...jam Paper format problem Toner empty The printing of the active document is cancelled Documents waiting to be printed however will be printed or Printing resumes from the first non printed page Pause...

Page 46: ...15 to 80 up to 32 C 89 6 F with an ambient humidity included between 15 to 54 Type Laser on normal paper Resolution 600 dpi Speed 20 ppm maximuma a Printing speed may vary depending on used operating...

Page 47: ...t Legal Letter 60 to 105 g m paper Paper format for manual printing A4 A5 Statement Legal Letter B5 exec A6 52 to 160 g m paper Slave USB 2 0 port PC connection Master USB 2 0 port Wlan connection rea...

Page 48: ...pages when printing on Letter paper with a 5 max black and white ratio The initial toner cartridge can produce up to 1 500 pages when printing on Letter paper with a 5 max black and white ratio The s...

Page 49: ...First Consult the store where you purchased your printer Additional OKI Resources Available 24 hours a day 7 days a week Visit our multilingual web site www OKIPRINTINGSOLUTIONS COM Visit MY OKIDATA...

Reviews: