


1
B
EFORE YOU GO ONSITE
MPT = All other media
Tray 1 = 10” x 7” 80# cover
Tray 2* = 8.5” x 11” 100# text
Tray 3 = 8.5” x 11” 80# cover
Tray 4 = 12” x 12” 100# text
Tray 5 = 12” x 18” 80# cover
*Tray 2 is an optional paper tray
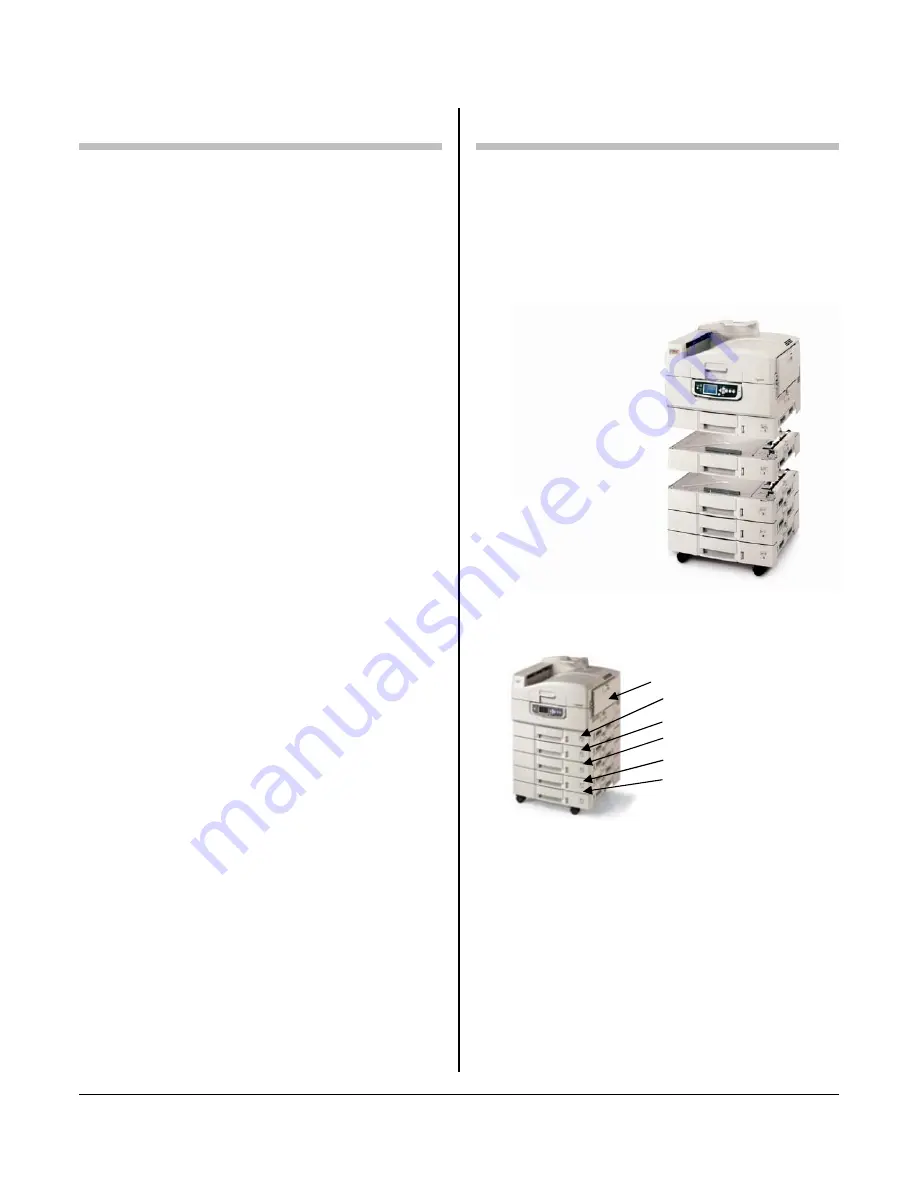
EQ-9800 Printer
2
nd
Paper Tray (optional)
High Capacity Feeder
Not Shown: Sample Media Pack
P
REINSTALL
C
HECKLIST
These instructions assume that certain
requirements have been fulfilled prior
to installation. It is recommended that
you call the customer and confirm that
the following are in place before
arriving onsite:
□
Network connection and cable are
available/tested and ready for the
installation to the printer
□
Assigned IP address or DHCP?
□
Location for the printer has been
cleared and ready to receive printer
□
PC is available and setup to install
drivers and software. Order of
preference:
•
WinXP with Photo Finale Lab
(PFLAB)
•
WinXP with Print Station
•
Any WinXP computer
*Only schedule setup, when customer has WinXP.
□
PC should be able to contact printer’s
IP address
□
Open ports between PC and printer
•
SNMP (port 161)
•
HTTP (port 80)
•
LPR (port 515)
□
ES-1000 (Eye-One) Spectrometer to
calibrate printer
□
Equipment (EQ-9800, paper trays and
sample media)
2
S
ETUP
P
RINTER
Setup the printer, install the media and
calibrate the printer. When finished,
print a configuration page to ensure
that the printer is working.
Contents:
Install the media in the following trays
locations:
T
O PRINT A CONFIGURATION PAGE
:
1.
Press E
NTER
to switch to the menu
mode.
2.
Use the
T
key to scroll down to
Print Pages. Press E
NTER
.
3.
Use the
T
key to scroll down to
Configuration. Press E
NTER
.
4.
Display will read [Printing Config]
2