


錯誤
!
使用
[
常用
]
索引標籤將
Heading
1
套用到您想要在此處顯示的文字。
錯誤
!
使用
[
常用
]
索引標籤將
Heading
2
套用到您想要在此處顯示的文字。
25
IM
Status
Icons
Status
icons
indicate
the
status
of
other
IM
users.
The
specific
icons
vary
according
to
the
IM
community
in
use
(Windows
Live
Messenger
or
ICQ).
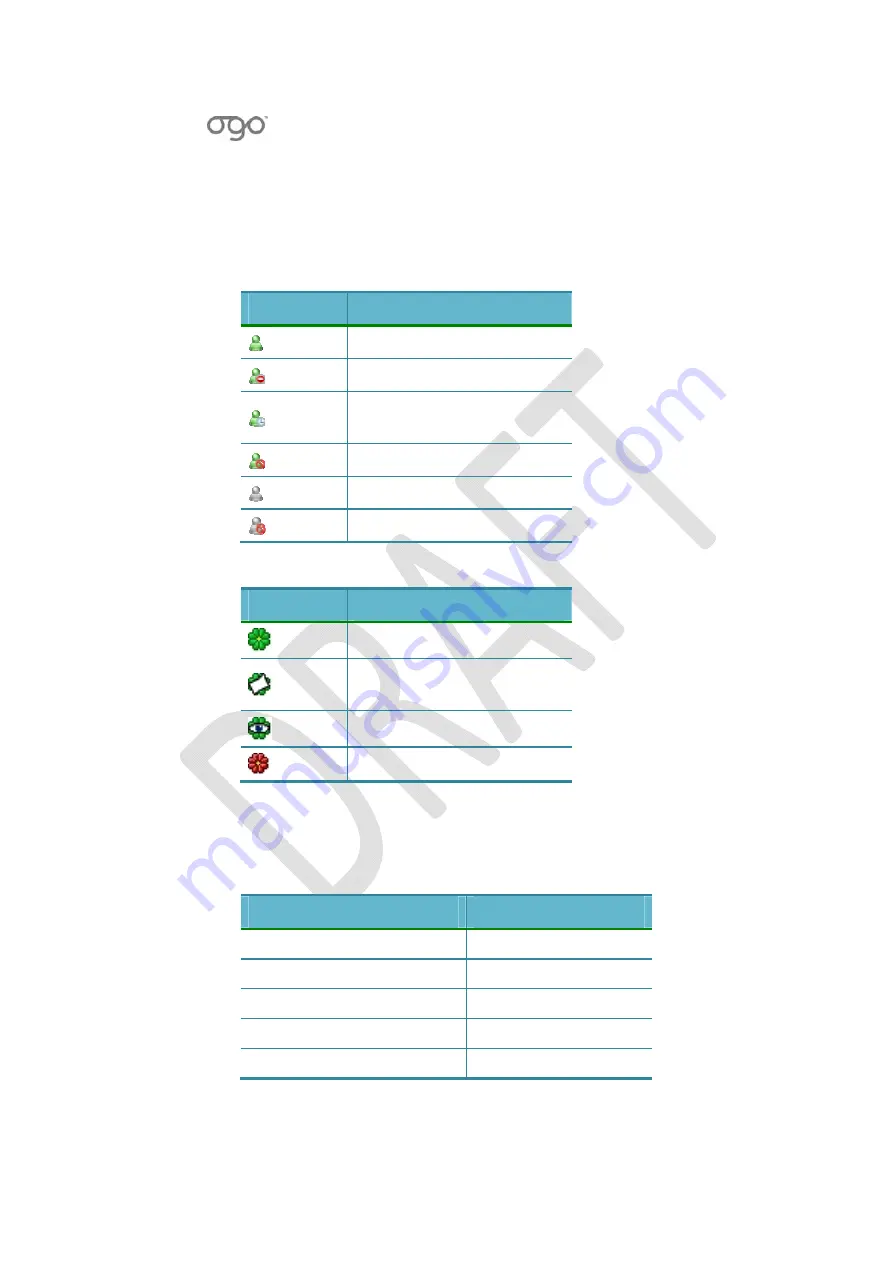
Table
6:
Windows
Live
Messenger
Status
Icons
Icon
Status
Online
Busy/On
the
Phone
Away/Out
to
Lunch/Be
Right
Back
Online
Blocked
Offline
Offline
Blocked
Table
7:
ICQ
Status
Icons
Icon
Status
Online
Away/Occupied/DND/Not
Available
Invisible
Offline
While
viewing
the
IM
contact
list
screen,
the
following
options
are
available
from
the
Options
menu:
Table
8:
IM
Options
(IM
Contact
List
Screen)
Windows
Live
Messenger
ICQ
Contact
User
Add
a
Contact
Add
a
User
My
Profile
My
Profile
My
Status
My
Status
Sign
Out
Disconnect
Summary of Contents for CC-10
Page 1: ...CC 10 User Manual DRAFT...
Page 8: ......
Page 90: ...OGO User Manual 82 Heading 2...
Page 154: ...OGO User Manual 146 Heading 2...


