background image

Power Supply 

- 18 - 

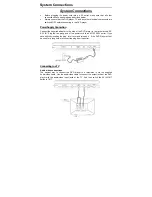
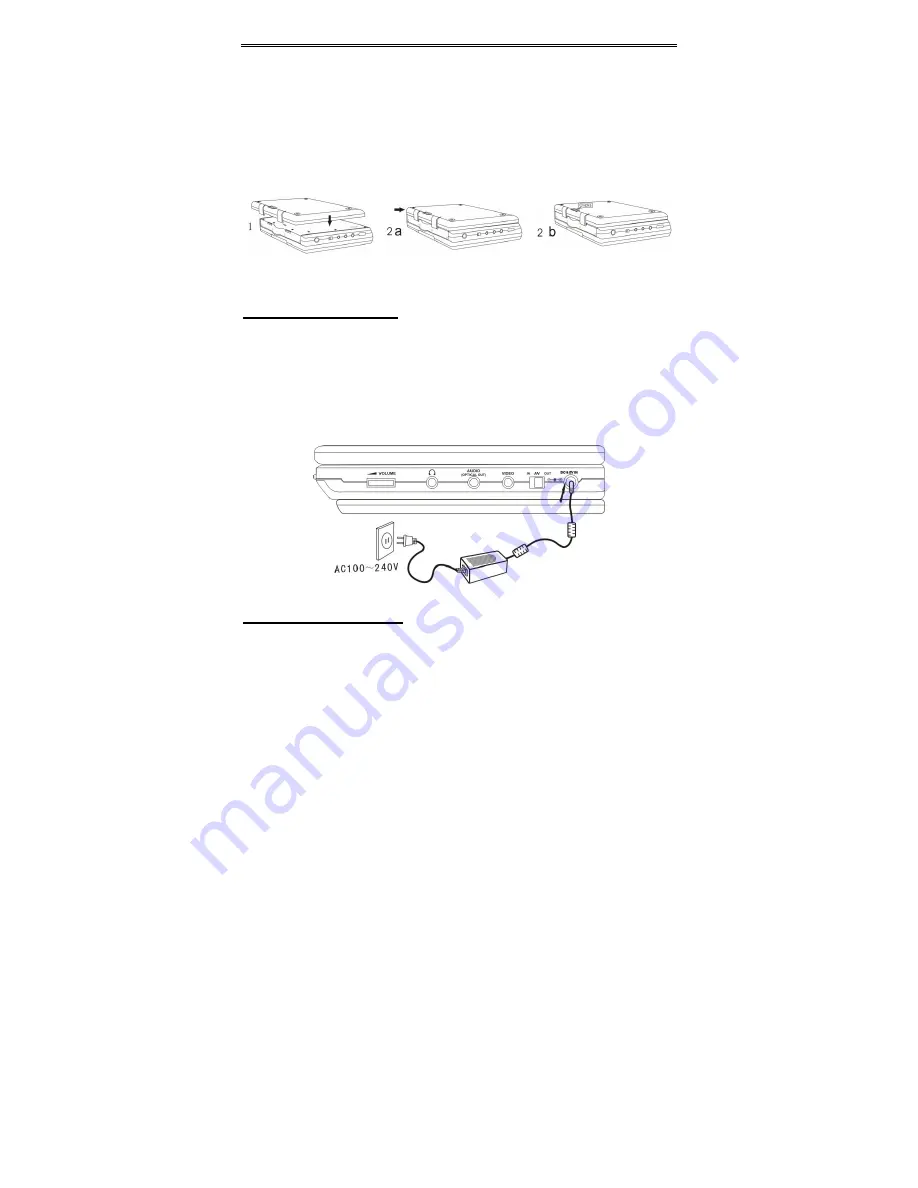
1. 

Place the DVD Player on a soft and smooth surface with the bottom of the unit 
facing UP, Direct the battery so that the battery contacts and the five plastic tabs 
are aligned with the matching contacts and tab recesses on the player. (chassis 
up see the Fig.1). 

2. 

With one hand on the player to prevent it from moving, push the battery pack on 
to the player. (see the Fig.2). 

3. 

Slide the Battery Pack until you hear it click and lock into place (see the Fig.3). 


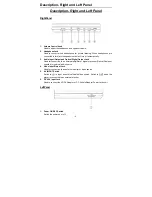
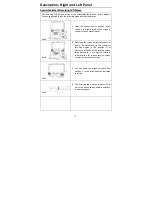
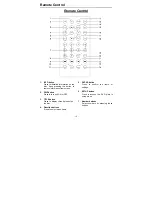
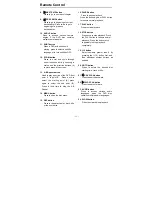
Fig.1   


      Fig.2                                            Fig.3 

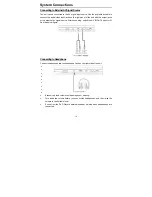
Charging the Battery Pack 

The battery pack must be attached to the DVD player to charge it using the supplied 
AC Power Adapter.     

1.  Attach the battery pack to the DVD player 

2.  Plug the supplied AC Power Adapter into the player’s power jack marked with 

”DC9.5V IN”, which is located on right side of the DVD Player. 

3.  Plug the other end of the AC Power Adapter Cord into a household AC Outlet as 

shown below. 


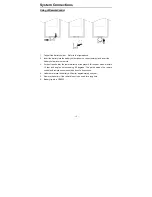
Detaching the Battery Pack 

If the DVD Player is not going to be used for long periods of time, the battery pack 
should first be fully charged and the Battery Pack should be detached.  When the 
DVD Player is turned OFF, the DVD Player is still consuming some power in 
STANDBY mode. This will eventually discharge the battery. 

Summary of Contents for PDV 751

Page 1: ...ich is equipped with a television viewer or screen that is located in the motor vehicle at any point forward of the back of the driver s seat or that is visible directly or indirectly to the driver while operating the vehicle In the interest of safety this system should never be installed where it will be visible directly or indirectly by the operator of the motor vehicle Safety Precaution For saf...

Page 2: ...he damage caused by any substitutions and modifications of the product without authorization from the manufacturer or authorized unit 4 Danger of explosion if battery is incorrectly replaced Replace only with the same or equivalent type WARNING The apparatus shall not be exposed to dripping or splashing and that no objects filled with liquids such as vases shall be placed on the apparatus The ligh...

Page 3: ...nce receptacles and the point where they exit from the apparatus 13 Only use attachments accessories specified by the manufacturer 14 Use only with the cart stand tripod bracket or table specified by the manufacturer or sold with the apparatus When a cart is used use caution when moving the cart apparatus combination to avoid injury from tip over 15 Unplug the apparatus during lightning storms or ...

Page 4: ...layer __________________________________________ 16 Care of Discs _______________________________________________________________ 16 Storage of Discs_____________________________________________________________ 16 Cleaning of Discs____________________________________________________________ 16 Power Supply________________________________________________________________ 17 Rechargeable Battery Pack...

Page 5: ...ernal monitor Headphone Output For listening to movies or music in private Switching Power Adapter Automatically adapts to voltage requirements in the U S and other countries Advanced Playing Function Compatibility Plays DVD CD CD R CD RW and PICTURE CD discs are compatible ON Screen Display ON screen displays in your choice of several different languages Viewing Performance Multi speed fast forwa...

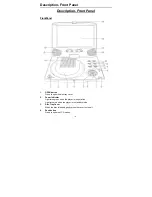
Page 6: ...on Press to open the disc tray cover 2 Power Indicator Light turns green when the player is in operation Light turns red when the player is in standby mode 3 Disc Tray Cover When the disc is loaded gently press the cover to close it 4 Push button Press to open the LCD screen ...

Page 7: ...the picture 12 Prev button Press once to skip to the beginning of the current chapter or track press twice to skip to the previous chapter or track 13 Next button Press to skip to the next chapter or track 14 Press to activate fast backward playback 15 Press to activate fast forward playback 16 Speakers Provide high quality audio output 17 BRIGHTNESS button Press to adjust the brightness level 18 ...

Page 8: ...put and Optical Digital Output Jack Used for connection to an external amplifier or digital processor Optical Cable not supplied or external audio source 4 Video Input Output Jack Used for connection to an external monitor or video source 5 AV IN OUT Switch Switch to IN to input an external Audio Video source Switch to OUT when the player is connected to an external monitor 6 DC 9 5V Input Jack Us...

Page 9: ...to the operation panel Pos B 2 Revolving the screen horizontally about its axis in the clockwise only The maximum revolving degree is 180 position C at which you will hear a click and the screen faces backward If you want to return to initial position A please revolve screen counter clockwise until it clicks Pos C 3 You can rotate the screen vertically from position C to operation panel as indicat...

Page 10: ...on from screen 2 PWR button Press to turn unit ON or OFF 3 TITLE button Press to display titles if present on the disc 4 Direction buttons Press to select menu items 5 ENTER button Press to confirm the items or settings 6 SETUP button Press to access the DVD player s setup menu 7 Number buttons Select numbers by pressing these buttons ...

Page 11: ... end point B Press a third time to stop the A B Repeat 14 MENU button Press to open the disc menu 15 REP button Press to repeat a chapter track title or the entire disc 16 PAUSE button Press to pause playback Press the button again or PLAY button to resume normal playback 17 PLAY button Press to start playback 18 STOP button Press once to stop playback Press the PLAY button to resume normal playba...

Page 12: ...DVD player in the jack marked DC 9 5V IN Plug the two prong end of the power cord to an AC100 240V outlet If you have difficulty inserting the plug turn it over and reinsert it If the DVD Player will not be used for a long time disconnect the plug from the outlet Connecting toa TV Audio video connections The easiest way to connect the DVD player to a television is via the supplied Audio Video cabl...

Page 13: ...nd into an audio input on the amplifier Please refer to the equipment s manual before connecting After connection switch the AV IN OUT button to OUT Connectingtoa DigitalAmplifier The DVD Player can be connected to an amplifier with a digital optical input The cable is not supplied but can be purchased at most home electronics retail stores After connection switch the AV IN OUT button to OUT ...

Page 14: ...f the external AV signal source After connecting switch the AV IN OUT button to IN See the below figure Connecting toHeadphone Connect headphones into the headphone Jack on the right side of the unit Excessively loud volume could damage your hearing Turn down the volume before you connect the headphones and then raise the volume to comfortable level Sound from the DVD Player s external speaker wil...

Page 15: ...lder into the remote 3 For best results aim the remote directly at the player s IR receiver window within 15 feet and angles not exceeding 60 degrees The path between the remote control and remote sensor should be free of obstructions 4 Under normal use the battery will last for approximately one year 5 Remove the battery if the remote is not to be used for a long time 6 Battery type is a CR2025 ...

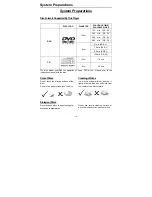
Page 16: ... maker specifies the operation of some DVD discs Please refer to the instruction manual with the disc Care of Discs Do not touch the playing surface of the disc Do not stick paper or labels on the disc Storage of Discs Do not expose discs to direct sunlight or excessive temperatures Cleaning of Discs If a disc has fingerprints or dust on it lightly wipe the disc with soft cloth from the center of ...

Page 17: ...ged when temperatures are between 32 100F Never put the battery in fire or water Do not expose the battery to high temperatures or store in hot sunny places Maintain well ventilated conditions around the product to avoid overheating Don t put the product on bed sofa or anything that may block ventilation to the product Do not short the battery terminals Do not open the battery Detach the battery a...

Page 18: ...tteryPack The battery pack must be attached to the DVD player to charge it using the supplied AC Power Adapter 1 Attach the battery pack to the DVD player 2 Plug the supplied AC Power Adapter into the player s power jack marked with DC9 5V IN which is located on right side of the DVD Player 3 Plug the other end of the AC Power Adapter Cord into a household AC Outlet as shown below Detaching the Ba...

Page 19: ...the unit 2 4 Carefully remove the Battery Pack from your player Using the Vehicle DCAdapter To use the supplied Vehicle DC Adapter disconnect the Battery pack and plug the Vehicle DC Adapter into the DVD Player s Power Jack and the other end into the Vehicle DC outlet Cigarette Lighter Socket as shown below Quick Tips Do not operate the unit while driving a vehicle Place the unit in a secure posit...

Page 20: ...ume normal playback Resume Playback During playback Press the STOP button on the remote control or the button on the front panel once The DVD Player will memorize the location where playback of the disc was stopped Press the PLAY button on the remote control or the button on the front panel to resume normal playback The DVD Player will resume the playback of the disc from the location where it was...

Page 21: ...u do this by marking the start and the end of the section using the A B button During playback press the A B button on the remote control at the beginning of the segment point A you wish to play repeatedly Press the A B button again to mark the end of the segment point B The DVD player will automatically return to point A and repeat playback of the selected segment A B To resume normal playback pr...

Page 22: ...to the disc tray it will start playback automatically Forward and Reverse Scan Press the and buttons to Forward or Reverse scan a disc during playback Previous and Next Press the PREV button once to return to the currently playing Track Press the PREV button twice and playback will start from the previous Track Press the NEXT button on the remote control and playback of the disc will start from th...

Page 23: ... the direction buttons to select the picture you wish to view and then press the ENTER button to confirm and start playback During playback of the disc use the and buttons to select the next picture or previous picture Picture Zoom During playback press the ZOOM button to start the zooming function then use the and button to cycle through the zooming function During zooming status use the directio...

Page 24: ...will be highlighted Press the ENTER button for confirmation Press the left direction button to enter the other setup menu s General Setup TV Display Select Normal PS or Normal LB when a 4 3 TV is connected Select Wide when a 16 9 when using the screen on the unit or when a wide screen TV is connected to the video output Angle Mark If the scene was shot from multiple angles you can change the camer...

Page 25: ...NONO Select Stereo then the player will output a stereo signal DolbyDigital Setup Dual Mono The function is used to select from stereo left only right only and mixed mono Dynamic Use this item to adjust linear dynamic compression rate to get different signal compression effects Video Setup Sharpness Use this setting to adjust the sharpness level Brightness Use this setting to adjust the brightness...

Page 26: ...button Password Parental control features are password protected This setting allows you to use number buttons to input any password Note The Default Password is 1369 This password is always effective even after you have selected your own password and changed it To avoid the possibility of others using the default password to set the parental level and change the password you can record this defau...

Page 27: ...n correct video mode Make sure your system connection is correct Poor AV performance Is your disc dirty or warped Clean or replace it Cannot continue to play and play a section repeatedly Make sure the player is not in A B repeat status Press A B button to cancel A B repeat status Is your disc dirty or warped Clean or replace it The remote control does not work Make sure there is no obstruction be...

Page 28: ... 0 2 1 0 Load 10KΩ Audio Out Digital Audio Out Out Level 0 5VP P Load 75Ω Video Out Video Out Output Level 1VP P 0 2 Load 75Ω Unbalanced Negative Power AC100 240V 50 60Hz Power Consumption 25W Dimension w o battery 196mm 152mm 48 33 L W H Weight w o battery About 1 25 0 95 kg Design And Specifications Are Subject To Change Without Notice Manufactured under license from Dolby Laboratories Dolby and...

Reviews: