1)
Make sure the unit has power .
2)
Press the power
button
“OFF”.
3)
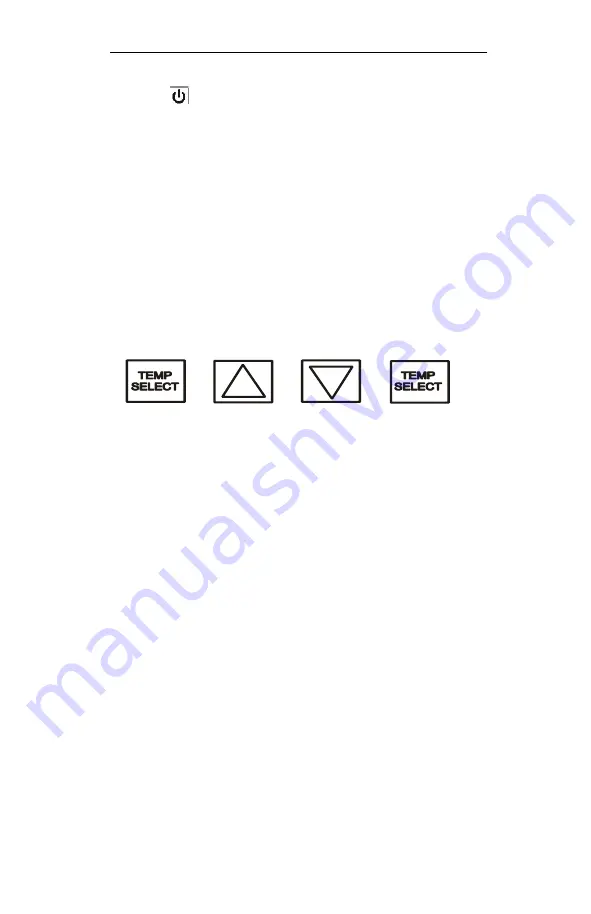
Press the following buttons in sequence
“
S-U-D-
S”
(
S
elect
—
U
p arrow
—
D
own arrow
—
S
elect)
4)
The display will begin flashing P1 and a number.
If there is no display, repeat the sequence,
making sure the unit has power, but is turned OFF.
5)
To adjust any program feature, press the
ARROW UP
▲
or
ARROW DOWN
▼
button
until the desired value is displayed.
6)
Use the “
MODE”
button to scroll through the programmable settings P1 through P16.
7)
If no buttons are pressed, the display will then return to the “
OFF
” position after
about 50 seconds.
PROGRAM
SETTINGS
P1
—
High Fan Speed Limit Setting: 56 - 85
P2
—
Low Fan Speed Limit Setting: 30 - 55
P4
—
Temperature Sensor Calibration: +/- 10°
P10
—
Temperature Display: °F or °C
P13
—
Supply Fan Operation: Cycling or Continuous
P1, P2
- To adjust fan speed settings,
P1
represents the high fan speed parameter, while
P2 represents the low fan speed parameter. When using nozzle kits, discharge duct
adapters and evaporator plenums, setting P1 to 85 will help to avoid freeze ups.
P4
- Adjust the
P4
setting to match the actual INSIDE room temperature, if needed.
P10
- Use this parameter to display temperatures in the desired units.
P13
- To cycle the evaporator fan with the compressor, access code
P-13
. Press the up or
down button to switch to “
CYC
”, which means cycle the fan with the compressor. The
factory default setting is “
CON
”, which means continuous fan operation.
8)
Press
POWER
—
you should see an alphanumeric code.
Press
POWER
and the unit will start at the new settings
13
CONTROLLER PROGRAMMING MENU
All manuals and user guides at all-guides.com


