


2-5
2.5 Installing the driver
NOTE
• Before installing the driver, confirm that the TCP/IP protocol has been
installed on your computer. If not, install it according to your Windows
manual.
• You need to log on as an administrator to install the driver.
1
Insert the supplied CD into your CD-ROM drive. The driver installation
window will appear automatically. If not, run the “setup.exe” located on
the root directory of the supplied CD-ROM.
NOTE
For Windows 7 / Vista / Server 2008 users:
1. If the “AutoPlay” dialog box appears, click [Run Setup.exe].
2. When the “User Account Control” dialog box appears, enter an
administrator password or provide confirmation.
2
Click [Next].
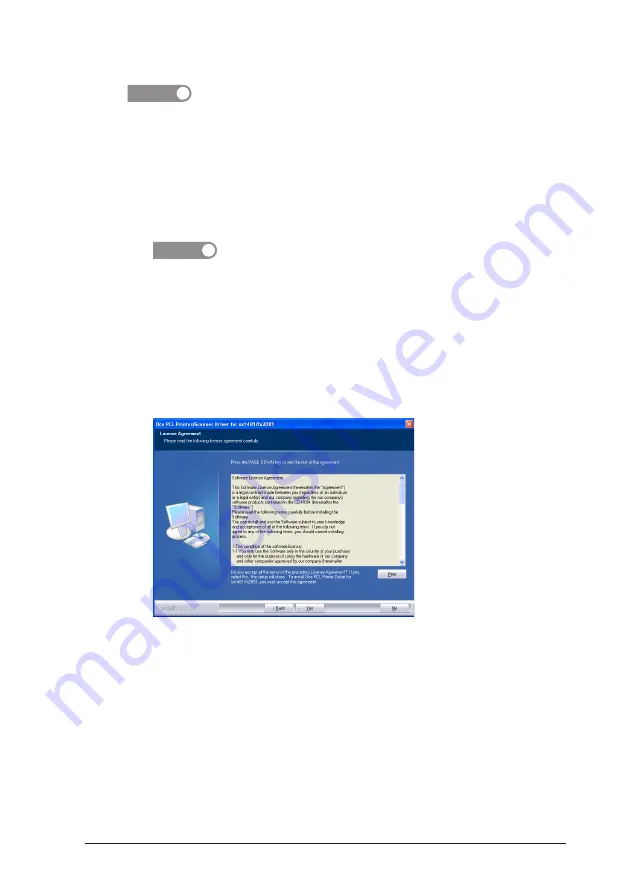
3
The software License Agreement appears.
After reading and accepting the contents, click [Yes].
Otherwise, click [No] to cancel the installation.
4
Select “fx2081”, then click [Next].
5
Select “Network”, then click [Next].
6
Select the components you want to install, then click [Next].
Summary of Contents for fx2081
Page 1: ......
Page 25: ...1 20 This page intentionally left blank...
Page 35: ...2 10 2 7 Updating the driver Refer to page 1 17 2 8 Uninstalling the driver Refer to page 1 18...
Page 65: ...3 30 This page intentionally left blank...
Page 75: ...6 6 This page intentionally left blank 6 6...
Page 79: ...7 4 This page intentionally left blank...
Page 80: ...2010...


