DOC-00500 Rev. F
5–19
Eden500V/350V/350 User Guide
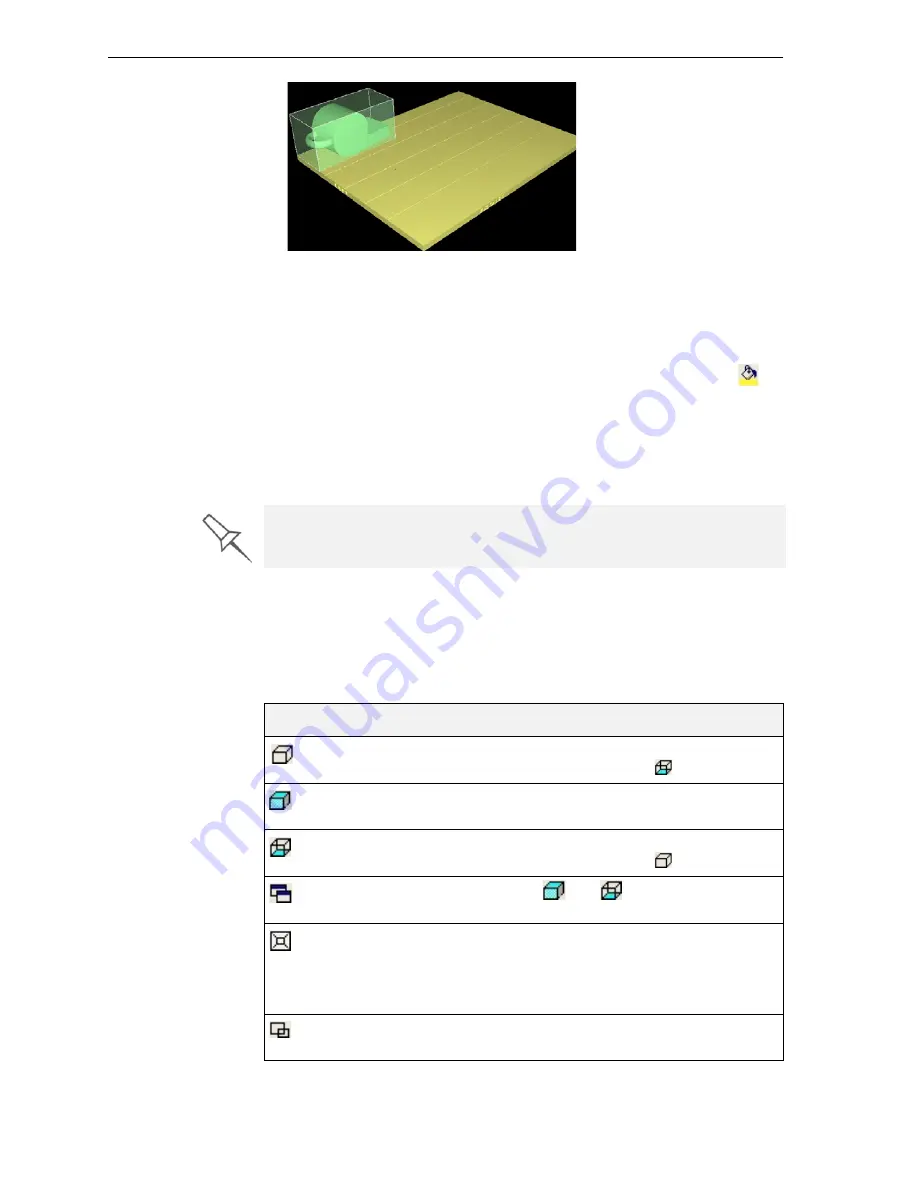
Figure 5-25: Model displayed with thickening box
To change the display color of an object:
1. Select
the
object.
Its
color
changes
to
blue,
indicating
that
the
object
has
been
selected.
2. From
the
Object
menu,
select
Fill Color
or
click
the
Fill
Color
icon
.
3. Select
a
color
from
the
color
palette
and
click
OK
.
When
the
object
is
de
‐
selected,
it
appears
in
the
new
color.
Note:
You can repeat this procedure for other objects, so that different
objects on the build tray are displayed in different colors.
Tray Viewing
Options
The
Objet
Studio
toolbars
contain
several
icons
for
changing
the
appearance
of
the
display
screen,
enabling
you
to
view
the
tray
and
objects
in
different
magnifications
and
from
various
perspectives.
Note:
You must display the relevant toolbar(s) to access many of the icons
described below (see ).
Objet Studio displays objects to be produced with matte and glossy finishes
in different colors. See “Surface Finish” on page 17 and “Object Color
Codes” on page 22
Icon
Tool Tip Name
Purpose
Zoom
Full
Reverts
to
normal
view
after
using
various
zoom
options.
(The
same
as
.)
Zoom
Object
Fills
the
viewing
pane
with
the
selected
object(s).
Zoom
Work
Area
Reverts
to
normal
view
after
using
various
zoom
options.
(The
same
as
.)
All
Windows
If
enabled,
and
effect
all
viewing
panes.
Perspective/Parallel
When
selected,
the
tray
is
displayed
with
depth
perspective—closer
objects
appear
bigger.
When
not
selected,
the
tray
is
displayed
in
two
dimensions—identical
objects
appear
the
same
size,
regardless
of
their
position
on
the
screen.
Zoom
By
Rectangle
Fills
the
active
viewing
pane
with
an
area
of
the
build
tray
after
you
select
it
with
the
mouse.


