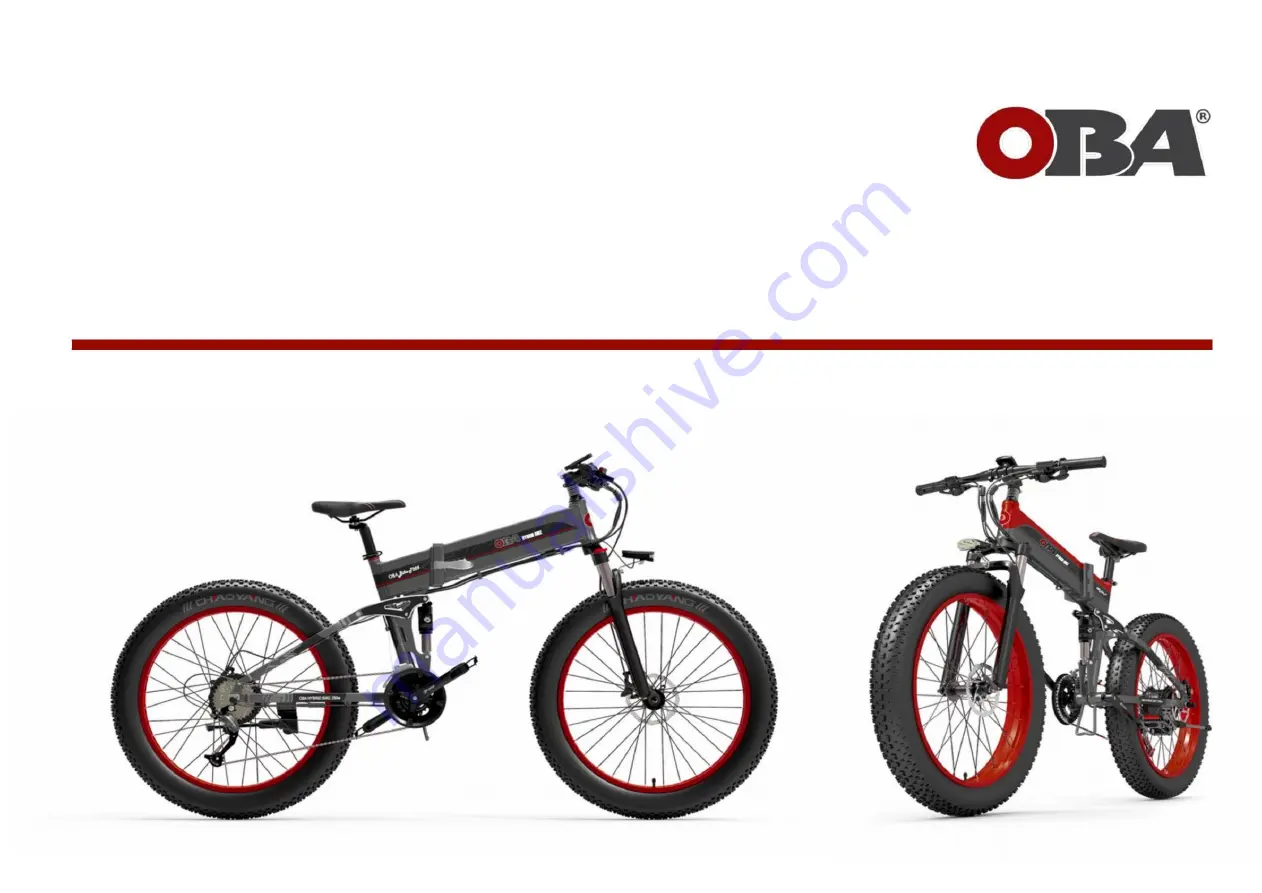
OBA-BikeT1OBA-BikeT025
USER MANUAL
WWW.OBA.SRL
The products are subject to change without notice.
© OBA Srl VIA LEPANTO, 132
VAT and Fiscal Code: 07750391216.
Machine Translated by Google
Page 1: ...OBA BikeT1 OBA BikeT025 USER MANUAL WWW OBA SRL The products are subject to change without notice OBA Srl VIA LEPANTO 132 VAT and Fiscal Code 07750391216 Machine Translated by Google...
Page 2: ...super light aluminum alloy handlebar and can support up to 200 kg of weight The 48V and 17 5AH and 15 5AH lithium battery is combined with a 48V 2A battery charger which allows a charging time of onl...
Page 3: ...econds to activate low speed cruise function approximately 4 MPH in PAS mode 0 LEFT HANDLEBAR Rear brake lever behind handlebar grip in this photo The rear brake is activated by pressing the left brak...
Page 4: ...hind the handlebar grip in this photo d AND RIGHT HANDLEBAR A Gears by pressing the button while pedalling it is possible to increase the gears from 1 to 21 The gearbox is labeled with the correspondi...
Page 5: ...Assembly Machine Translated by Google...
Page 6: ...1 Unpack your electric OBA 3 Remove the packing materials REMOVE PACKAGING 2 Tools needed 4 Remove the front wheel Machine Translated by Google...
Page 7: ...the cover Secure the front shock absorber 6 Adjust the handlebar to your needs then make sure all bolts are tightened securely Loosen the screws A B of the sides of the upright Fit the handlebar to th...
Page 8: ...Adjust the screw pressure The protective rod can be removed and thrown away 2 Turn the bike upside down Insert the front wheel Remove the fork protector 1 Remove the bolt from the headlights then adju...
Page 9: ...L mount counterclockwise to the crank Check the left and right pedals 5 Secure the seat clamp Adjust the seatpost to your height making sure it is within the safe line The right side is mounted on the...
Page 10: ...st be fully retracted pull the key A Self locking safety lever 3 1 Push the lever forward Release the lever and fold the bike in half You can remove the battery CLOSING THE CHASSIS AND REMOVING THE BA...
Page 11: ...Direct recharge Battery recharge The battery can be charged without removing it from the bike or alternatively it can be removed and charged in another location Machine Translated by Google...
Page 12: ...the red LED of the charger is on The green LED indicates that the battery is fully charged The red LED indicates that the battery is being charged The charger will charge the full battery within 3 6...
Page 13: ...Machine Translated by Google...
Page 14: ...only to slow down or stop at high speeds can result in the rider being kicked off the saddle and forward on the handlebars It is best to apply even pressure to both brake levers when slowing or stoppi...
Page 15: ...l Quick Fittings to make sure they haven t become loose or disconnected Simply unroll the black coiled wire cover until the quick release fitting is visible disconnect and reconnect the fittings TROUB...
Page 16: ...t least 6 hours after the first 3 uses If the bicycle is not used for a long time it is necessary to fully charge and remove the battery When not in use keep the battery off and recharge it every 2 mo...