


NXP Semiconductors
UM11038
OM27642 Smart Lock KIT
UM11038
All information provided in this document is subject to legal disclaimers.
© NXP B.V. 2018. All rights reserved.
User manual
COMPANY PUBLIC
Rev. 1.1 — 11 October 2018
407611
28 of 38
13.4 Flash new firmware on QN
13.4.1 Flash with LPC Link 2
•
Install ARM Keil MDK
•
Install the QN9020QBlue Software tools
•
Run the QN9020DevDBforIDE tool to install the Keil QN Device Database
•
Open the QN Project in Keil via Project->Open Project
•
Build the Project via Project
Build Target
•
Connect the LPC Link2 and the Smartlock
QN
SWD Pins with the flashing cable to
the correct pins as shown in Fig 18.
•
Make sure the JP2 jumper on the LPC-Link 2 is set and the Battery is connected to
the Smartlock.
•
Open LPCXpresse IDE and click the flash icon to ensure that the LPC-Link2 is
operating in the correct mode.
•
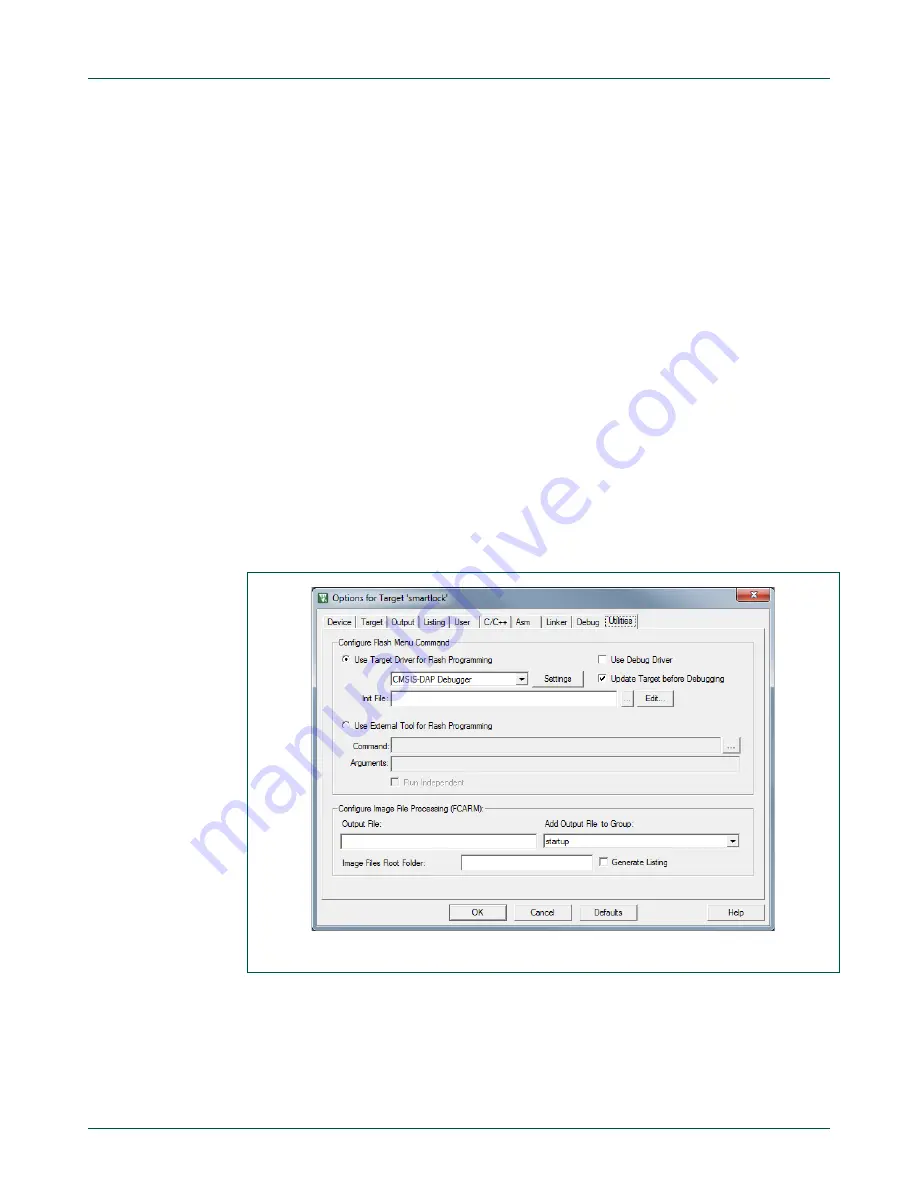
Now switch back to Keil and click Project->Options for Target ‘smartlock’. A new
Window should open.
•
Under Device the previous installed NXP Bluetooth Low Energy CLU Database as
shown in with the flashing cable to the correct pins as shown in Fig 19 has to be
selected.
Fig 19. Option for Target in Keil
In the Debug settings under “Use” select CMSIS-DAP Debugger and click on Settings.