


Jumper and Connector Settings
Page 22
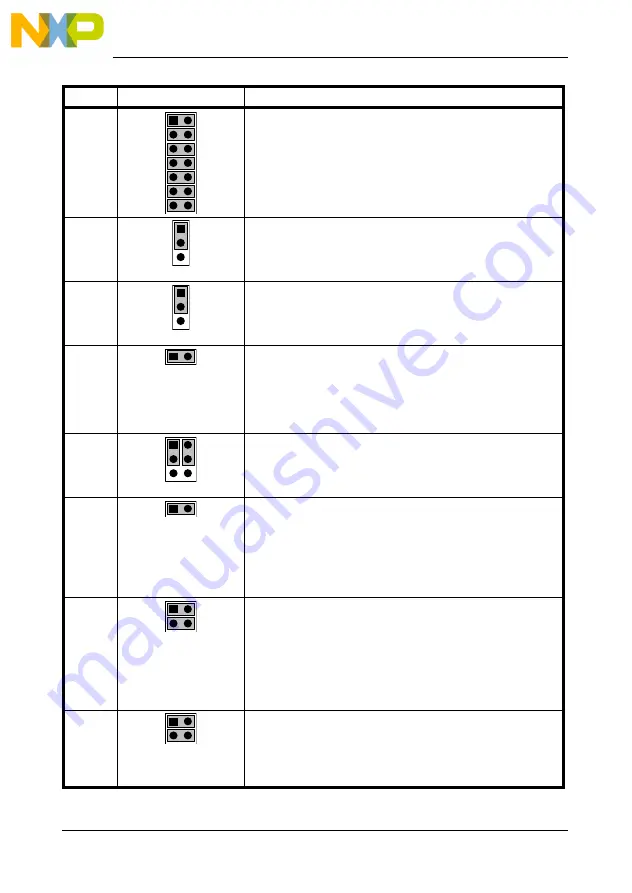
Name Reference
Description/Pinout
J306
1
RS-232_1 ENABLE
All Installed:
Enables the RS-232_1 transceiver
(default)
Not Installed:
Disables the RS-232_1 transceiver
J307
1
2
3
DTR_1 CONTROL
1-2 (“NORMAL”):
Normal DTR mode (default)
2-3 (“LOOP BACK”): Loop back mode
J308
1
2
3
RTS_1 CONTROL
1-2 (“NORMAL”):
Normal RTS mode (default)
2-3 (“LOOP BACK”): Loop back mode
J404
LIN ENABLE
Installed: Enables
the
LIN transceiver. Requires
that the software properly drives the
PTE4 pin (default)
Not Installed:
Puts LIN transceiver in sleep mode
J501
2
4
1
3
6
5
CAN HIGH-SPEED/SINGLE-WIRE SELECTION
1-3, 2-4 (“HS”):
High-speed CAN mode (default)
3-5, 4-6 (“SW”):
Single-wire CAN mode
J502
HIGH-SPEED CAN STANDBY
Installed:
HS CAN transceiver’s STB line
connected to the microcontroller.
Requires that the software properly
drives the PTE5 pin (default)
Not Installed:
Puts HS CAN transceiver in standby mode
J503
1
SINGLE-WIRE CAN SLEEP
All Installed:
SW CAN transceiver’s MODE0 and
MODE1 lines connected to the
microcontroller. Requires that the
software properly drives the PTE2 and
PTE3 pins (default)
Not Installed:
Puts SW CAN transceiver in sleep mode
J602
RESET
BKGD
1
USB TO BDM ENABLE
All installed:
The USB to BDM interface is enabled
(default)
Not Installed:
The USB to BDM interface is disabled