


OPERATING INSTRUCTIONS
This section explains how to power the charger, load battery packs onto the charger, and charge your
camcorder/digital camera battery.
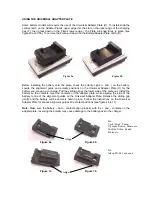
POWER SUPPLY
Connect the AC Adapter (M) barrel plug to the Power Input Jack (E). Then plug the AC Adapter into any
standard household outlet (see Figure 2a). The red Power Indicator (C) will turn on.
To use in a car, connect the 12V DC Car cord (L) barrel plug to the Power Input Jack (E). Insert the 12V
DC Car Cord cigarette lighter plug into the cigarette socket of the vehicle (see figure 2b). The red Power
Indicator (C) will turn on.
Figure 2a
Figure 2b
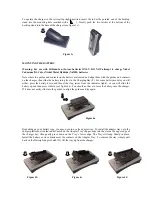
CHANGING OPERATING POSITION OF THE CHARGER
A Detachable Desktop Stand (G) is included with the charger. This allows you to use your charger in a
horizontal (flat) position, or a vertical (up-right) position.
To operate the charger in a horizontal (flat) position, remove the desktop stand from base of the charger by
gently pressing on the bottom side of the desktop stand, and lifting it away from the charger (see figure 3a).
Figure 3a
To operate the charger in a tilted position, insert the tab at the pointed end of the desktop stand
into the mounting hole on the back of the charger (marked with a ). Gently push the two latches at the
bottom of the desktop stand into the base of the charger (see figure 3b).
Figure 3b