26
DEMI grow stroller instructions
27
DEMI grow stroller instructions
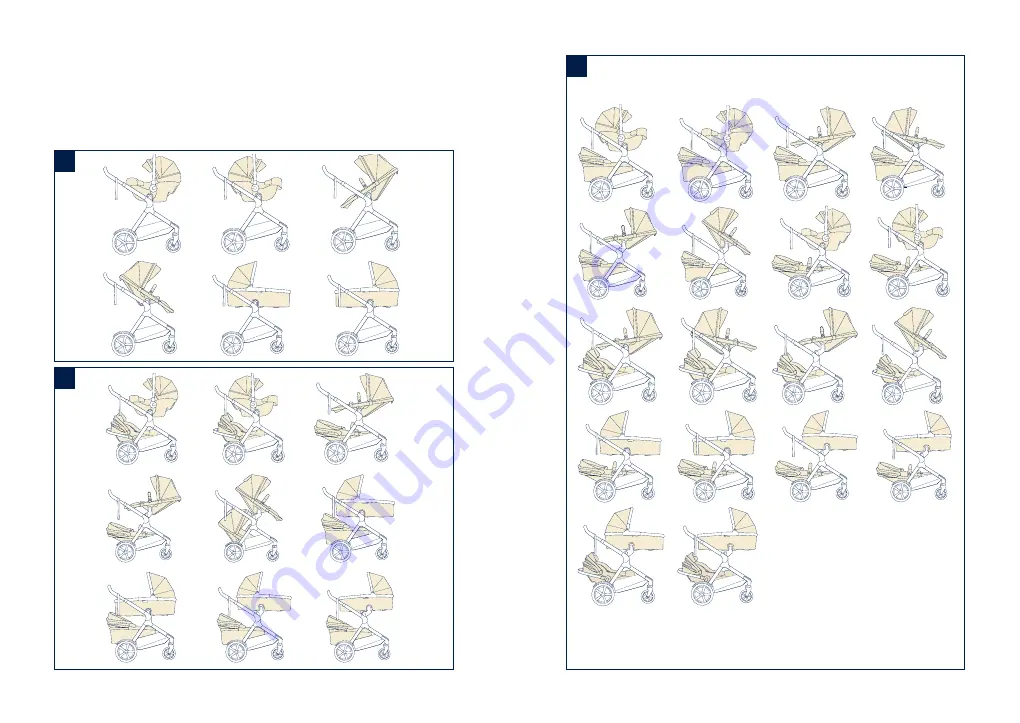
Seating Options
The DEMI grow stroller frame can be used with the KLIK plus infant
carrier (using included adaptors), bassinet and stroller/sibling seat
in the following combinations. Single
(1)
, twin
(2)
, double
(3)
1
2
3


