


2
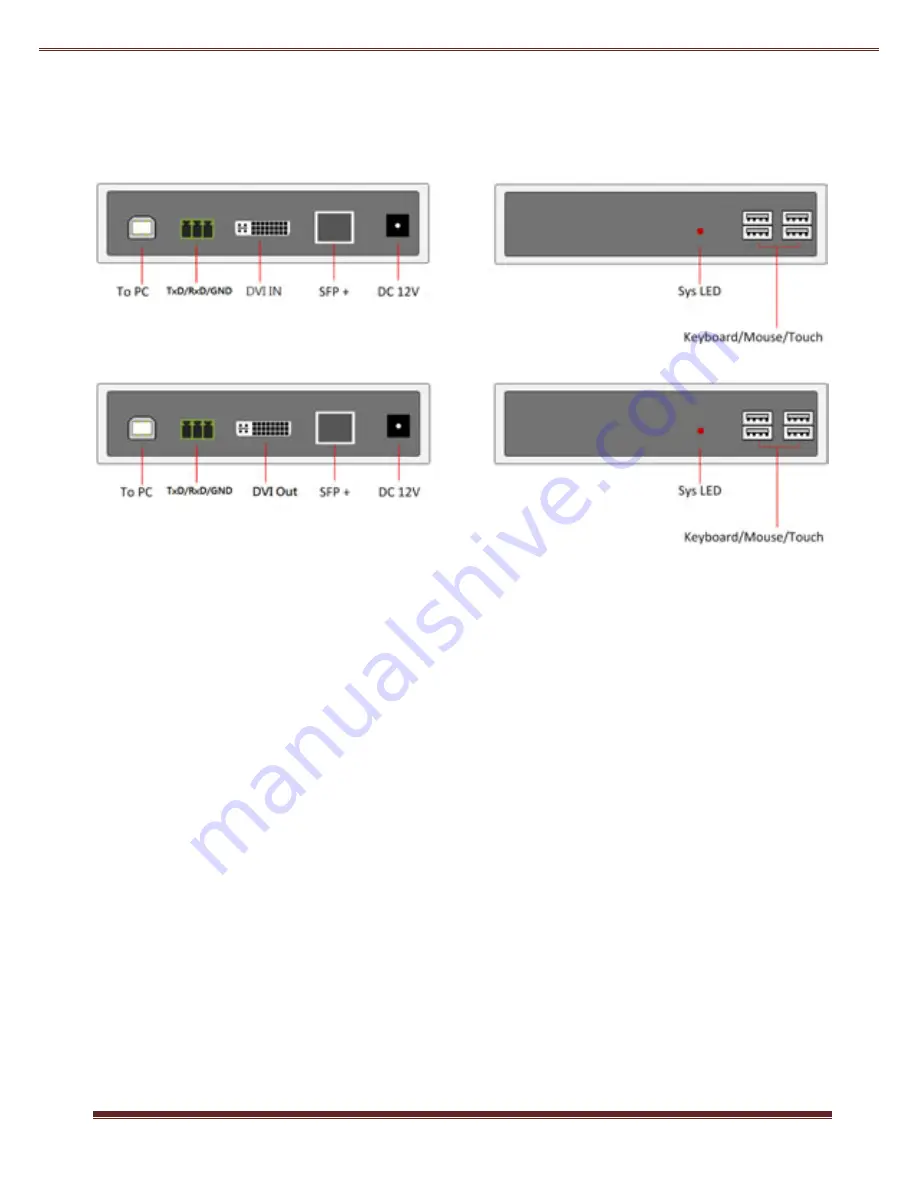
Front/Rear Panel and Connectors
Transmitter
Receiver
System Installation
1.
Attach RX [DVI Out] to monitor by DVI-to-DVI or DVI-to-HDMI cable.
2.
Attach keyboard/mouse/Touch screen to the RX USB-A for remote
console.
3.
Attach PC’s USB to the RX’s USB-B port if there is a local RX PC.
4.
Attach TX’s [DVI In] to PC DVI/HDMI by a DVI-to-DVI/HDMI cable.
5.
Use a USB B-to-A cable to attach TX’s USB-B to PC.
6.
Attach keyboard/mouse to the TX’s USB-A if you need TX local console.
7.
Use a Dual Core LC connector SM Fiber cable to directly connect [SFP+]
port of TX to RX.
8.
Power ON TX and RX. The TX’s PC DVI/HDMI will be displayed on the
RX’s monitor. The RX’s monitor EDID will be available on the TX’s PC.
9.
The USB keyboard/mouse/Touch at the remote console should be able
to control the TX’s PC.
Note: This product can support HDMI source and monitor by using
DVI-to-HDMI cable for HDMI
resolution up to 3840 x 2160 @ 30Hz.


