


NVIP-2DN7020SD-2P, NVIP-2DN7030SD-2P User’s manual (short form) ver.1.0
All rights reserved © AAT Holding sp. z o.o.
11
2.2. Mounting the camera
In order to obtain declared degree of protection please seal the mounting place additionally with
appropriate sealing mass, paying special attention to mounting holes.
CAUTION!
Due to safety reasons, maximum load capacity of surface shouldn’t be less than 25kg.
In order to successfully mount a camera, please follow the procedure below:
Put the bracket to the wall in a desired mounting place (with cable hole). Taking the bracket’s
base screw holes as a pattern, mark future drilling holes for screws using a punch.
Drill 4 holes in accordance with previously done markings and base hole placement.
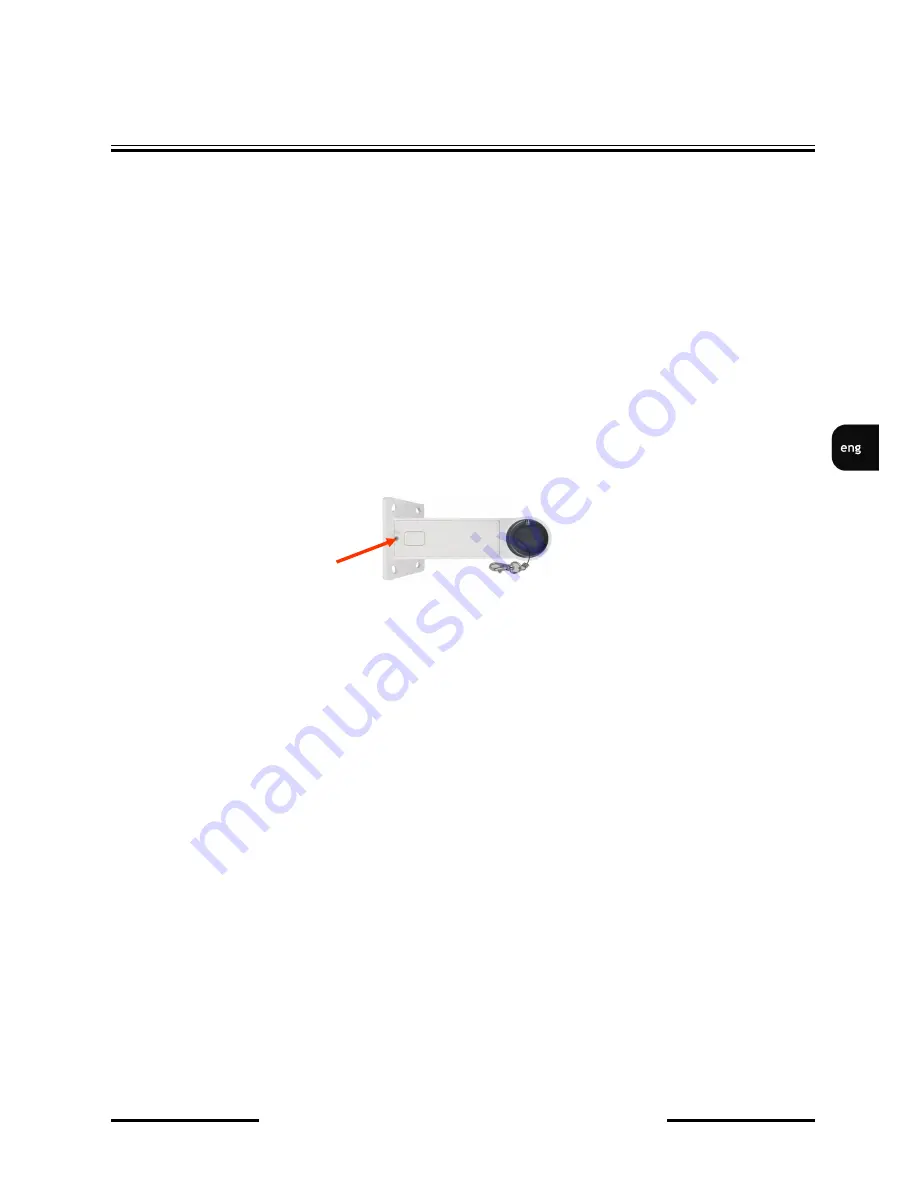
Remove the plastic cover located at the bottom of the bracket.
Put required cables through the bracket’s arm (or through the hole located in the plastic cover).
Mount the bracket, paying special attention to mounting place and all mounting holes and
additionally sealing them with appropriate sealing mass if necessary.
Attach the rubber gasket to the bracket. In order to more easily pressing the rubber gasket
grease it with use the lubricant (rubber gasket and lubricant in set included).
Attach the camera mounting base to the bracket by turning it to the left and tighten a suitable
screw in set included (see figure on next page).
Connect required signal and power supply cables.
CAUTION!
Connection the power cable to the camera must be performed after disconnecting the power
source. Power can be on only after the camera is fully mounted and the protective elements of
camera module are dismounted.
Using safety cable, attach the dome to the bracket.
Attach the camera to the mounting base by turning it to the right and tighten a suitable screw
in set included (see figure on next page).
Put the excess cable back into the bracket.
Place where the cables getting out of the bracket must be sealed with a sponge seal in set
included.
Attach the plastic cover located at the bottom of the bracket.
START-UP AND INITIAL CAMERA CONFIGURATION


