NovaLynx Corporation
255-110x-B
Page 6
March 2021
The 255-110x-B Evaporation Gauge Reader uses very little power, and can typically run for a full year
on the two replaceable AAA batteries. The display remains on even when not in use, so it is ready to
take readings as soon as it is connected to the evaporation gauge.
1.
Use a small screwdriver to loosen each screw on the terminal block.
2.
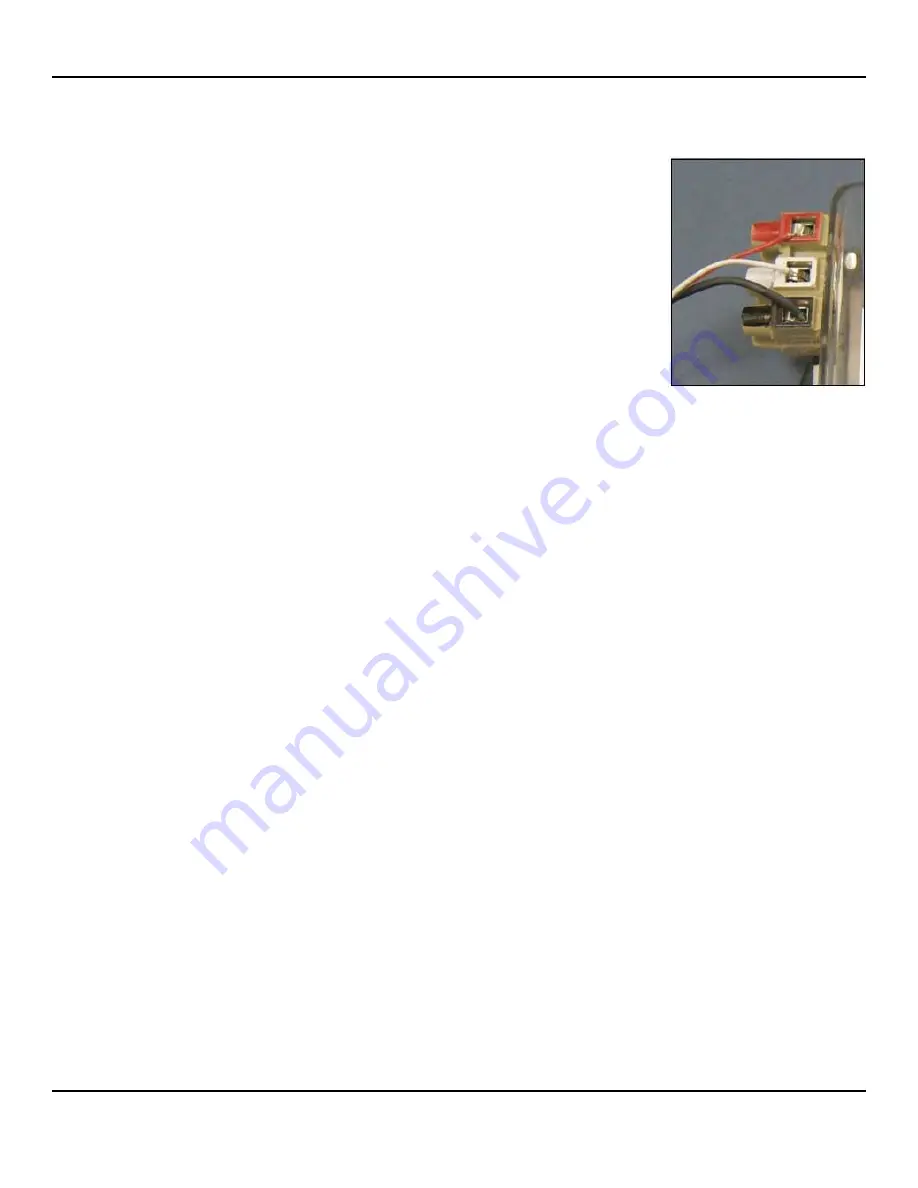
Connect the black (ground) and white (signal) wires to the color-coded
terminals.
3.
Connect the red (+Vreg) wire last.
4.
The display will update with the water level reading within 15 seconds.
5.
After recording the water level reading, disconnect the red wire first,
to avoid possible damage to the reader.
NOTE:
when not connected to the evaporation gauge the readings on the
display will fluctuate randomly. This is normal.
Connection Terminals
5
APPLICATION: EVAPORATION MONITORING
Evaporation is calculated as the difference in water level readings taken at regular intervals, typically
every 24 hours. To begin, the evaporation pan and analog output evaporation gauge must be set up
and filled with water. The installation and operation of the NovaLynx 255-100 Evaporation Gauge and
NovaLynx 255-200 Evaporation Pan are discussed in their respective user manuals, available at
www.novalynx.com
Each day (or other regular interval), connect the reader to the evaporation gauge following the
instructions (Section 4). Record the measurement in your log.
Note:
If the water in the pan is not still
(possibly due to wind), take two or more readings, calculate the average and record.
Observe the water level in the evaporation pan. The level should be maintained between 2 to 3 inches
below the rim of the evaporation pan. Avoid letting the level fall more than 5 inches.
If it is necessary to re-fill the pan, be sure you have recorded your daily reading first, then refill
the pan.
If a significant amount of precipitation has fallen it may be necessary to remove some water
from the pan. Be sure you have recorded your daily reading first, then remove excess water
from the pan.
After adjusting the water level, wait until the water is still and then take a new reading. Record
the new level along with a note that the evaporation pan was refilled or water was removed.
The evaporation gauge reader may be left attached to the evaporation gauge or it may be
disconnected and used at another evaporation monitoring site. If the reader is to be left connected,
provide a shelter that will keep the sun and rain off of the reader, otherwise moisture on the terminals
could cause corrosion, and strong sunlight could overheat the display.


