Page
25
/
48
be overloaded.
(4). If the clutch slips or cannot engage completely or the steering lags, stop the bulldozer and address the
concern.
(5). While driving, do not put your foot on the clutch pedal or try to control the speed of the bulldozer using
the clutch.
Parking the Bulldozer
1.
To
decrease speed, adjust the throttle control.
2.
To stop the bulldozer, push the clutch pedal in as you step on the brake pedal. Put the gearshift handle
into the neutral position.
3.
Disengage the clutch and the brake pedal. Let the engine run at idle speed.
4.
Keep the engine running for a while until the engine oil and coolant’s temperature slowly cool. Do not
stop the engine when temperatures are high.
5.
Decrease the fuel supply using the throttle control.
6.
Remove the dozer’s warm-up key and start-up switch when leaving it for extended periods of time.
7.
If the bulldozer is to be left for long periods of time where the environment’s temperature is less than 0°
C, and antifreeze is not used, slowly decrease the coolant’s temperature to 122° F - 131° F (50-55° C)
when the bulldozer is running, and then turn on the draining plug tap. Cover the radiator mouth to drain
out the coolant. It’s very important to protect the radiator and the engine’s body from the damages of
frozen coolant.
8.
Turn off the water-trap filter
tap if you will not be using the bulldozer for an extended period of time.
Working Operation and Functional
Blade and Hitch System Operation
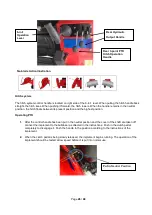
The Six-Action Blade
The six-action blade is operated hydraulically and controlled by a 6-in-1 lever located on the right side of the
operator’s seat. When pulling it back straight, the blade rises; when pushing it forward to the 1
st
position, the
blade lowers; when pushing it to the end position, the blade floats; when the handle remains at the natural
position, the blade holds.
When pushing the 6-in-1 lever aside to the left, the blade tilts left; when pushing it aside to the right, the blade
tilts right.
When turning the lever left, the blade angles left; when turning it to the right, the blade angles right.
Summary of Contents for 40XTD
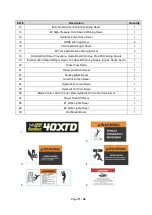
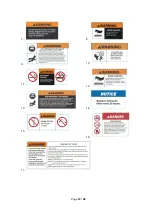
Page 12: ...Page 12 48 7 8 9 10 11 12 13 14 15 16 17...
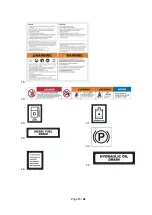
Page 13: ...Page 13 48 18 19 20 21 22 23 24 25...
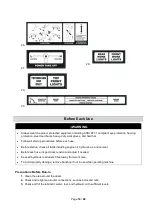
Page 43: ...43 48 Fig 11 Fig 12...

