4
•
Clamp workpiece or brace against the left side of the column to prevent rotation. If it is too short or the table
is tilted, clamp solidIy to the table and use the fence provided.
•
If the workpiece overhangs the table such that it will fall or tip if not held, clamp it to the table. Provide
auxiliary support.
•
Make sure all clamps and locks are firmly tightened before drilling.
•
Securely lock the head and table support to the column, and the table to the table support before operating
the drill press.
•
Never turn your drill press on before clearing the table of all objects. (tools, scraps of wood, etc.)
•
Before starting the operation, jog the motor switch to make sure the drill bit does not wobble or vibrate.
•
Let the spindle reach full speed before starting to drill. If your drill press makes an unfamiliar noise or if it
vibrates excessively, stop immediately, turn the drill press off and unplug. Do not restart until the problem
is corrected.
•
Do not perform layout assembly or set up work on the table while the drill press is in operation.
•
Make sure the spindle has come to a complete stop before touching the workpiece.
•
To avoid injury from accidental starting, always turn the switch "OFF" and unplug the drill press before
installing or removing any accessory or attachment or making any adjustment.
•
Keep guards in place and in working order.
•
Use onIy self-ejecting type chuck key as provided with the drill press.
•
Do not try to drill material too small to be securely held.
•
Use the drill press in a well-lit area and on a level surface clean and smooth enough to reduce the risk of
trips, slips, or falls. Use it where neither the operator nor a casual observer is forced to stand in line with a
potential kickback.
• Never leave tool running unattended.
WARNING!
For your own safety, do not attemp to operate your drill press until it is completely assembled
and installed according to the instructions and until your have read and understand the following:
1. General Safety Instructions for Power Tools
2. Getting to Know Your Drill Press
3. Basic Drill Press Operation
4. Adjustments
5. Maintenance
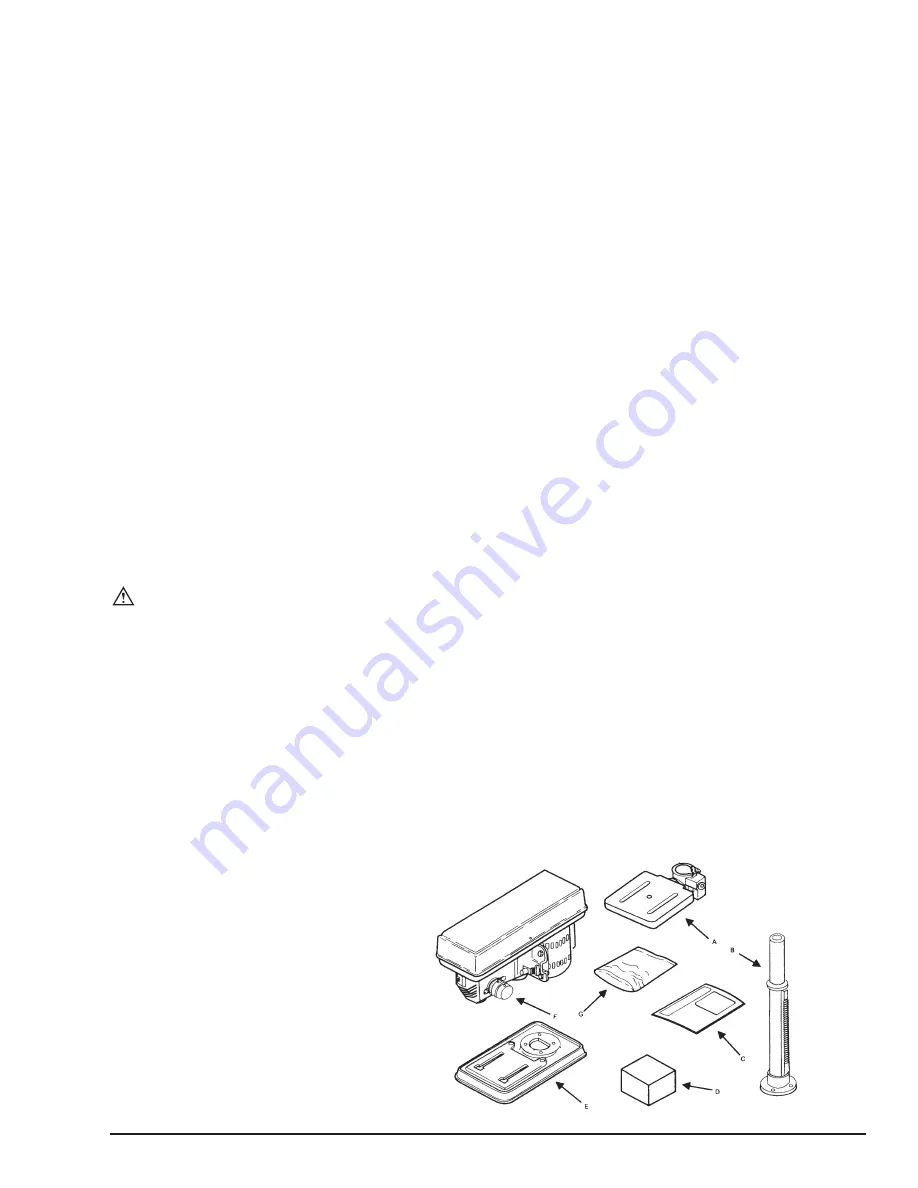
UNPACKING
On receipt, carefully unpack the components ensuring that no damage was suffered in transit, and that all
following parts are accounted for.
A. Table Support Asm
B. Column Support Asm
C. Manual
D. Box of Loose Parts
E. Base
F. Head Asm
G. Bag of Loose Parts
Summary of Contents for 155301
Page 11: ...10...


