


GC2e Wireless Security System | Installation and Programming Guide
©2020 Nortek Security & Control LLC. All rights reserved.
28
2GIG is a registered trademark of Nortek Security & Control LLC.
Programming Outline
Each system installed will require programming. Most
installations being performed by the professional alarm installer
for a specific organization will have common values set in every
Control Panel that is reporting to the Central Station. Other
programming values, such as the account number and sensor
setup, may be unique for each installation.
Use the following outline to guide you through the installation
process . Understanding the Control Panel’s programming
structure will help to save time during each installation.
At this stage the following should be already completed:
• All hardwired sensors installed
• All wireless sensors installed
• Control Panel mounted, connected, and powered up
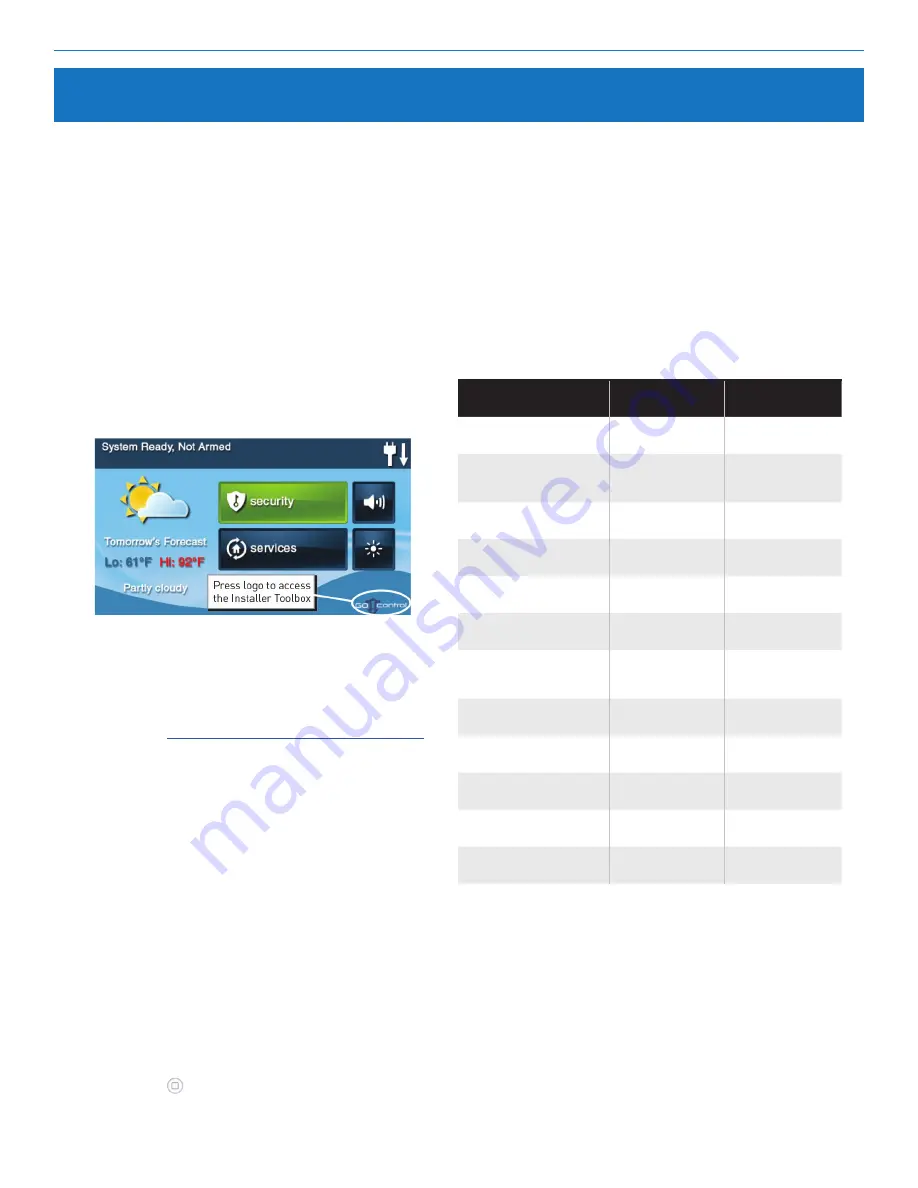
1.
At the
Home screen, tap the system logo in the lower right
corner .
Figure 43 The Home Screen
After completing all setup and programming tasks, refer to the
Control Panel’s User Guide for information about operating the
system. Check off the programmed options for the system in the User
Guide .
NOTE:
Instruct the end user about proper system operations, and
leave the User Guide at the installation site for reference.
ANSI/SIA CP-01 Compliance
Several programmable options have the defaults preset to provide
compliance with the American National Standards Institutes/
Security Industry Association CP‐01 Control Panel Standard . The
table below details the settings that comply with ANSI/SIA CP‐01
and permanently programmed into the Console . The ANSI/SIA CP‐01
settings documented in the table be low cannot be changed:
NOTE:
You can also tap the Installer Toolbox button from the
system’s
Toolbox (3 of 3) screen .
2.
Enter the installer code (the default installer code is 1561)
in the
Enter Your Code to Access the Toolbox screen .
3.
At the Installer Toolbox, tap
System Configuration . Then
begin the
“RF Sensor Programming Questions” on page 39
.
4.
After programming all of the required sensors into the
Control Panel, tap
End, then Exit, to save the changes .
5.
After the Control Panel restarts, tap
Security > Menu >
Toolbox .
6.
When prompted, enter the master user code. The default
master user code is 1111 .
7.
Tap the
User Management button and then setup the
user codes . Be sure to set up the Duress Code as User #8 .
Tap
Back when finished.
8.
Tap
Brightness/Volume and set the levels for the
installation.
9.
The volume setting does not affect the volume of alarm
sounds .
10.
Tap → to view the second toolbox screen.
11.
Tap Back Light Timeout and set the display lighting
timeout.
12.
Tap Set Date and Set Time and set the calendar and clock .
If the LTE (Cellular) Radio Module is installed,the date and
time sets automatically.
13.
Press the
button to return to the Home screen.
Programming Questions
ANSI/SIA CP-01
Setting
Range
Q1> Q: Select RF Sensor#
Dialer Delay (0 to 1)
(1) Enabled
(0) Disabled or
(1) Enabled
Q2 > Q: Select Wired
Sensor
Dialer Delay (0 to 1)
(1) Enabled
(0) Disabled or
(1) Enabled
Q5 Enter Exit Delay, in
Seconds (45-120)
60 Seconds
45-120 Seconds
Q6 Enter Entry Delay 1, in
seconds (45-120)
30 Seconds
30-240 Seconds
Q7 Enter Entry Delay 2, in
seconds (45-120)
No Default Code
30-240 Seconds
Q10 Enter Call Waiting
Disable Code (0-6 digits
45 Seconds
0-6 Digits
Q20 Select Swinger
Shutdown
Count (1 to 6)
(2) Two Trips
1-6 Trips
Q26 Select Auto Stay
(0 to 1)
(1) Enabled
(0) Disabled or
(1) Enabled
Q27 Exit Delay Restart
(0 to 1)
(1) Enabled
(0) Disabled or
(1) Enabled
Q31 Enter Cancel Time, in
Minutes (5-255)
5 Minutes
6-254 Minutes
Q32 Select Cancel
Display (0 to 1)
(1) Enabled
(0) Disabled or
(1) Enabled
Q35 Select Abort Window
Dialer Delay (0 to 2)
30 Seconds
15 to 45 Seconds
Summary of Contents for 2GIG eSeries GC2e
Page 2: ......


