Liquidyn V10D Controller
14
www.nordsonefd.com [email protected]
800-556-3484 Sales and service of Nordson EFD dispensing systems are available worldwide.
Install the Controller and Test the Operation
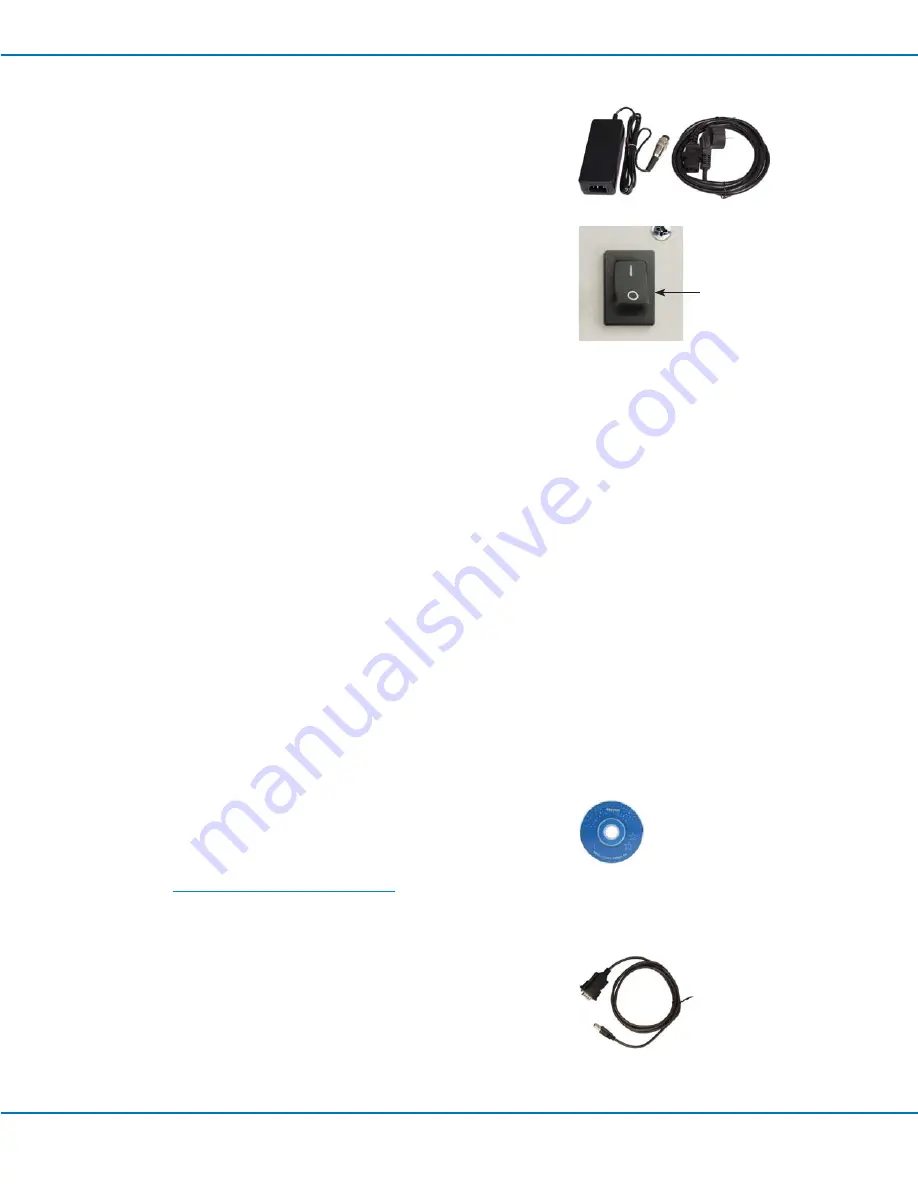
1. Use supplied power cord and power supply to connect power to the
Power input port on the back of the V10D controller.
NOTE:
An optional 24 VDC power cable is available. Refer to "Part
Numbers" on page 19 for the cable part number and connection
information.
2. Connect the dispensing valve to the controller using the cable supplied
with the valve.
3. Switch on the controller using the ON/OFF switch. The red Power LED
illuminates.
4. Start dispensing using the factory settings, or adjust the dispensing
parameters using the V10D software:
• Refer to "Parameter Factory Settings" on page 16 for the factory
settings.
• Refer to "Setup" on page 14 to change parameters as needed for
your application.
5. As needed, use the push-button board to test the controller operation.
Refer to "Use the Push-Button Board to Test the Controller Operation"
on page 18.
Setup
NOTES:
• The push-button board can be used for testing. Refer to "Use the Push-
Button Board to Test the Controller Operation" on page 18.
• For serial operation, or to incorporate the controller into a special
machine, I/O signals from a PLC can be connected to the Remote
input, instead of to the push-button board. For the Remote input pin
assignment, refer to "Input / Output Connector Pin Assignments" on
page 20.
Install Software and Connect the PC
1. Install the driver software for the USB-to-RS232 adapter cable on a
personal computer (PC).
2. Go to
www.nordsonefd.com/LiquidynV10D
to obtain the V10D
software.
3. Install the V10D software on the same PC used in step 1.
4. Run the "Liquidyn_V10D_Setup" installer and follow the instructions.
5. Connect the USB-to-RS232 adapter cable to the V10D controller and
to the PC.
Continue to "View or Change Parameters" on page 15 to view or
change the V10D controller settings using the V10D software.
ON / OFF switch


