www.nordsonefd.com [email protected]
800-556-3484 Sales and service of Nordson EFD dispensing systems are available worldwide.
EV Series Automated Dispensing Systems
97
Appendix E, Height Sensor Setup and Use
The optional height sensor can detect any variation from the original Z height program values from workpiece to
workpiece. If the Z height changes, the system detects the new Z height value and adjusts the program accordingly.
PREREQUISITES
The height sensor is installed and the cable is connected to the I/O port. Refer to the instructions provided with
the height sensor.
The system is properly set up. Refer to “Setting Up and Calibrating the System (Required)” on page 37.
A test workpiece is positioned on the fixture plate or work surface.
To Enable the Height Sensor
#
Click
Step
Reference Image
1
>
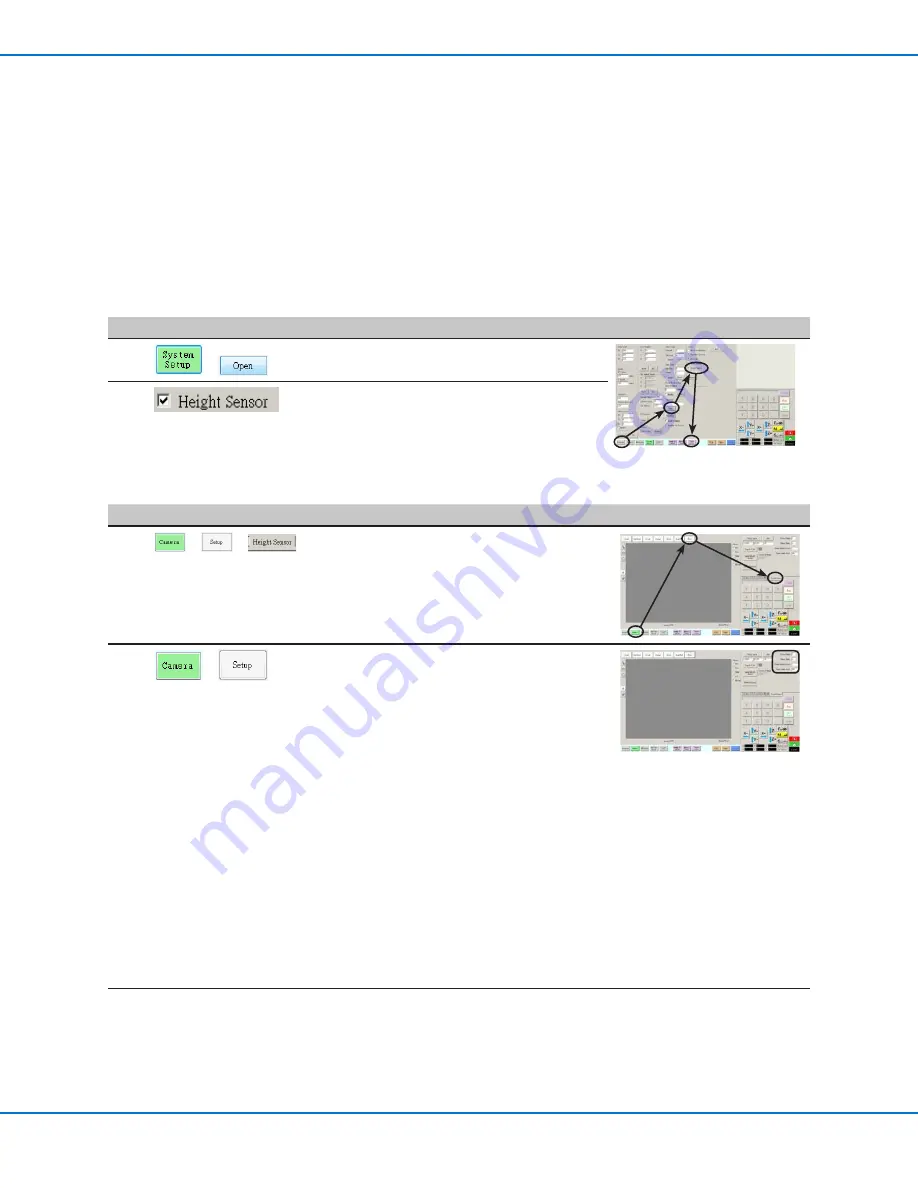
• Click the SYSTEM SETUP tab, then click
OPEN.
2
• Check HEIGHT SENSOR.
When the height sensor is enabled, the
Toggle Probe button appears in the tab bar.
To Set Up the Height Sensor
#
Click
Step
Reference Image
1
>
>
• Click the CAMERA tab, click SETUP at the
top of the Camera screen, and then click the
HEIGHT SENSOR tab.
The Height Sensor fields appear.
2
>
• In the fields located at the top right corner of
the Height Sensor area, enter the following
values:
- Probe Output: As connected on your
system (default = 8)
- Sensor Input: As connected on your
system (default = 8)
- Detect Speed (mm/s): 5 (range = 1–20)
- Travel Limit (mm): 20 (range = 1–100)
NOTES:
• Detect Speed is how fast the Z axis lowers
towards the workpiece after the height
sensor probe extends.
• Travel Limit is the range within which the
Z axis moves to detect the Z-height value.
Continued on next page


