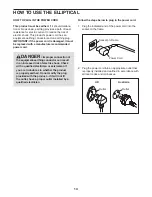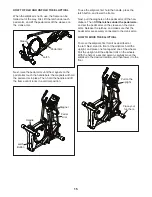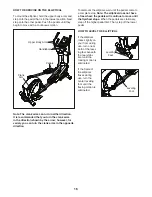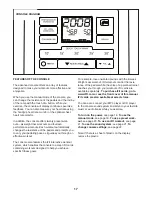
6
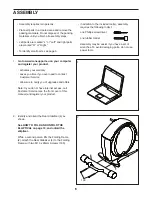
• Assembly requires two persons.
• Place all parts in a cleared area and remove the
packing materials. Do not dispose of the packing
materials until you
fi
nish all assembly steps.
• Left parts are marked “L” or “Left” and right parts
are marked “R” or “Right.”
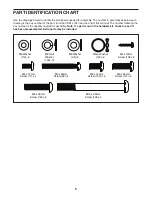
• To identify small parts, see page 5.
• In addition to the included tool(s), assembly
requires the following tool(s):
one Phillips screwdriver
one rubber mallet
Assembly may be easier if you have a set of
wrenches. To avoid damaging parts, do not use
power tools.
ASSEMBLY
1.
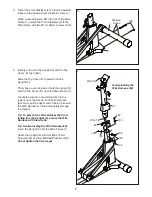
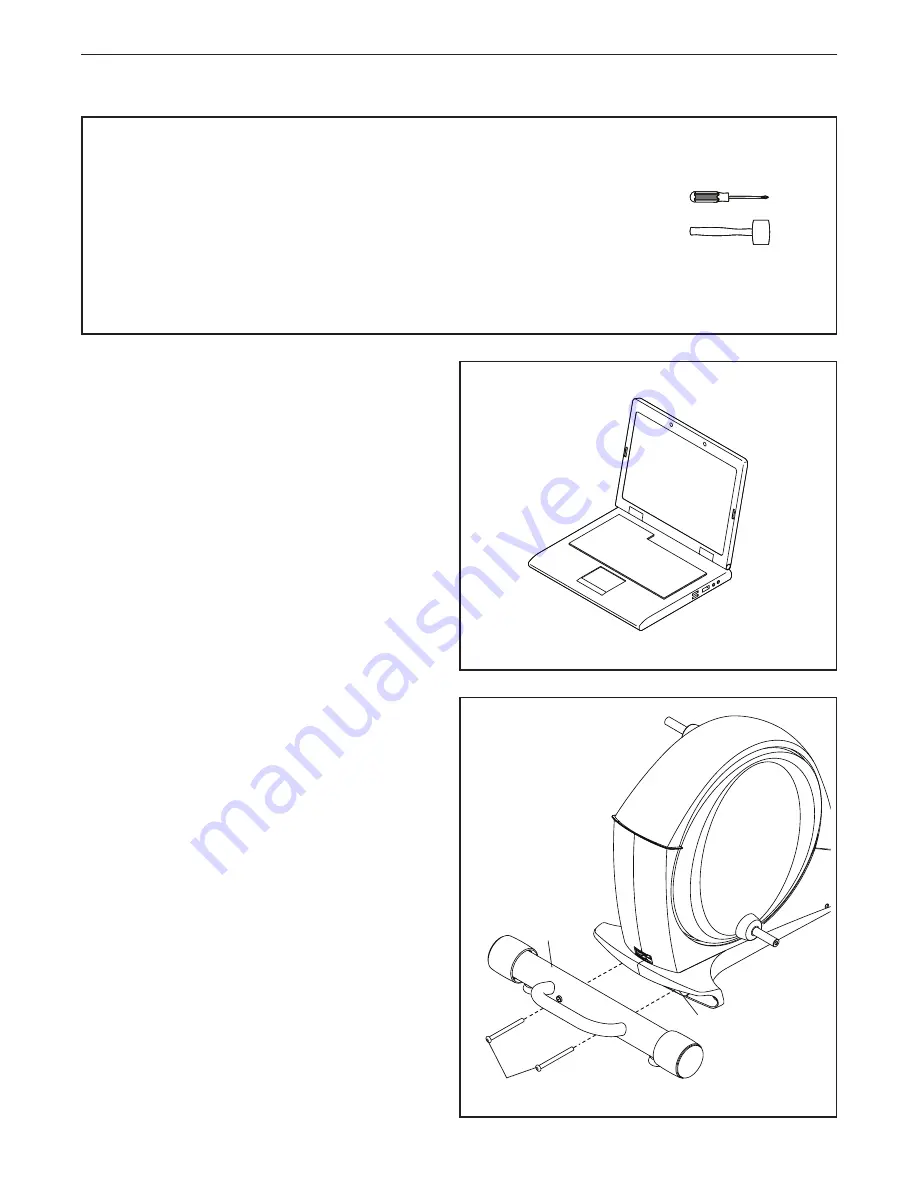
Go to www.iconsupport.eu on your computer
and register your product.
• activates your warranty
• saves you time if you ever need to contact
Customer Service
• allows us to notify you of upgrades and offers
Note: If you do not have Internet access, call
Customer Service (see the front cover of this
manual) and register your product.
1
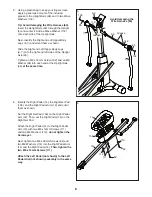
2. Identify and orient the Rear Stabilizer (4) as
shown.
See HOW TO FOLD AND UNFOLD THE
ELLIPTICAL on page 15, and unfold the
elliptical.
While a second person lifts the Folding Frame
(2), attach the Rear Stabilizer (4) to the Folding
Frame with two M10 x 95mm Screws (100).
4
2
100
2


