Caution : You must read this before you proceed
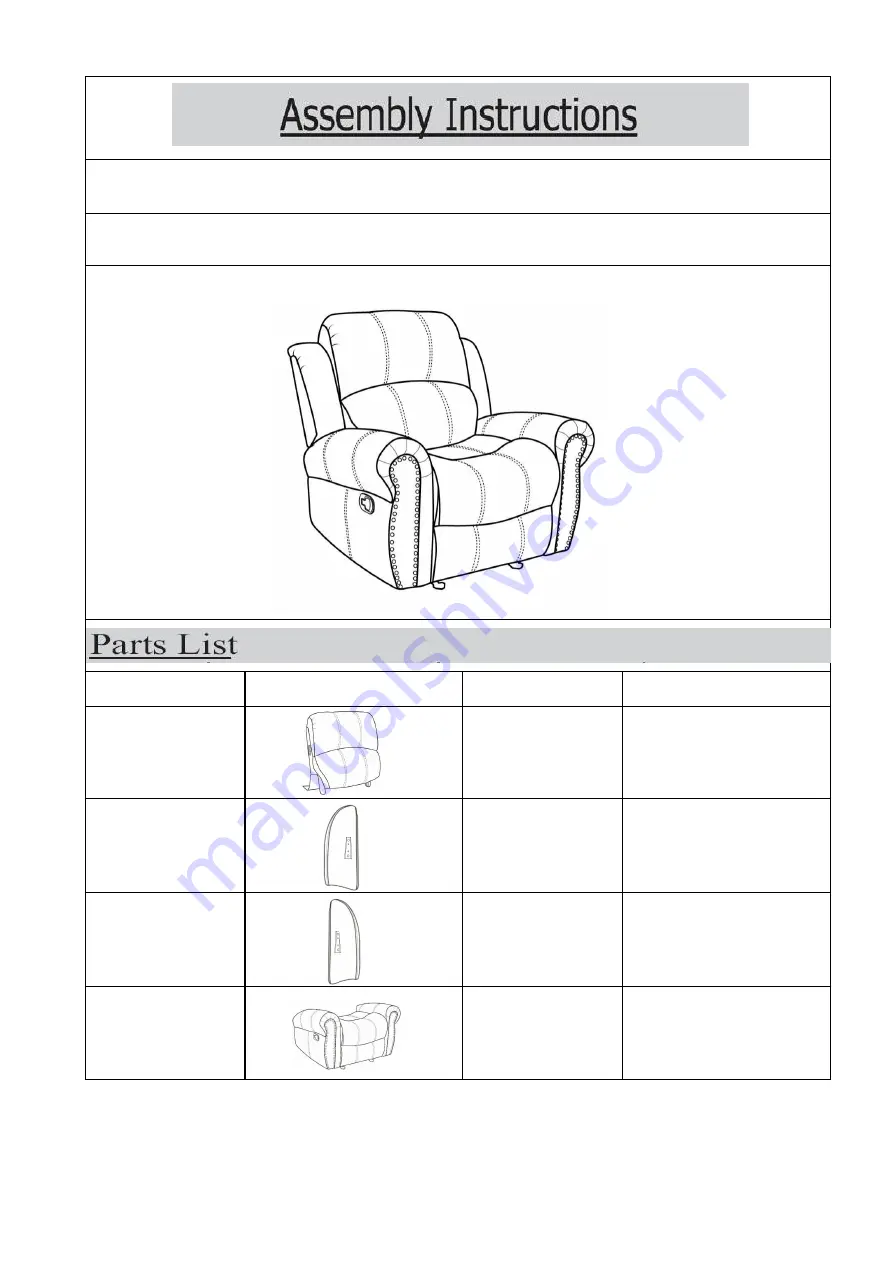
Reclining Chair
Label
Picture
Description
QTY
A
Chair Backrest
1
B
Left Wing
(Labelled B)
C
Right Wing
(Labelled C)
D
Chair Base with
Footrest
Noble house Home Furnishings LLC
Page 1 of 6
Page 1: ...ead this before you proceed Reclining Chair Label Picture Description QTY A Chair Backrest 1 B Left Wing Labelled B 1 C Right Wing Labelled C 1 D Chair Base with Footrest 1 Noble house Home Furnishing...
Page 2: ...rview of the Reclining Chair parts the above picture is to help you put the various parts into perspective Please read through the instructions below to familiarise yourself with the parts and steps b...
Page 3: ...the Chair Base with Footrest D as shown above Firmly but gently push the Chair Backrest A downwards until the Backrest is fully slotted and locked into position Step 3 Align the mounting brackets of t...
Page 4: ...e to the flap under the seat of the chair Step 6 Make sure all parts are connected and securely locked into position Your Glider Recliner Chair is ready for use Step 7 To dissassemble the Chair Backre...
Page 5: ...reclined posture To Recline backrest Sit into the seat Open the trigger on the outside of right armrest Use your body weight and push backwards into the seat into a fully reclined position To get out...
Page 6: ...Noble house Home Furnishings LLC Page 6 of 6...