background image

8


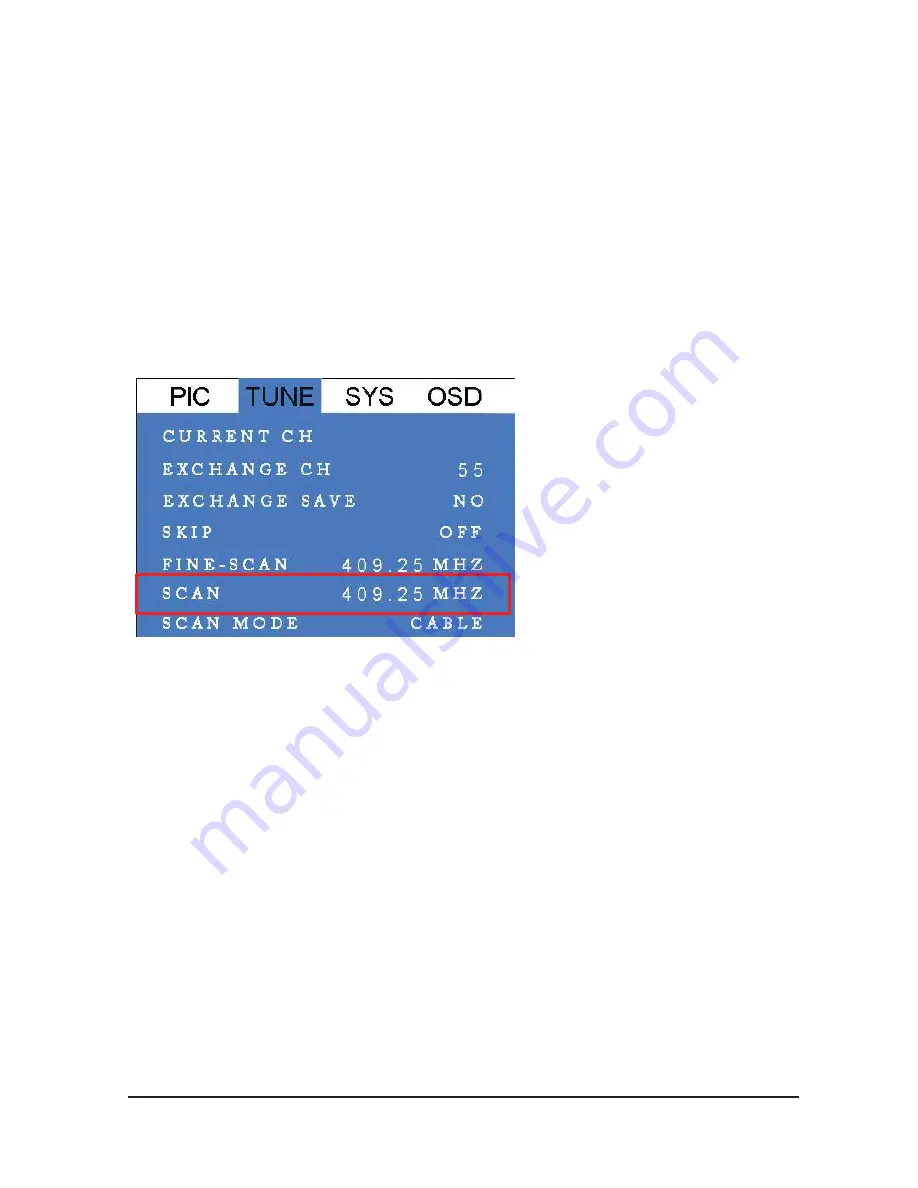
4.3 How to use the Menu


In this section the 1080HDTV Main Menu and its operations will be discussed here. Press 

the MENU button from the remote control to get to this screen (TV mode must be in Full 

Screen Mode)


Use the 

CH+

/

CH- 

keys to move the cursor to the desired item (Left and Right), once the 

desired selection is highlighted click 

MENU 

key to select it. Use the 

VOL+/VOL- 

keys 

move the highlights down to every sub menus and use MENU key to select.


The 

EXIT 

key on remote controller returns to previous menu setting page or when in the 

main menu screen this key will exit from the main menu screen. If there is no activity within


5 seconds the OSD Menu display will automatically exit out.


Summary of Contents for 1080HDTV Series

Page 1: ...1080HDTV External TV Tuner Box Remote controller included 1080HDTV Series English Romanian User s Guide...

Page 2: ...connectors 4 2 2 Panel controller functions 4 2 3 Cable Connections 5 Chapter 3 Using the 1080HDTV 6 3 1 PC side VGA resolution setting 6 Chapter 4 Using the Remote Control 7 4 1 Installing Batteries...

Page 3: ...peaker cable is hooked up directly to the computer s sound card the audio will not work The audio speaker cable should be connected to the 1080HDTVAudio Out port when watching TV while the computer is...

Page 4: ...ble connects to the PC s VGA D sub 15 pin connector Audio in 3 5mm stereo connector Audio In Connect to PC sound system Line in of sound card Audio out 3 5mm stereo connector Audio out connects to the...

Page 5: ...ongly recommended connecting the AC adapter as the last step when finish all the connection When connecting the 1080HDTV with the external A V source such as DVD VCR or Camcorder and to enjoy the high...

Page 6: ...on the monitor or the 1080HDTV settings While in PIP mode computer is turned on and in PIP mode in order to have the optimized resolution and performance we recommend setting the computer VGA in XGA...

Page 7: ...ries Open the back cover of remote controller and put in two pieces AAA batteries alkaline battery recommended 4 2 Remote controller function 1 Power Standby 2 Video Source 3 Program number select 4 S...

Page 8: ...cursor to the desired item Left and Right once the desired selection is highlighted click MENU key to select it Use the VOL VOL keys move the highlights down to every sub menus and use MENU key to sel...

Page 9: ...D SETTING PICTURE BRIGHTNESS Sets for screen brightness CONTRAST Sets for screen contrast SATURATION Sets for saturation HUE Sets for Color Hue SHARPNESS Sets for sharpness COL TEMPRATURE set for colo...

Page 10: ...out volume mute BALANCE To adjust Audio Left or right track Out volume ADVANCED SETTING NOISE REDUCTION 3 degrees adjust image noise reduction CHANNEL SURF 4 9 16 video division of TV wall mode PIP MO...

Page 11: ...G Adjust current TV signal quality AUTO SCAN Auto process of scanning TV signal MANUAL SCAN manual process of scanning TV signal SYS VIDEO SYS PAL system standard setting BLUES CREEN Background color...

Page 12: ...l position V POSITION Adjust OSD vertical position BACK COLOR Change the OSD back color TRANSPARENCY Adjust OSD background transparency OSD TIMEOUT OSD caption reserved time Chapter 5 Tech Support Cen...

Page 13: ...13 1080HDTV Tuner TV Extern Stand Alone Telecomanda inclusa 1080HDTV Manual de utilizare...

Page 14: ...ctorii panoului din spate 15 2 2 Functii panou de control 17 2 3 Conectarea cablurilor 17 Capitolul 3 Conectarea la PC 17 3 1 Setare rezolutie VGA 17 Capitolul 4 Mod de utilizare 18 4 1 Instalarea bat...

Page 15: ...az contrar v rug m s contacta i distribuitorul sau dealerul Tuner TV 1080HDTV Telecomand IR 2 baterii AAA pentru telecomand Adaptor alimentare Cablu VGA S video numai pentru modul PIP Cablu Audio ster...

Page 16: ...ectare audio la sistemul de sunet PC intrare card de sunet Ie ire video RCA Jack Ie ire video 1080HDTV Se poate utiliza la intrarea Video a unit ii de afi are RF Conector anten TV Semnal TV sau CATV V...

Page 17: ...ie facand adaptorul AC si se recomand conectarea cablului AC n ultima faz adica la finalizarea conect rii Capitolul 3 Conectare la PC 3 1 Setari rezolutie VGA 1080HDTV se poate utiliza independent de...

Page 18: ...et i 5 Sistemul Windows va modifica modul de afi are la setarea dvs i v va ntreba cu privire la confirmarea modului Capitolul 4 Mod de utilizare al tuner ului Telecomanda v permite operarea unor funct...

Page 19: ...lay ratio aspect aspect imagine 8 Channel canal crescator 9 Volume volum crescator 10 Volume volum descrescator 11 Channel canal descrescator 12 Menu Enter meniu selectare 13 OSD back to previous page...

Page 20: ...at ce a i ajuns la punctul dorit face i clic pe MENIU pentru a selecta Dac este un sub meniu pentru punctul dorit i permite utilizatorului setarea valorii utiliza i VOL VOL pentru a selecta valoarea d...

Page 21: ...MAGINE BRGHTNESS Setare grad str lucire imagine CONTRAST Setare grad contract imagine SATURATION Setare grad satura ie imagine HUE Setare grad nuan imagine SHARPNESS Setare grad acurate e imagine COL...

Page 22: ...dezactivare mod MUT BALANCE Reglare volum audio st nga sau dreapta Setari avansate NOISE REDUCTION Reducere zgomot imagine cu 3 grade CHANEL SURF Divizare n 4 9 16 a ecranului TV PIP MODE SET Mod PIP...

Page 23: ...ii semnalului TV curent AUTO SCAN Scanare automat a programelor TV SCAN MODE Scanare manual a programelor TV SYS VIDEO SYS Setare sistem PAL standard BLUE SCREEN Culoarea ecranului de fundal este alba...

Page 24: ...re pozi ie Orizontal OSD V POSITION Reglare pozi ie Vertical OSD BACK COLOR Modificare fundal OSD TRANSPARENCY Reglare transparen fundal OSD OSD TIMEOUT Timp rezervat captare OSD Capitolul 5 Centru de...

Page 25: ...th EC conformity marking Tested with the listed standards the above mentioned product was found in compliance with 2004 108 EC EMC Directive EN 55022 2006 A1 2007 EN 55024 1998 A1 2001 A2 2003 EN 6100...

Reviews: