- 2 -
Step 3:
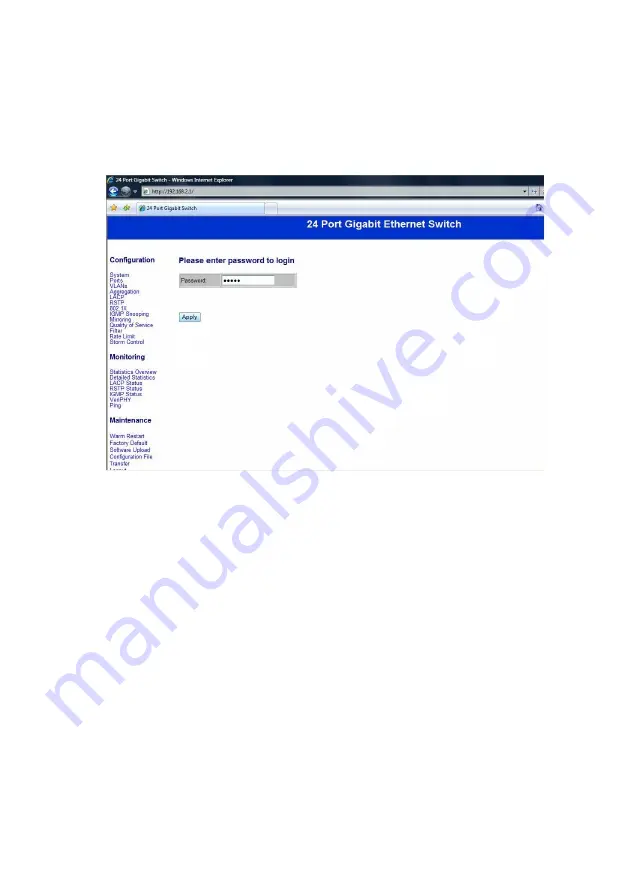
Open the browser (like IE…) and go to http:// 192.168.2.1
You will see the login screen as below:
Please key in the password to pass the authentication.
Password: admin
After the authentication procedure, the switch can be used now.
Step 4:
On the home page, select the configuration by clicking the icon
as below:
- Configuration
- Monitoring
- Maintenance
- Logout
Summary of Contents for NGS24U
Page 1: ...NGS24U 24 Port 10M 100M 1000M Desktop Gigabit Ethernet Switch User s Manual...
Page 17: ...16 Monitoring Statistics Overview for All Ports You can read statistics for all ports...
Page 19: ...18 Monitoring LACP Status You can read LACP status for LACP ports...
Page 20: ...19 Monitoring RSTP Status You can read RSTP status for RSTP ports...
Page 21: ...20 Monitoring IGMP Status You can read IGMP status for IGMP ports...
Page 23: ...22 Monitoring Ping Parameters You can set target IP address by setting the mode which you want...
Page 26: ...25 Maintenance Software Upload Follow the instruction on the screen to upload the new software...


