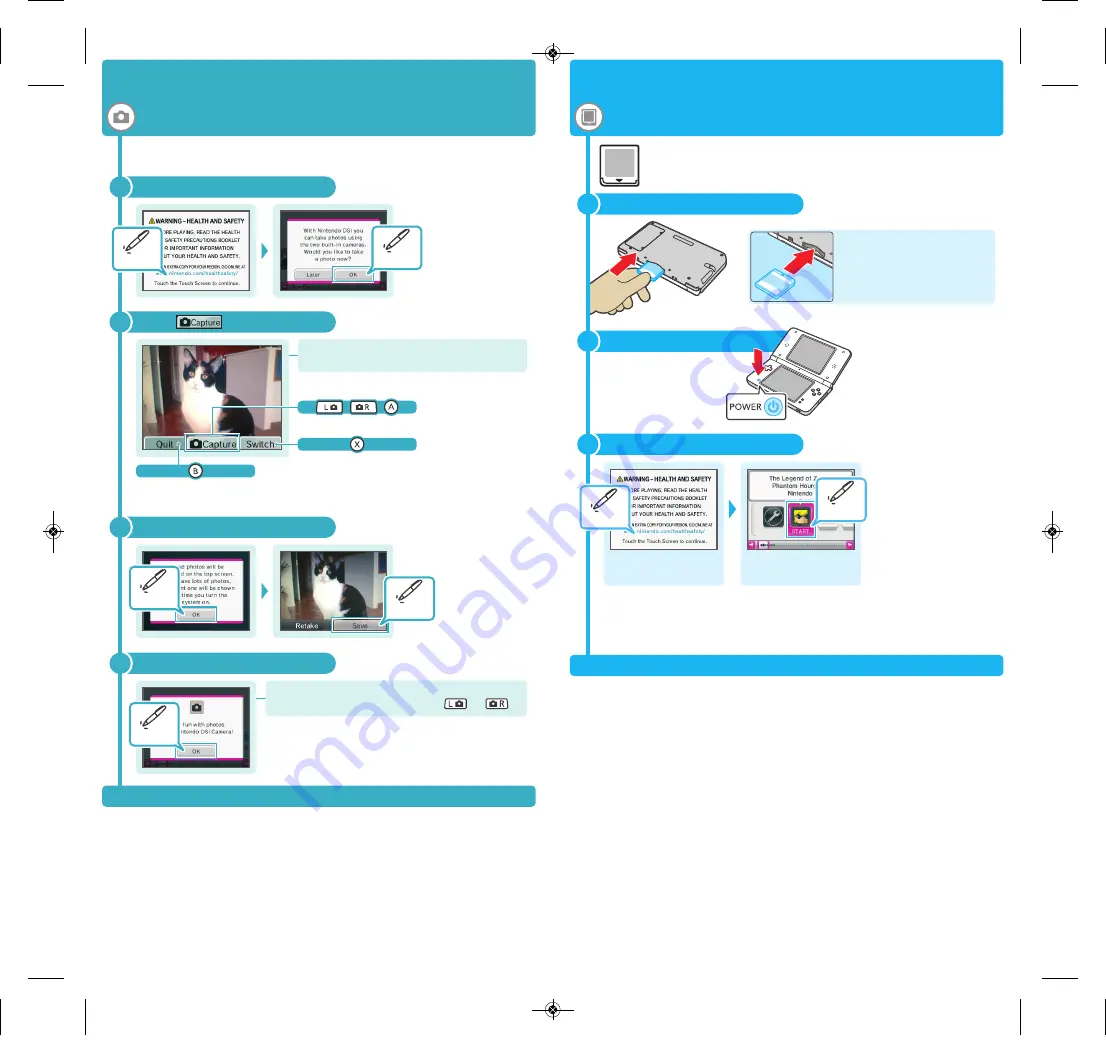
Insert the software
Turn the power on
Start the software
Finish taking photos
Touch each screen as shown
5
4
After configuring the system, you'll be asked if you want to take a photo.
Touch OK and try taking some photos!
2
Touch
Touch!
Touch!
1
Return to
Nintendo DSi
Menu
Switch between the
inner and outer camera
Take a photo
Note:
The same actions can be done by
pressing the buttons shown below.
3
Saving
4
You can also take photos from within the
Nintendo DSi Menu
by pressing or .
With Nintendo DSi XL you can use the following: Nintendo DS
®
Cards, Nintendo DSi compatible Cards and Nintendo DSi Cards.
Follow the steps below to load the software.
2
1
The label should face
towards the bottom of the
system.
Press the POWER Button.
3
Touch the Touch
Screen
Touch the software
title icon
For further instructions, refer to the Instruction Booklet for the software you
are using.
Note:
This screenshot shows T
HE
L
EGEND OF
Z
ELDA
™: P
HANTOM
H
OURGLASS
, a title
for Nintendo DS systems.
Load software!
Take some photos!
Touch!
Touch!
Touch!
Touch!
Touch!
UTL_AUS_8__ 09/12/22 17:15 ページ 4


