Arcus Integrated Amplifer
Owner’s Manual
2017.08 Edition
©2016, 2017 Nimbus Electronics Sàrl
Page 1: ...Arcus Integrated Amplifer Owner s Manual 2017 08 Edition 2016 2017 Nimbus Electronics Sàrl ...
Page 2: ...The engineering choices made during the design phase endow the Arcus amplifer with unique characteristics We encourage you to read this manual as it will provide you with all the necessary information to use them fully We wish you a pleasant listening experience Sincerely The Nimbus Audio Team For your safety Before you begin please read and make sure you understand this manual and the included sa...
Page 3: ... their own decoupling platforms The package also contain the following parts An accessories box with the remote control and a hex tool allowing the removal of the screws holding the plexiglas front panel The original kit of tubes kit as provided from the manufacture consisting of four 6L6GC and two 6SN7 tubes Two cables with circular connectors for connecting the power supply unit to the amplifer ...
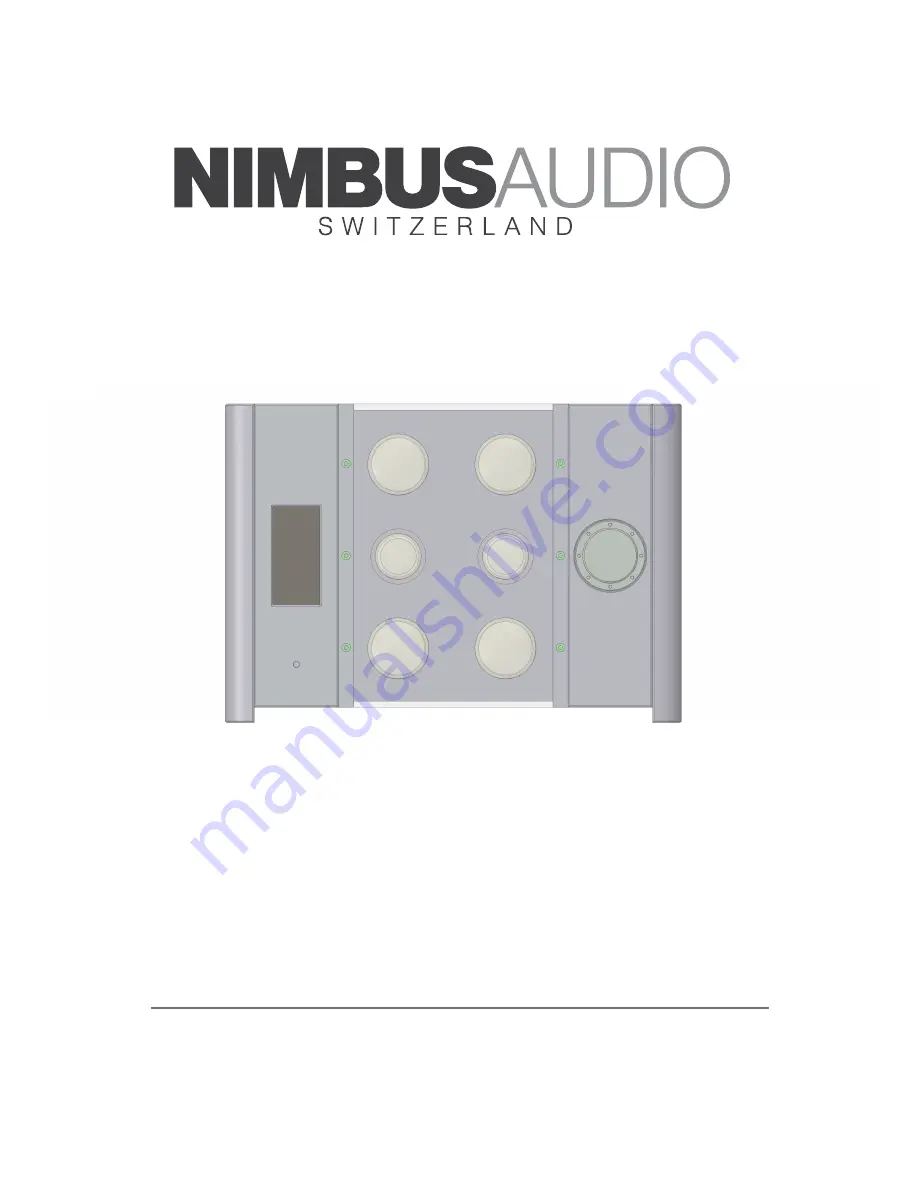
Page 4: ...AMPLIFIER UNIT Arcus Integrated Amplifer Owner s Manual Page 4 ...
Page 5: ...POWER SUPPLY UNIT Arcus Integrated Amplifer Owner s Manual Page 5 ...
Page 6: ...sensitive fammable material Leave at least 8cm 3 of free space between the top of the amplifer and any shelf above it This is extremely important as the heat from the vacuum tubes needs to fow freely outside the chassis Due to its weight we recommend you install the power supply unit in the lower section of your setup or directly on the foor Now that you have selected the ideal location you can pr...
Page 7: ...the amplifer and in the instructions manual The correct tube type is indicated by a label on the amplifer between each pair of sockets Risk of malfunction and damage to the amplifer The Arcus amplifer is capable of operating with various tubes from the 6L6 and 6SN7 families and installing tubes is very easy To ensure a long life and safe operation with various tube models please carefully read the...
Page 8: ...kets These sockets are highlighted with blue rings Install the four 6L6 tubes in the top and bottom sockets These are highlighted with red rings Make sure the tubes are well seated and fully inserted Re install the Plexiglas protection window and secure it using the provided tool and screws Be careful not to over tighten the screws fnger tight is more than enough Tip The plexiglas panel is easier ...
Page 9: ...ys disconnect the mains power cord frst and wait at least minutes before disconnecting the cables between the two units Risk of electrocution and damage to the amplifer Power supply connections The power supply and amplifer units are connected to each other using two custom power cables equipped with circular screw in connectors as shown in the illustration Arcus Integrated Amplifer Owner s Manual...
Page 10: ...e connection ensure the two sides are lined up correctly Connect the other end of the cable to the A power supply connector and screw it in fully Repeat the steps above with the B connection starting with the amplifer then the power supply Note The provided power cables have black and white coloured end sleeves to assist you in making the correct connections but are internally and electrically ide...
Page 11: ...cus amplifer comes confgured from the manufacture for 4Ω and 8Ω speakers On special request the following combinations are also available 8Ω 16Ω or 4Ω 16Ω Once the desired speaker output has been selected connect the negative side of the speaker cable to the bottom binding post black with white ring and the positive side to either of the two top binding posts black with red ring Only one pair of o...
Page 12: ...Congratulations you ve completed the installation of your amplifer Arcus Integrated Amplifer Owner s Manual Page 12 ...
Page 13: ...on of fre and damage to the amplifer Only use an approved mains power cable for your country Risk of electrocution of fre and damage to the amplifer Mains power connection You are now ready to connect the amplifer to your household mains supply Once this is done the LED on the front of the power supply unit will light up to indicate the amplifer is ready Checking the tube profle The currently acti...
Page 14: ... the Tube Rolling sections to learn how to confgure the amplifer for the installed tubes Please do this before turning the amplifer on Tip To save power the amplifer will automatically turn off the display after a short amount of time when in stand by Rotating the volume button in any direction will wake up the display and allow you to check the currently active tube profle without turning on the ...
Page 15: ...active input when in input selection mode Using the Remote Control The remote control uses infra red signals to communicate with the amplifer and needs a clear line of sight to operate correctly The remote control offers the same actions as the rotary control Increase Decrease Press the up or down arrow buttons Select Press the middle button Hold Press the middle button and hold pressed for about ...
Page 16: ...he battery in the battery holder pay attention to the polarity Slide the back plate in and push until it clicks in place The remote control is now ready to be used Arcus Integrated Amplifer Owner s Manual Page 16 ...
Page 17: ... but turned off The currently active tube profle is displayed at the bottom of the screen Select turn on the amplifer Hold enter the Settings menu see below for available parameters Warm up When the amplifer is turned on it will warm up the tubes progressively to ensure a long service life This procedure takes about 30s to allow tube operating conditions to stabilize Please note that full warm up ...
Page 18: ...tch off the amplifer Input Selection State When the input selection is active the audio is muted and the controls allow the currently selected input to be changed The label Input Select also appears on the display Increase Decrease change the active input from 1 to 4 The currently selected input is highlighted with the triangle marker Select Activate the selected input un mute and return to the Pl...
Page 19: ... each direction Increase decrease adjust balance setting Select activate balance adjustment and return to the Play state The balance value will be indicated on the main screen only if it is not set to zero Cool Down When requested to powered off the amplifer will undergo a cool down period for about 30s Do not disconnect the amplifer or power cables during this period Arcus Integrated Amplifer Own...
Page 20: ...the currently highlighted setting click again to store new value Please note that your settings menu might display different options depending on the currently installed software version The following settings can be adjusted Tube Profle select the desired tube profle to apply Please check the Tube Profles section for additional information Flash Firmware Enter frmware update mode This allows the ...
Page 21: ...ment heaters NOS 12SN7 tubes can also be installed thus broadening the range of supported tubes The amplifer will automatically detect the voltage required during warm up and no manual intervention is needed But there s more using a simple Loctal to Octal socket adapter not included the 7N7 and 14N7 tube families can also be used opening up access to a very broad range of high quality NOS tubes Su...
Page 22: ...ed using the Tube Profle option in the Settings menu Please note that an added beneft of the tube profle circuitry is that it ensures perfect biasing of power tubes during all their lifetime without any need for manual adjustment Tube Profle Name Supply Voltage Notes 6L6 360V 6L6 6L6G All tubes with a 19W plate dissipation 6P3S 360V Russian NOS 6P3S tubes 5881 400V 5881 6L6GA 6L6GB All tubes with ...
Page 23: ...rom new features that might be released in the future the amplifer can be upgraded using the USB port located on the internal left hand side behind the Plexiglas protection panel Please head out to our Internet web site at http www nimbusaudio ch to check for new frmware versions and for instructions about how to perform the update Arcus Integrated Amplifer Owner s Manual Page 23 ...
Page 24: ... power supply unit has a power indicator LED on the front that lights up when it s connected to the mains There is no sound Check that the correct input is selected Check that the input cables are connected in the appropriate left and right channel connectors The amplifer goes on mute during the input selection once the desired input is highlighted press Select to switch to that input and exit the...
Page 25: ...ied to the tubes during that period to avoid arcing and damage to the cathode The Arcus amplifer is equipped with a soft start circuitry that slowly brings the tubes up in temperature before it ramps up the high voltage supply to enable a longer tube service life Cleaning of the amplifer surface Always switch off the amplifer and wait 30min to allow it cool down before any cleaning The chassis is ...
Page 26: ... 5 AB 30 0 W Distortion 1kHz 1W 8Ω A 0 2 AB 0 5 Distortion 1kHz rated power A 1 2 AB 2 5 Push pull bias imbalance 500 μA Amplifer Unit Outside dimensions L x W x H 298 298 200 mm Weight 13 5 kg Power Supply Unit Outside dimensions L x W x H 298 298 200 mm Weight 17 5 kg Power Consumption Standby 0 5 W Idle 160 W Maximum 250 W Arcus Integrated Amplifer Owner s Manual Page 26 ...
Page 27: ...ct must not be operated outside the following conditions Altitude below 2000m Temperature 0 35 C ambient Humidity 70 RH Support Each amplifer is fully tested and calibrated at the manufacture before it s packaged to ensure the product meets all your expectations Should a problem arise during the warranty period please contact us for assistance at the following email address info nimbusaudio ch Arc...
Page 28: ...nce of European Directive 2012 19 EU on waste electrical and electronic equipment and its implementation in accordance with national law electronic equipment that has reached the end of its life must be collected separately and returned to an environmentally compatible recycling facility Dispose of replaced equipment parts in accordance with the rules and regulations applicable in your country Arc...
Page 29: ...oduct described complies with the following directives 2014 35 EU LVD 2014 30 EU EMC The following harmonized standards were applied IEC 62368 1 2014 IEC 61000 3 2 2014 Buchillon 2017 07 01 R Sandru Founder Nimbus Electronics Sàrl CH 1164 Buchillon Switzerland Arcus Integrated Amplifer Owner s Manual Page 29 ...
Page 30: ... 15 Using the Remote Control 15 Installing the Remote Control battery 15 Operating the amplifer 17 Tube rolling 21 Voltage Amplifcation Tubes 21 Power Tubes 21 Firmware Updates 23 FAQ 24 There is no power 24 There is no sound 24 Why are there clicking noises coming from the amplifer unit when the volume is changed 24 Why is a warm up time required 25 Cleaning of the amplifer surface 25 Specifcatio...