Getting Started
3
Pulse Laser Station NPL-302 Series Instruction Manual
57
5.
Press the
Sett
softkey to check the job
settings. You cannot change a job’s settings
once you have created the job.
6.
Press
[ENT]
in the last field of the Job Sett
screen to create the new job.
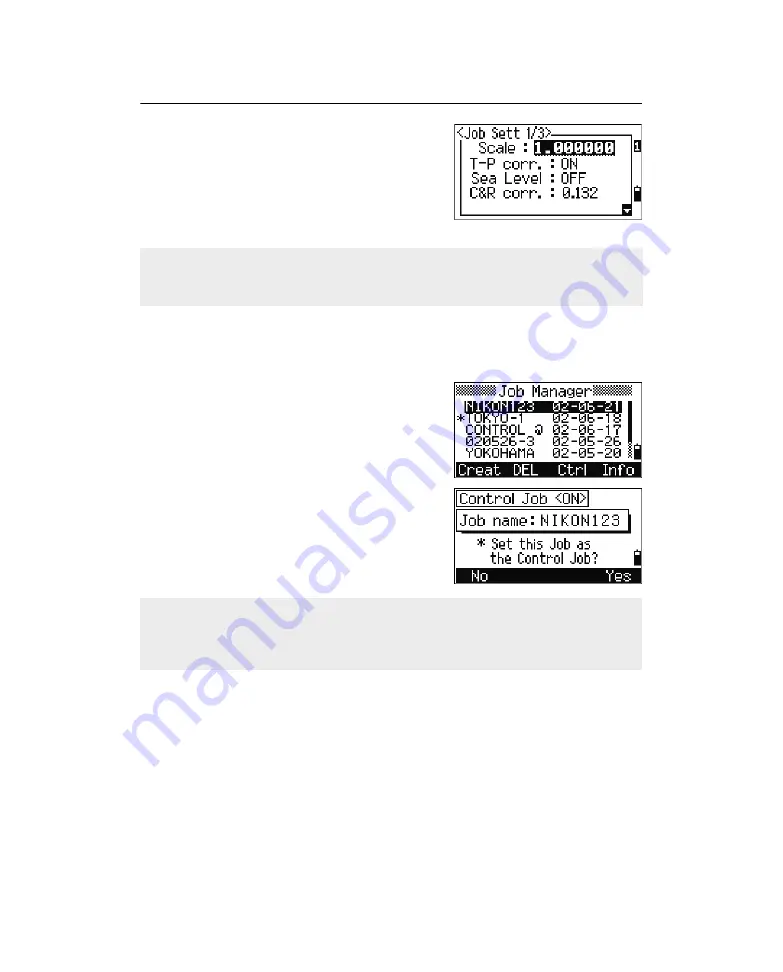
Creating a control job
A control job, or common file, stores coordinate data that is used by several field
jobs. You can create a control job in the office.
1.
Press
[MENU]
to open the MENU screen.
2.
Press
[1]
or select
Job
to open the Job
Manager.
3.
Move the cursor to the job that you want to use
as the control job.
4.
Press the
Ctrl
softkey.
5.
Press the
Yes
softkey.
For more information, see Creating a control job,
page 57.
If either of the messages MAX 32JOBs or Data Full appears, delete at least one
existing job to free space. You cannot free space by deleting records in an existing
job.
When you enter a point name or number, the system searches in the current job
first. If the point is not found in the current job, the search is automatically extended
to the control job. If the point is found in the control job, the selected point is copied
to the current job as a UP record.
Summary of Contents for NPL-302 Series
Page 4: ......
Page 5: ...Safety 1 In this chapter Q Introduction Q Laser Safety Q Warnings and Cautions ...
Page 12: ...Safety xii Pulse Laser Station NPL 302 Series Instruction Manual ...
Page 28: ...1 Introduction 8 Pulse Laser Station NPL 302 Series Instruction Manual ...
Page 46: ...2 Preparation 26 Pulse Laser Station NPL 302 Series Instruction Manual ...
Page 82: ...3 Getting Started 62 Pulse Laser Station NPL 302 Series Instruction Manual ...
Page 188: ...5 Menu Key 168 Pulse Laser Station NPL 302 Series Instruction Manual ...
Page 196: ...6 Checking and Adjustment 176 Pulse Laser Station NPL 302 Series Instruction Manual ...
Page 208: ...8 System Diagrams 188 Pulse Laser Station NPL 302 Series Instruction Manual ...


