17
Setting Display Language, Date and Time
First Ste
ps
5
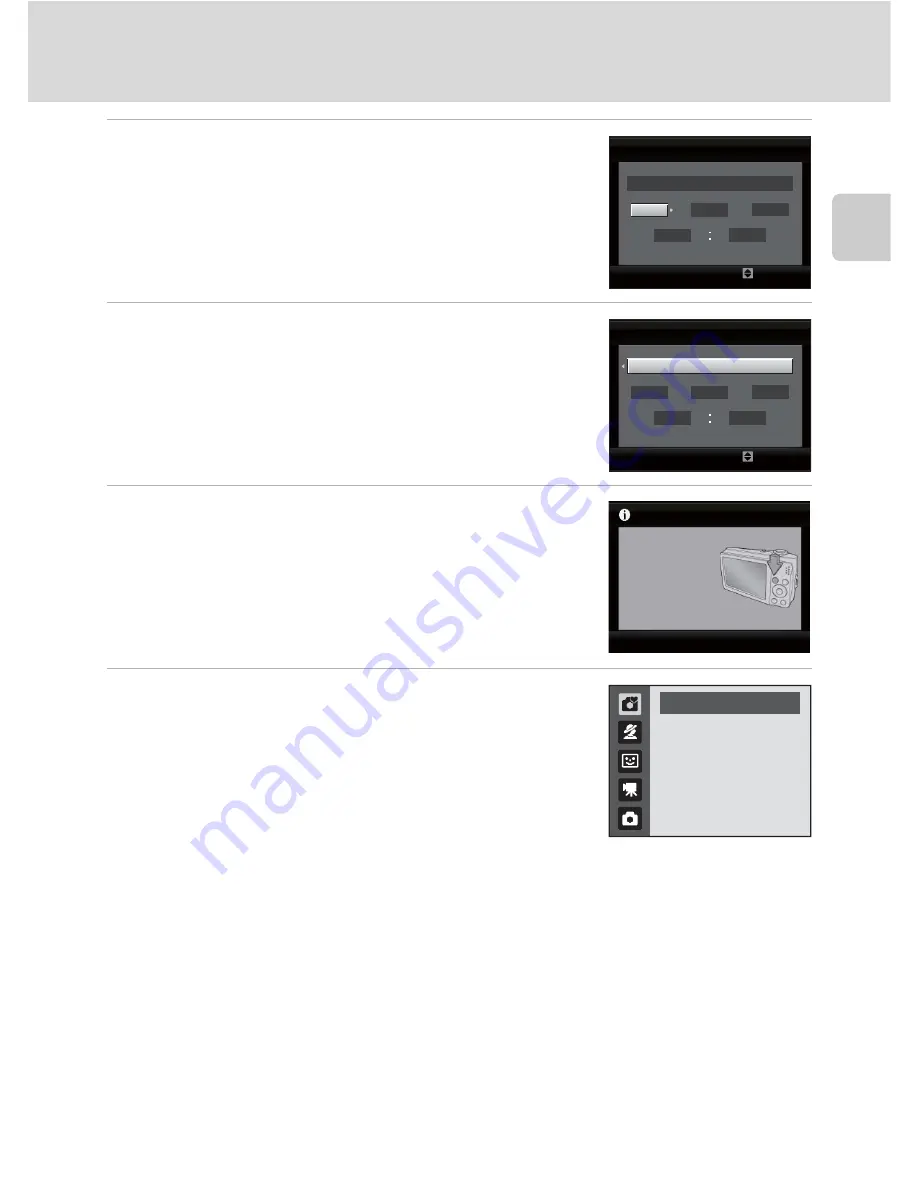
Change the date and time.
•
Press
H
or
I
to edit the highlighted item.
•
Press
K
to move the cursor in the following order.
D
->
M
->
Y
-> Hour -> Minute ->
D M Y
•
Press
J
to return to the previous item.
6
Choose the order in which the day, month
and year are displayed and press
k
or
K
.
•
The settings are applied.
7
Press
A
to exit the screen.
•
The shooting-mode selection menu will be displayed.
8
When Easy auto mode is displayed, press
k
.
•
The camera enters the shooting mode and you can
take pictures in Easy auto mode (
A
20).
•
Press the multi selector
H
or
I
before
k
, to switch to
another shooting mode. See “Shooting in the Auto
Mode” (
A
29), “Using the Scene Mode” (
A
35),
“Using Smart Portrait Mode” (
A
46) or “Recording
Movies” (
A
55) for more information.
Edit
Date
D
Y
M
01
2010
01
00
00
Edit
Date
D
Y
M
5
2010
05
15
10
Press this button
in shooting mode
for shooting-
mode selection
menu.
Easy auto mode
D
Changing the Date and Time, Date Imprint
•
To change the date and time, select
Date
from
Date
(
A
89) in the setup menu (
A
85) and
follow the instructions starting from the above step 5.
•
To change the time zone and the daylight saving settings, select
Time zone
from
Date
in the
setup menu (
A
89, 90).
•
To imprint the shooting date into images when taking pictures, make sure the date and time are
set, then set
Date imprint
(
A
94) in the setup menu.
Summary of Contents for 26196
Page 1: ...En DIGITAL CAMERA User s Manual ...
Page 169: ......
Page 170: ...COOLPIX L22 L21 Nikon User s Manual CT9l OlI4 6MM1 J14N 01 ttl I I SI l ...
Page 173: ......


