


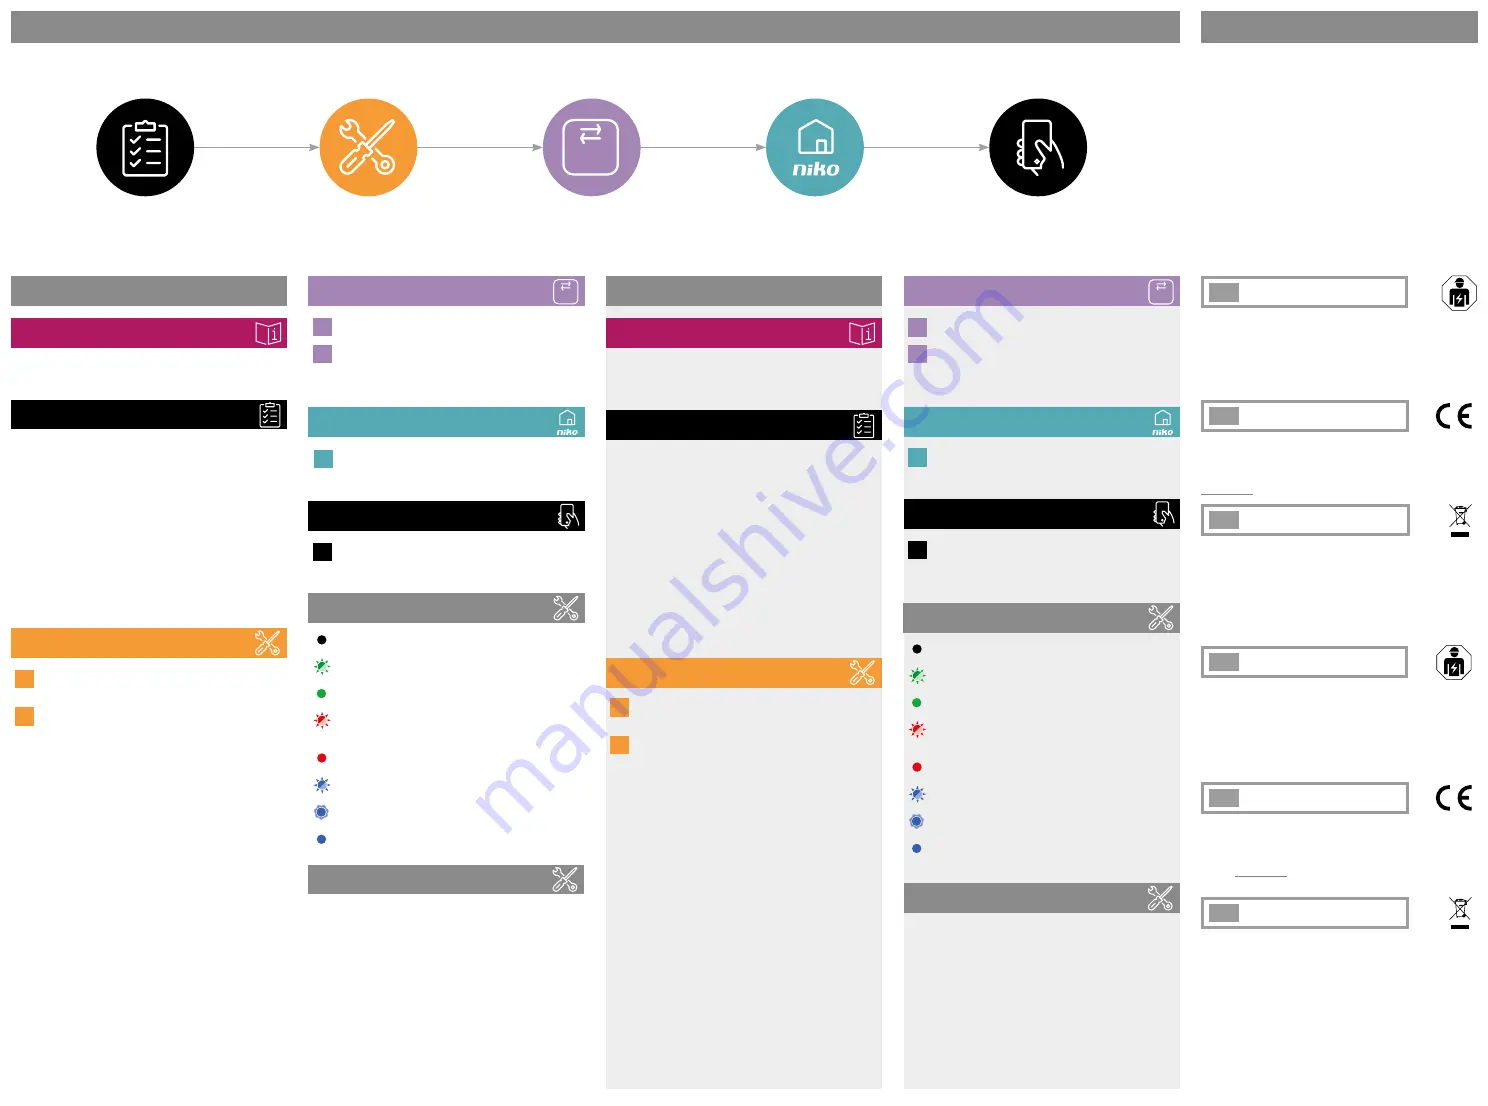
Before you get started
Hardware installation
Niko Home app
Start using your installation
EN
Warnings regarding installation
The installation of products that will permanently be part of the
electrical installation and which include dangerous voltages, should
be carried out by a qualified installer and in accordance with the
applicable regulations. This user manual must be presented to the
user. It should be included in the electrical installation file and
it should be passed on to any new owners. Additional copies are
available on the Niko website or via Niko customer services.
EN
CE marking
This product complies with all of the relevant European guidelines
and regulations. For radio equipment Niko llc declares that the radio
equipment in this manual conforms with the 2014/53/EU directive.
The full text of the EU declaration of conformity is available at
www.niko.eu under the product reference, if applicable.
EN
Environment
This product and/or the batteries provided cannot be disposed of in
non-recyclable waste. Take your discarded product to a recognised
collection point. Just like producers and importers, you too play
an important role in the promotion of sorting, recycling and reuse
of discarded electrical and electronic equipment. To finance the
rubbish collection and waste treatment, the government levies
recycling charges in certain cases (included in the price of this
product).
NL
Waarschuwingen voor installatie
De installatie van producten die permanent onderdeel zullen
uitmaken van de elektrische installatie en die gevaarlijke spanningen
bevatten, moet worden uitgevoerd door een erkend installateur
en volgens de geldende voorschriften. Deze handleiding moet aan
de gebruiker worden overhandigd. Het moet bij het dossier van de
elektrische installatie worden gevoegd en worden overgedragen
aan eventuele nieuwe eigenaars. Bijkomende exemplaren zijn
verkrijgbaar via de website of Niko customer services.
NL
CE markering
Dit product voldoet aan alle toepasselijke Europese richtlijnen
en verordeningen. Voor radioapparatuur verklaart Niko nv dat de
radioapparatuur uit deze handleiding conform is met Richtlijn
2014/53/EU. De volledige tekst van de EU-conformiteitsverklaring
staat op www.niko.eu onder de productreferentie, indien van
toepassing.
NL
Milieu
Dit product of de bijgeleverde batterijen mag u niet bij het
ongesorteerd afval gooien. Breng uw afgedankt product naar een
erkend verzamelpunt. Net als producenten en importeurs speelt ook
u een belangrijke rol in de bevordering van sortering, recycling en
hergebruik van afgedankte elektrische en elektronische apparatuur.
Om de ophaling en verwerking te kunnen financieren, heft de
overheid in bepaalde gevallen een recyclingbijdrage (inbegrepen in
de aankoopprijs van dit product).
Support & contact
nv Niko sa
Industriepark West 40
9100 Sint-Niklaas, Belgium
+32 3 778 90 80
[email protected]
www.niko.eu
Niko prepares its manuals with the greatest care and strives
to make them as complete, correct and up to date as possible.
Nevertheless, some deficiencies may subsist. Niko cannot be held
responsible for this, other than within the legal limits. Please
inform us of any deficiencies in the manuals by contacting Niko
customer services at [email protected].
Basic installation steps - Written instructions
− (images on p� 2)
Wireless smart hub registration
Nederlands
-
(instructies bij afbeeldingen op p� 2)
1
Sluit de stekker met de micro-USB-connector aan op de
slimme hub en stop de stroomadapter in een traditioneel
(niet-geconnecteerd) stopcontact.
2
Verbind de draadloze slimme hub met je internetwerk.
Aanbevolen
: Gebruik de meegeleverde UTP-kabel voor de
meest stabiele verbinding. Nadat de slimme hub gekoppeld
is, zal de groene led aan de bovenkant oplichten.
OF
Andere mogelijkheid
: je kunt de draadloze slimme hub via
wifi verbinden als je geen UTP-kabel kunt gebruiken.
a) Verbind je mobiele toestel met het volgende
wifinetwerk:
Netwerknaam:
"Niko" gevolgd door de laatste 4 tekens
van het MAC-adres van de draadloze slimme hub (
XX
:
XX
).
Je vindt het MAC-adres (MAC) onderaan de slimme hub.
Wachtwoord:
het wachtwoord is het serienummer van
de draadloze slimme hub (
XXXXXXXXXX
). Je vindt het
serienummer (SN) onderaan de slimme hub.
b) Open een webbrowser op je mobiele toestel. Hierdoor
wordt het webportaal voor deze draadloze slimme hub
automatisch geopend.
c) Voer het wachtwoord opnieuw in (
XXXXXXXXXX
).
d) Selecteer je netwerk uit de lijst met beschikbare
netwerken en voer, indien nodig, het wachtwoord
voor dit netwerk in.
e) De draadloze slimme hub zal nu verbinding maken met
je draadloze netwerk.
f) Ga terug naar je netwerk op je mobiele toestel als je
toestel dat niet automatisch doet.
Vereisten
Je hebt een moderne elektrische installatie en een thuisnetwerk met
internetverbinding.
Voor je begint raden we je aan om de websitepagina over het Niko
Home Control ecosysteem voor traditionele bekabeling te bekijken.
Scan hiervoor de QR-code op pagina 1.
Moeilijkheidsgraad
De draadloze slimme hub wordt geïnstalleerd volgens het plug-and-
play-principe. Je kunt de slimme hub registreren, configureren en
bedienen via je smartphone.
Geschatte duur
Tussen 10 en 20 minuten.
Dit product dient geïnstalleerd te worden in overeenstemming met
de nationale regelgeving.
Meer info
Dit product kan op verschillende manieren geïnstalleerd
worden. Scan de QR-code op pagina 2 voor de online handleiding
met meer gedetailleerde installatie-instructies, inclusief
programmeringsinstructies voor de app.
3
Ga naar https://mynikohomecontrol.niko.eu en klik op het
tabblad 'Registreer'.
4
Geef het volledige MAC-adres (XXXXXXXX
XXXX
) en het
serienummer (
XXXXXXXXXX
) van de draadloze slimme
hub in. Je vindt die gegevens aan de onderkant van de
slimme hub. Volg de instructies op de website om de
registratie van de draadloze slimme hub af te ronden.
5
Download en installeer de Niko Home app op je
smartphone. Meld je aan met de accountgegevens die je
tijdens de registratie ingevoerd hebt en upgrade je Niko
Home Control installatie wanneer dit wordt gevraagd.
5
Ga met je Niko Home Control installatie aan de slag en
monteer geconnecteerde (Zigbee
®
) producten die via
de app gekoppeld en geprogrammeerd kunnen worden.
Bekijk de online handleiding en het online ecosysteem
ter inspiratie.
a) Houd de bovenkant van de draadloze slimme hub (dat gebruikt
wordt als een knop) ongeveer 2 seconden ingedrukt. De blauwe
led knippert.
b) Houd de bovenkant opnieuw 2 seconden ingedrukt. De blauwe led
gaat continu branden.
b) Houd de bovenkant 10 seconden ingedrukt. De blauwe led telt
mee door tien keer te knipperen. De blauwe led gaat 4 seconden
continu branden en gaat vervolgens uit.
d) Wacht 3 minuten totdat de wifiverbinding gereset is.
Installatie van hardware
Ledgedrag
Voor je begint
Registratie draadloze slimme hub
Niko Home app
Je installatie gebruiken
Led uit:
Er is geen netspanning of de slimme hub of zijn
voeding is defect.
Groene led knippert:
De slimme hub is verbonden met je
thuisnetwerk maar niet met het internet.
Groene led brandt continu:
De slimme hub is
ingeschakeld en verbonden met het internet.
Rode led knippert:
De slimme hub is niet verbonden met
je thuisnetwerk. De slimme hub zal opnieuw verbinding
proberen te maken als er al een netwerk is ingesteld.
Rode led brandt continu:
De slimme hub werkt niet goed.
Blauwe led knippert:
De slimme hub bereidt een reset
voor.
Blauwe led knippert langzaam:
De slimme hub is aan het
opstarten of aan het upgraden.
Blauwe led brandt continu:
De wifiverbinding van de
slimme hub wordt gereset.
Resetprocedure wifiverbinding
PH552-00001R22171
3/4
English
-
(instructions for images on p� 2)
1
Connect the power plug to the smart hub using the
micro-USB connector and plug the power adapter into a
traditional (non-connected) socket outlet.
2
Connect the wireless smart hub to your internet network.
Recommended
: The most stable connection is achieved
by using the included UTP-cable. Once the smart hub is
successfully connected the green LED on top of the smart
hub turns on.
OR
Alternatively
: If connecting a UTP-cable is impossible, you
can connect the wireless smart hub via Wi-Fi instead.
a) Connect your mobile device with the following Wi-Fi
network:
Network name:
“Niko” followed by the last 4 characters
of the wireless smart hub’s MAC-address (
XX
:
XX
). You
can find the MAC-address (MAC) on the bottom of the
smart hub.
Password:
The wireless smart hub’s serial number
(
XXXXXXXXXX
). You can find the serial number (SN) on
the bottom of the smart hub.
b) Open a web browser on your mobile device. This will
automatically open the web portal for this wireless
smart hub.
c) Enter the password again (
XXXXXXXXXX
).
d) Select your internet network from the list of available
networks and enter the password for this network,
if required.
e) The wireless smart hub will now connect to your
wireless internet network.
f) Switch back to your internet network on your mobile
device if your device does not do so automatically.
Prerequisites
You have a modern electrical installation. You have a home network
with internet connection.
Before you get up and running, it is recommended to check the
website page on the Niko Home Control for traditional wiring
ecosystem. You can access this page by scanning the QR code on
page 1.
Difficulty level
Installation of the wireless smart hub is plug and play. It can be
registered, configured and controlled using your smartphone.
Estimated duration
Between 10 and 20 minutes.
This product must be installed in accordance with the national
regulations.
More information
This product can be installed in different ways. Scan the QR code on
page 2 to open the online manual with more detailed installation
instructions, including programming instructions for the app.
3
Go to https://mynikohomecontrol.niko.eu and select the
register tab.
4
Enter the smart hub's full MAC-address (XXXXXXXX
XXXX
)
and serial number (
XXXXXXXXXX
), which can be found on
the bottom of the smart hub. Follow the instructions on
the website to finalize the registration of your wireless
smart hub.
5
Download and install the Niko Home app on your
smartphone. Log in using the account details you entered
during registration and, if prompted, upgrade your Niko
Home Control installation.
5
Start using your Niko Home Control installation and
install connected (Zigbee
®
) products that can be paired
and programmed using the app. Check the online manual
and ecosystem to get inspired.
a) Press and hold the surface of the wireless smart hub (which serves
as a button) for about 2 seconds. The blue LED starts flashing.
b) Press and hold the surface again for 2 seconds. The blue LED turns
on continuously.
c) Press and hold the surface for 10 seconds. The blue LED will count
along by flashing 10 times. The blue LED turns on continuously for
4 seconds and then turns off.
d) Wait 3 minutes for the Wi-Fi connection to be reset.
Hardware installation
LED behaviour
Before you get started
Wireless smart hub registration
Niko Home app
Start using your installation
LED off:
There is no mains voltage or the smart hub or its
power supply is faulty.
Green LED flashing:
The smart hub is connected to your
home network but has no internet connection.
Green LED continuously on:
The smart hub is powered up
and is connected to the internet.
Red LED flashing:
The smart hub is not connected to your
home network. If a network has already been configured,
the smart hub will try to reconnect.
Red LED continuously on:
The smart hub is
malfunctioning.
Blue LED flashing:
The smart hub is preparing for a reset.
Blue LED breathing:
The smart hub is starting up or is
upgrading.
Blue LED continuously on:
The smart hub's Wi-Fi
connection is being reset.
Wi-Fi connection reset procedure


