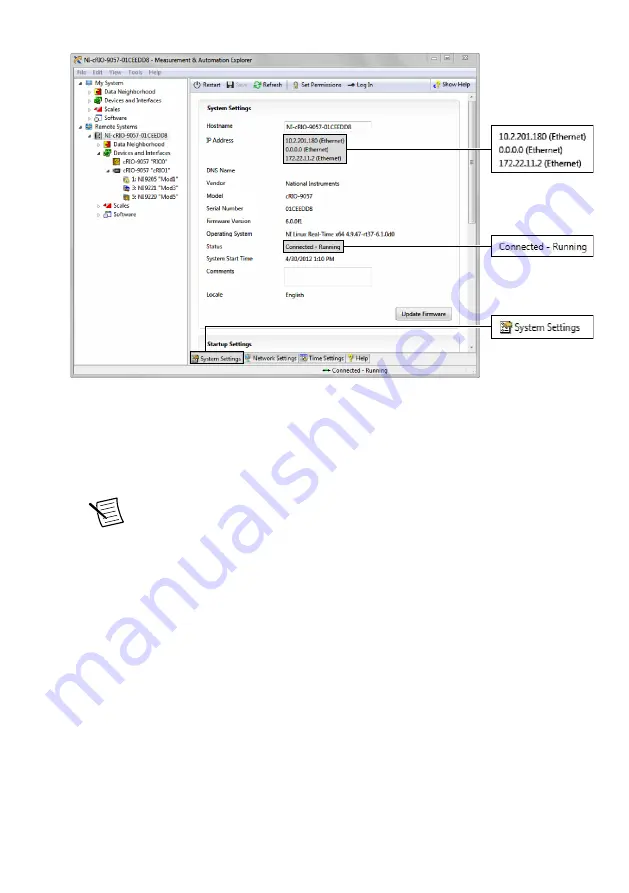
5.
In the LabVIEW Project Explorer, verify that your system is present in the project tree.
Click
File»Save
to save the project.
The LabVIEW project is created. All C Series modules and corresponding I/O appear
under Real-Time Resources by default, which indicates that all modules are deployed in
Real-Time (NI-DAQmx) mode.
Note
For information on how to change programming modes in LabVIEW,
Deploying Your C Series Module in a Programming Mode in LabVIEW
.
Deploying Your C Series Module in a Programming
Mode in LabVIEW
Complete the following steps to deploy C Series modules in a new programming mode in the
LabVIEW project.
1.
Locate your C Series module in your LabVIEW project. If you just created the project, all
C Series modules appear under Real-Time Resources, which indicates that they are in the
Real-Time (NI-DAQmx) programming mode.
2.
Drag your C Series module to
Real-Time Scan Resources
. This indicates you plan to use
your module in Real-Time Scan (IO Variables) programming mode.
3.
Right-click the cRIO-905
x
in the project and select
Deploy All
to deploy the module in
the Real-Time Scan (IO Variables) programming mode.
Your module is now in Real-Time Scan mode.
4.
Drag your C Series module back to
Real-Time Resources
. This indicates you plan to use
your module in Real-Time (NI-DAQmx) programming mode.
22
|
ni.com
|
cRIO-905x Getting Started Guide


