NHT
iiW4 ARC In-Wall Loudspeaker Installation Guide
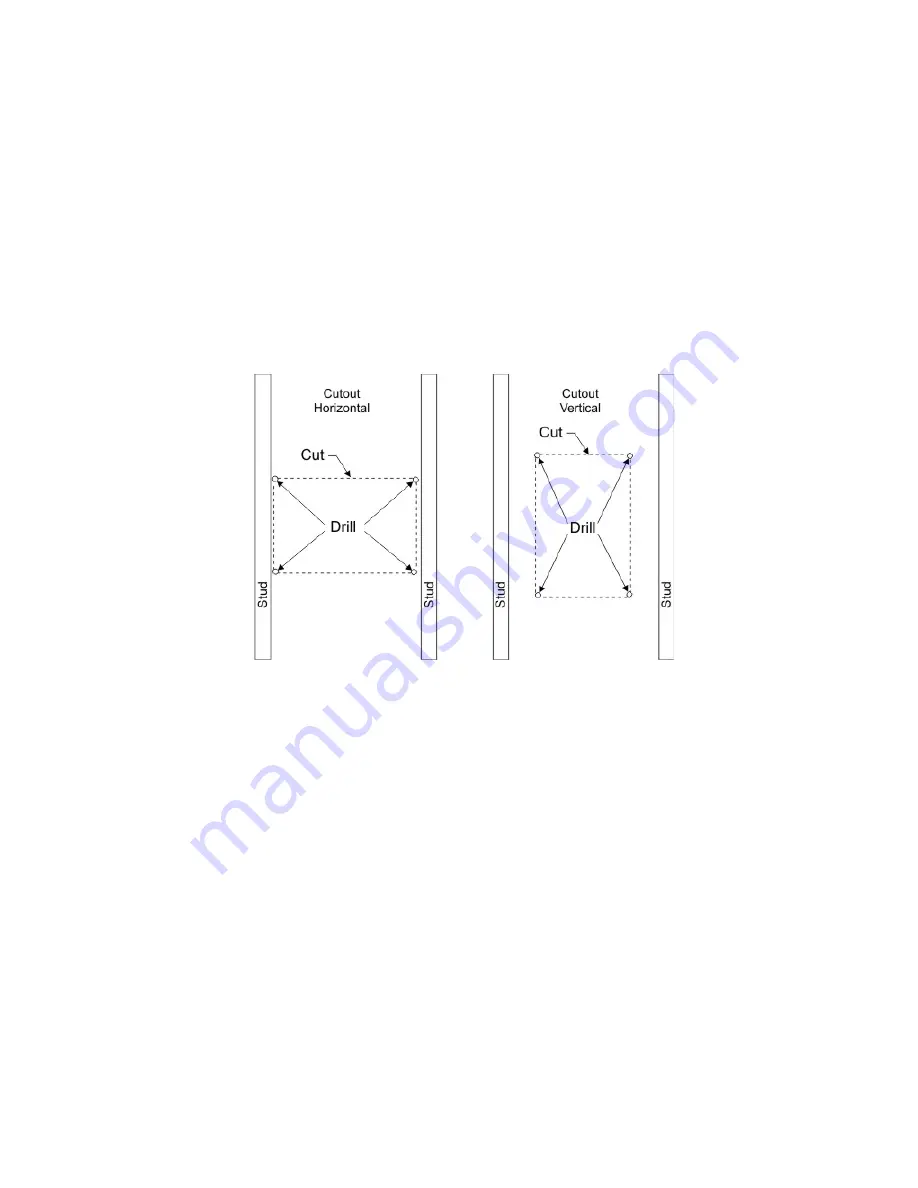
3. If no obstructions are found, use the supplied cutout template and a pencil to draw an outline of the area to be cut out. Make sure
you are using the right template. Begin by drilling a hole on the inside of the outlined cutting line with a /4” bit, then cut the hole with
a keyhole saw or use a rotary cutter (fig.7). If the wall (ceiling) is painted, use the utility knife to score the paint so the sheetrock paper
or paint does not peel when you cut. Once installed, the speaker frame lip will extend about /2 inch beyond the perimeter of the cutout
to hide minor cutting imperfections.
4. If the wall or ceiling is constructed of lath and plaster, outline the cutout area with masking tape to help prevent plaster cracking, drill
a /4” hole, and use a jig saw with a new blade or rotary saw to cut through the plaster & lath. A saber saw with a metal cutting blade
can be used however this saw will vibrate plaster off the ceiling and is easy to loose control of. Save yourself the headache and buy a
good rotary cutter. Always be prepared to patch the plaster in any case.
5. Locate the speaker wire, strip the ends ½” and connect the speaker wire to the spring posts on the back of the speaker, making sure
to observe correct polarity - red (+), black (-).
Installation: Existing Construction Continued....
Fig. 7


