background image

D

E

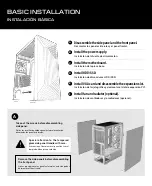
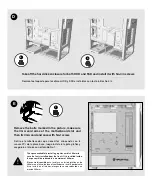
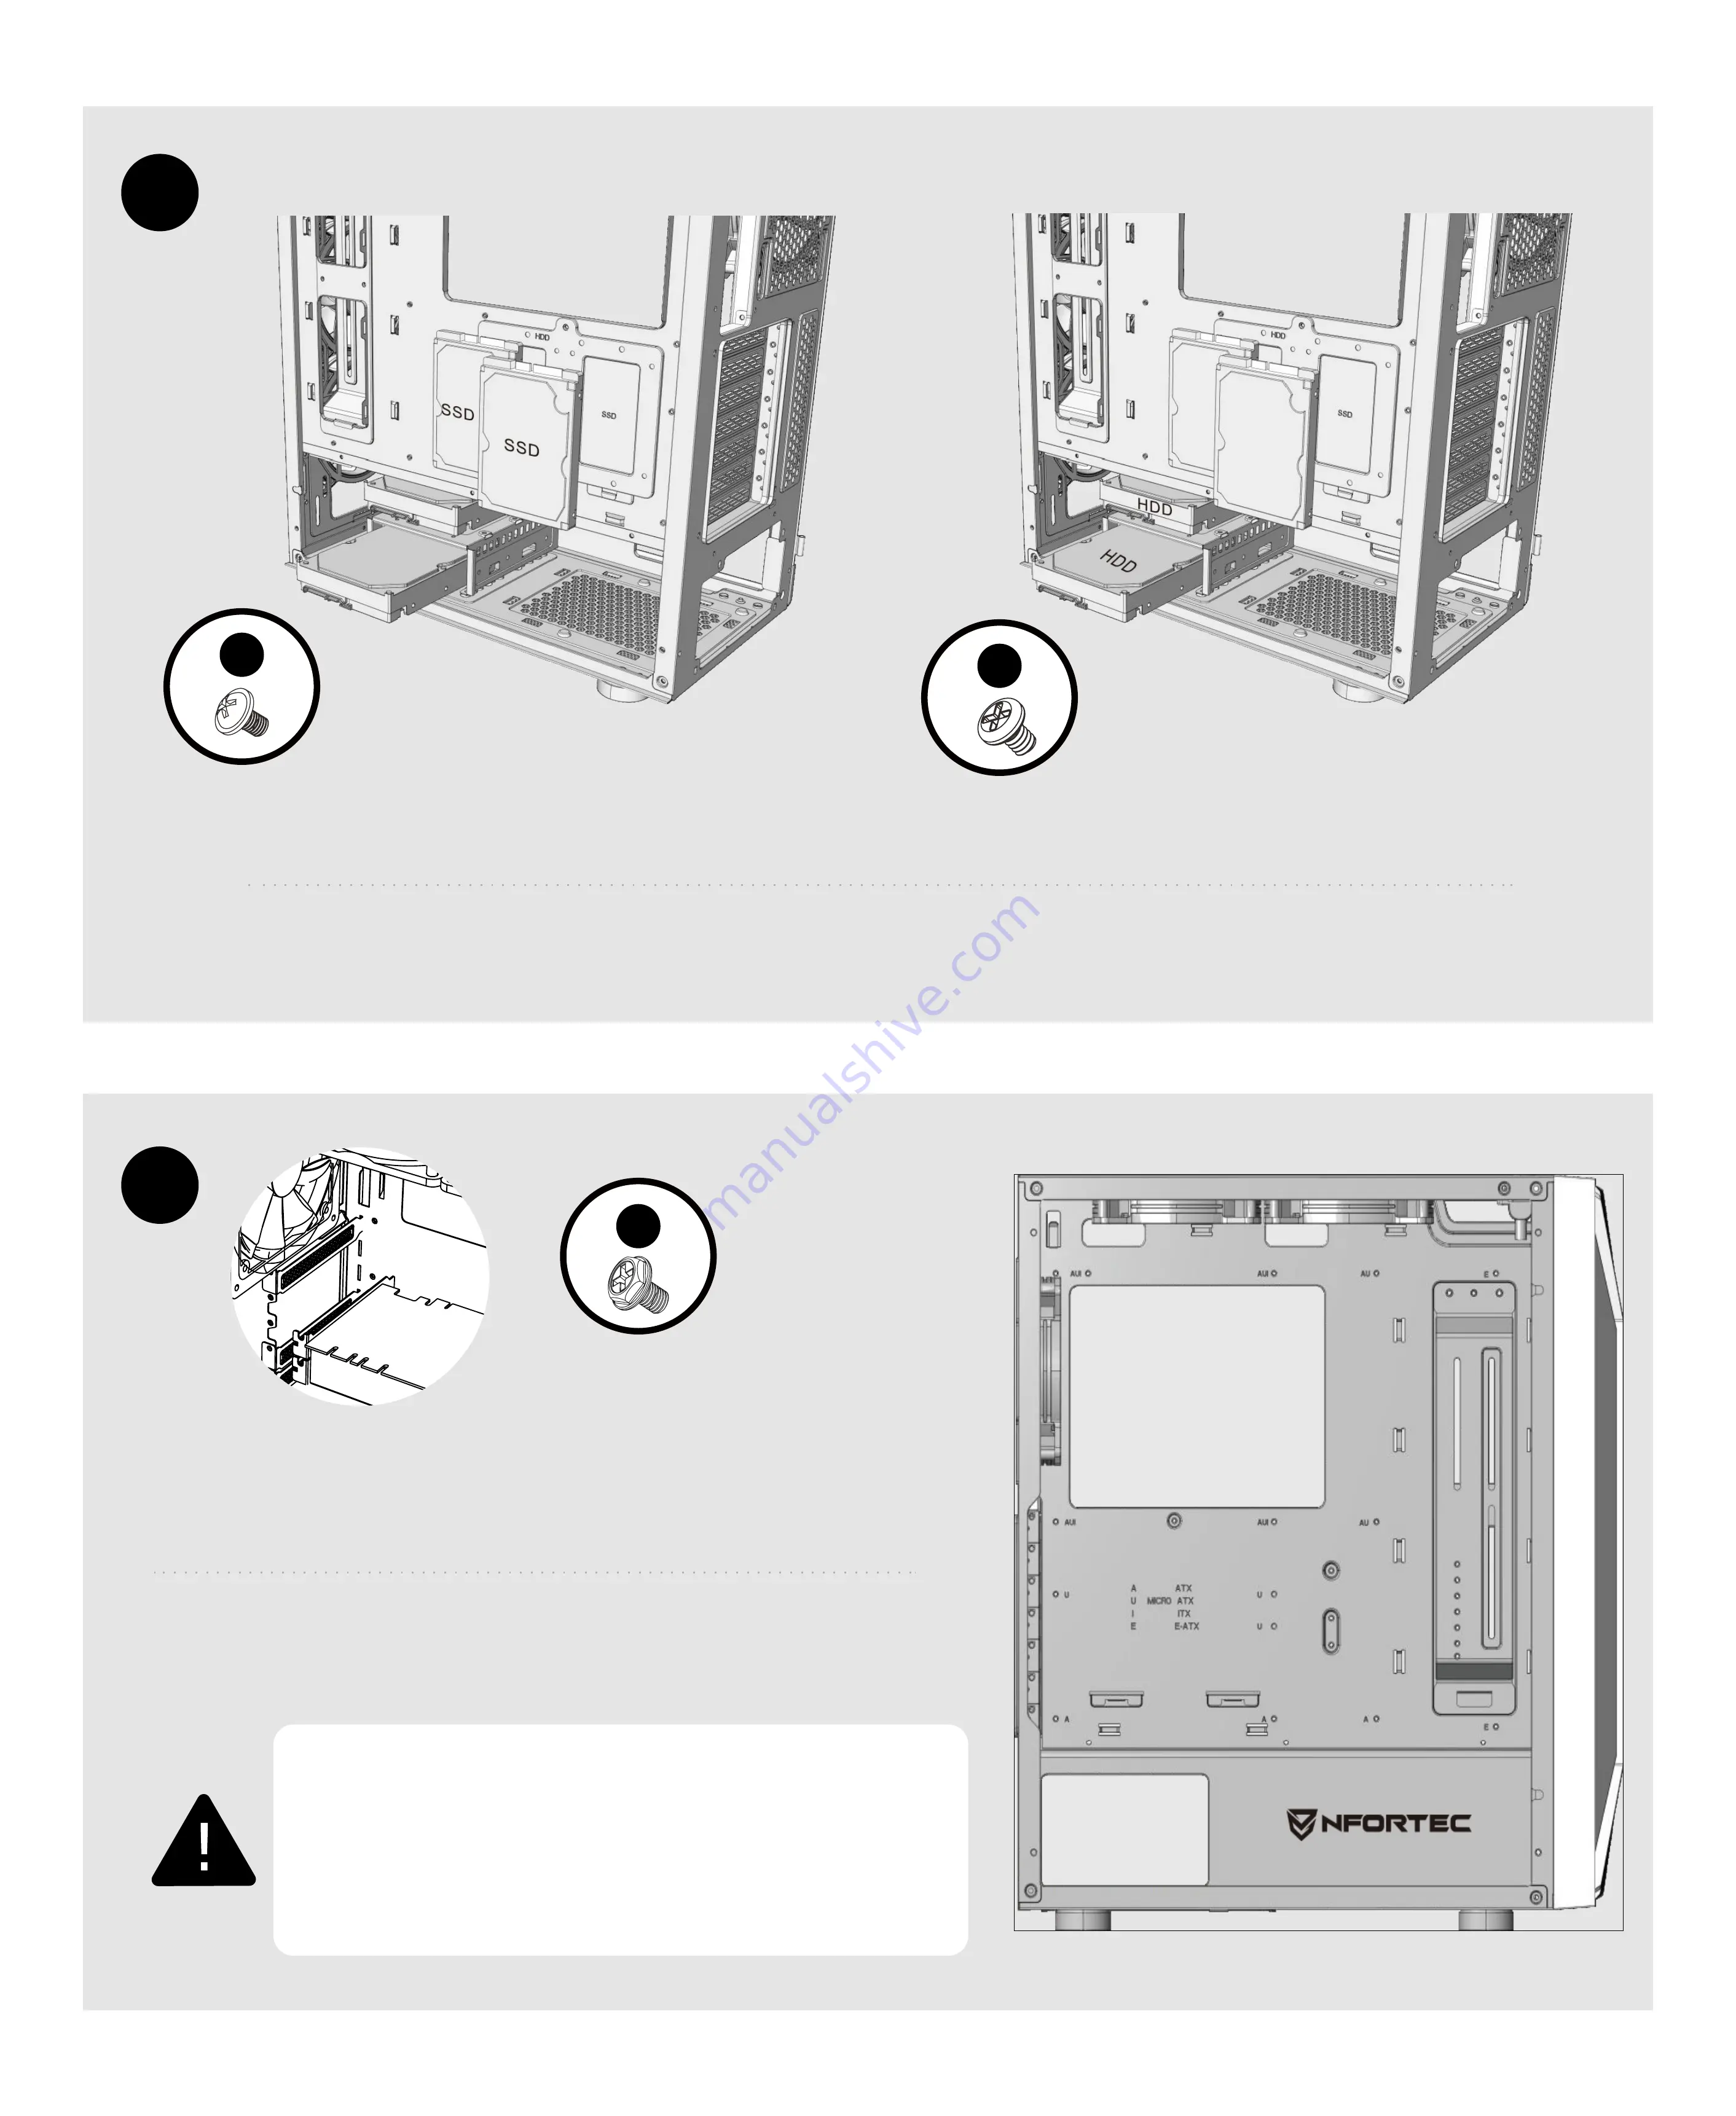
Take off the hard disk enclosure for both HDD and SSD and install it with No.3/4 screws

Remove the bafle marked in the picture, make sure 

the VGA card aims at the motherboard slot and 

then fix VGA card and case with No.1 screw.

Desmonta el soporte para los discos HDD y SSD e instálalos con los tornillos No.3/4

Retira el embellecedor que necesites alineando con la 

ranura PCI de la placa base, luego instala la tarjeta gráfica y 

asegúrala a la torre con el tornillo No.1

3

4

1

The space available to install a graphics card is 360mm in 

case the fan is installed from the front. If it is installed inside, 

the space will be reduced to a maximum of 340mm.

El espacio disponible para instalar una tarjeta gráfica es de 

360mm en el caso de que el ventilador se instale por delante. 

Si se instala en el interior, el espacio se verá reducido a un 

max de 340mm.

Summary of Contents for NERVIA

Page 1: ...INSTRUCTIONS MANUAL MANUAL DE INSTRUCCIONES N E R V I A...

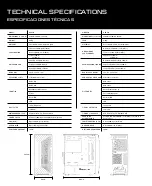
Page 2: ...ot included CPU COOLER Up to 170mm not included CABLE MANAGEMENT 24mm MODELO NERVIA DIMENSIONES L x An x Al 430mm x 210mm x 465mm PESO 6 6Kg MATERIAL Acero 0 6mm SPCC cristal templado UBICACI N DE VEN...

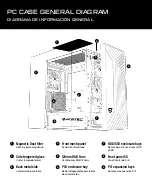
Page 3: ...tal mallado Bah as para discos duros HDD y SSD 1 4 7 Side tempered glass 120mm RGB Fans Front panel I O Cristal templado lateral Ventiladores RGB 120mm Panel frontal de E S 2 5 8 Back metal side PSU e...

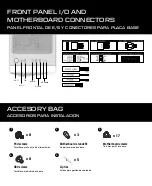
Page 4: ...S PARA INSTALACION HDD screws Motherboard standoffs PSU screws x 8 x 3 x 8 Tornillos para Bah a disco duro Soportes para placa base Tornillos para Fuente de alimentaci n 1 3 4 2 Zip ties Bridas para g...

Page 5: ...os duros HDD SSD Instalaci n de tarjeta gr fica y desmontar el slot de expansi n PCI Instalaci n de ventiladores y o radiadores opcional Take out the screws before disassembling side panel Quitar los...

Page 6: ...h the No 3 screws Aseg rate que los huecos para los tornillos de la fuente de alimentaci n se alinean de manera correcta con los de la torre antes de atornillar Aseg rate que la placa base se alinea c...

Page 7: ...mbellecedor que necesites alineando con la ranura PCI de la placa base luego instala la tarjeta gr fica y aseg rala a la torre con el tornillo No 1 3 4 1 The space available to install a graphics card...

Page 8: ...l Retira el tornillo que sujeta la base de las ranuras PCIe y podr s volverlo a fijar rotado 90 De esta forma la orientaci n de las ranuras pasar a ser vertical A RISER adapter not included is require...

Page 9: ...120mm Radiator up to 360mm Ventiladores 3x 120mm Radiador hasta 360mm Fans 2x 120mm 2x 140mm Radiator up to 240mm Ventiladores 2x 120mm 2x 140mm Radiador hasta 240mm Fans 1x 120mm Radiator up to 120mm...

Page 10: ...N E R V I A...

Reviews: