


2.
3.
4.
5.
6.
7.
8.
9.
10.
11.
Display control panel:
the firmware supports the selection
of single view, and also the split view in four and nine
frames, so as to monitor multiple channels at the same
time
Operating mode:
selectable video format of 50Hz, 60Hz
or outdoor.
Stream type:
selectable resolution settings based on the
connection type, available bandwidth and the video format
used.
Mirror/Flip:
generates a mirror image or changes the
frame orientation vertically or horizontally
Directional buttons:
use these buttons to move the
camera up, down, left and right. The center button will
cause the camera to move back to its center position.
(Available in the Xpy1230 only).
Cruise control:
selects the vertical or horizontal trajectory
of the camera (Available in the Xpy1230 only).
Preset positions:
use this feature to define different
scanning patterns for the camera. A maximum of 16
preset positions can be stored. (Available in the Xpy1230
only).
IR LED lights:
it provides the manual, automatic or
scheduled activation of the LED lights.
Color adjustment:
this menu provides image setting
parameters, such as hue, brightness, saturation and
sharpness.
Bottom menu bar:
it contains the shortcut icons for Play,
Stop, Talk, Audio, Snapshot, Record and Full screen.
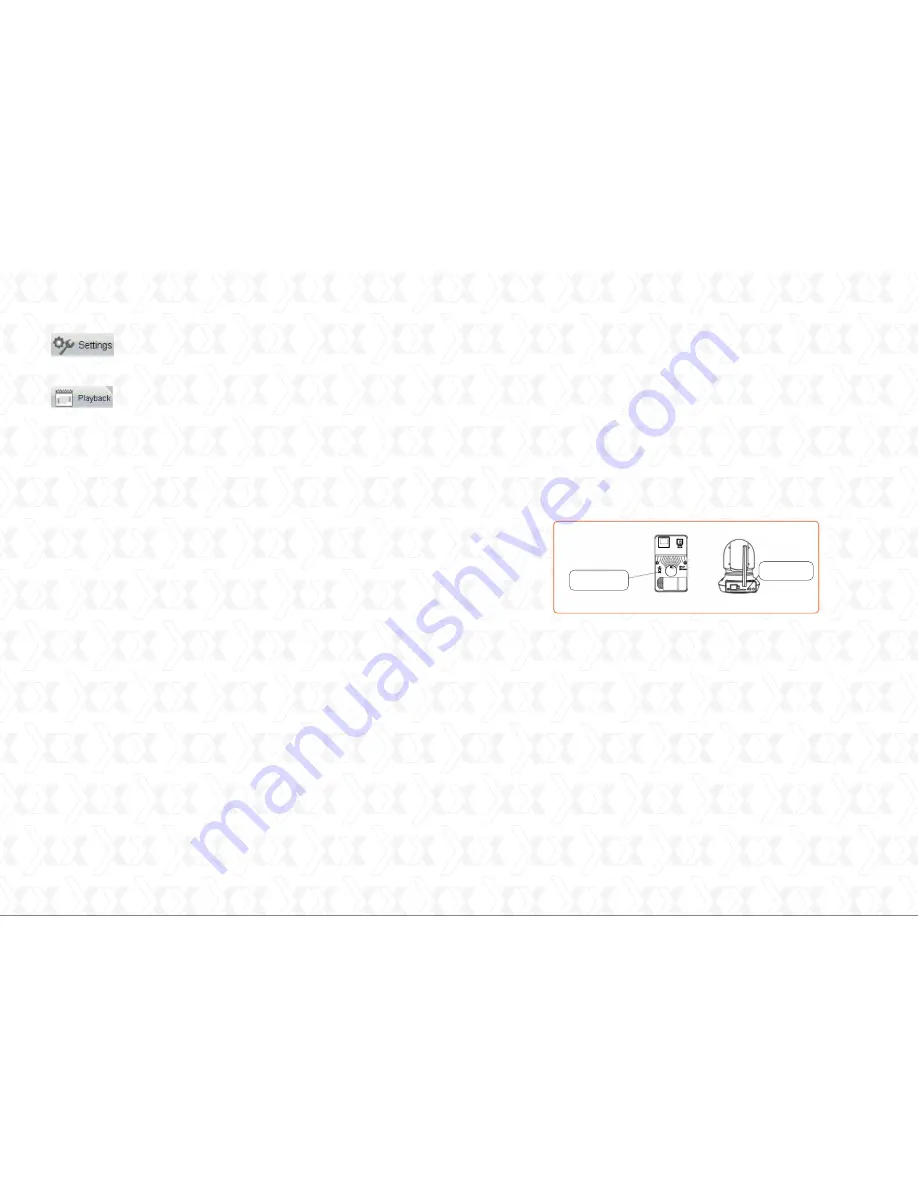
1.Press and hold the
WPS
button on the camera for two
seconds.
2.
3.
Within 60 seconds
, press the
WPS
button on your router.
This is usually found on the back or on the side of the router.
Some devices may even require to log in to their web interfa-
ce, and click on an on-screen button to activate the WPS
feature. If you are not sure where the WPS button is located
on your router, please refer to the manufacturer's manual
for details.
The camera will automatically create a secure wireless
connection to your router in about 60 seconds. If a network
cable has been previously connected, make sure to remove
it now.
If the user wants to access the camera using a wireless
connection or the Internet, the Wireless and Remote Access
configuration must be completed. To do so, follow the steps
described in this section of the user guide.
Note:
the WPS function is recommended to perform the
wireless connection setup.
Nexxt Solutions - Xpy1200/Xpy1230 Wireless IP camera
9
10
Opens the Administrator control panel, for access
to all the parameters, menus and advanced
settings available in the device.
Opens the playback panel to reproduce recorded
video files stored directly in the SD card. (Available
in the Xpy1230 only).
Wireless connection
WPS (Wi-Fi Protected Setup)
Nexxt Solutions - Xpy1200/Xpy1230 Wireless IP camera
WPS button
WPS button


