background image


Charging Battery 

The device has a built-in rechargeable battery. No extra battery installation is required. 
Just charge the device when it indicates low battery.   

To charge the battery

, connect the device to any standard wall outlet via the DC-IN 

port using the power adaptor. It takes about 5 hours to fully charge the battery. The 
charge indicator should light red during charging, and should light green as the battery 
is fully charged.   

Note: 
a.  You are strongly recommended to charge the battery immediately when the device indicates the battery 

is lower than 15%! 

b.  For extended battery life, it is suggested NOT to use the device when it is charging.   
c.  For maximum performance, lithium-ion batteries need to be used often. If you don’t use the device 

often, be sure to recharge the battery at least once per month. 

d.  Be sure to use only the dedicated power adaptor provided with the unit for charging. 

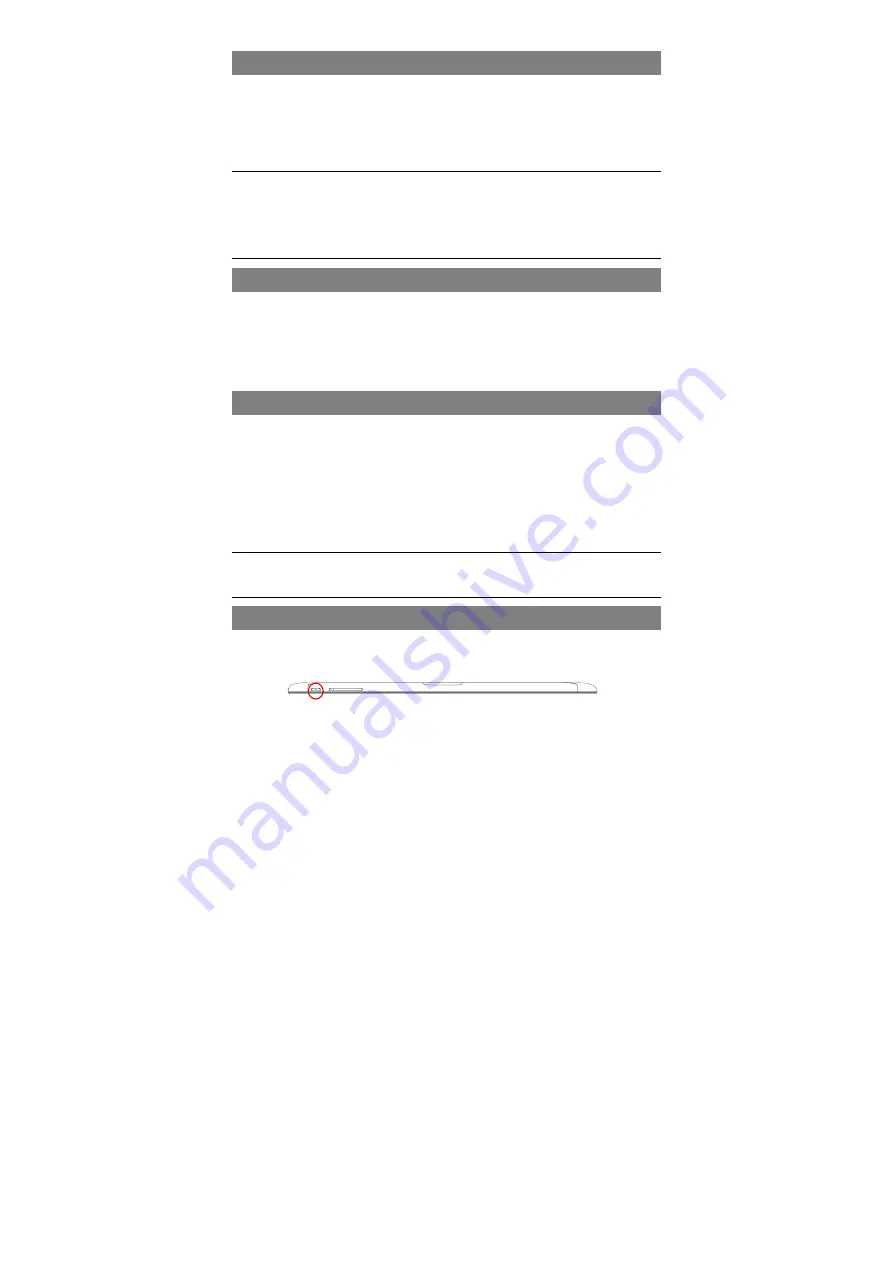
Installing Memory Card 

This device can read files directly from memory card.   
To use a memory card, find the card slot on the device and then insert the memory 
card into the slot in the correct orientation. To access the files stored in the memory 
card, enter the 

Explorer/ASTRO

 mode by tapping the Explorer /ASTRO icon and 

select the “SD Card” directory.   
 

Transferring Files 

Before reading or playing files, you may need to transfer media files from a computer 
to the device. 
(1) Connect the device to a computer with the supplied USB cable. Two removable 

disks will be added to the computer, respectively referring to the internal flash 
memory and the SD card. 

(2) Once the connection is done, turn on the USB storage.   

(3) Open a removable disk, then copy files from the PC to it. 


Note:  

Since pre-installed applications and Android OS occupies a considerable part of capacity – about 2.0GB, it 

is normal that you see huge difference between available memory space and total capacity.   

Turning On/Off the Device 

To turn on the device, press and hold the 

Power 

button on the unit before you see the 

boot-up screen then release. It may take one or two minutes to start up the system, 
please be patient before you proceed.   
 

Summary of Contents for M1010FP

Page 1: ...lost data caused by malfunction misuse modification of the device or battery replacement z Do not attempt to disassemble repair or modify the product This will invalidate the warranty z If the device...

Page 2: ...of electric shock To reduce the risk of electric shock do not remove the cover or back as there are no user serviceable parts inside Refer servicing to qualified personnel The exclamation point within...

Page 3: ...higher volume levels At full power the prolonged listening of the walkman can damage the ear of the use z Maximum output voltage 150mv z Do not use while operating a motorized vehicle It may create a...

Page 4: ...ories 5 Buttons Ports 5 Charging Battery 6 Installing Memory Card 6 Transferring Files 6 Turning On Off the Device 6 Unlocking the Screen 7 Home Screen 7 Tips of touching screen 9 Accessing Internet 9...

Page 5: ...bout ten seconds to reset the device 2 Vol Turn up down the volume 3 Charge indicator 4 Front camera 5 Rear Camera 6 Earphone socket Connects to stereo earphone 7 Micro USB port Connects to PC through...

Page 6: ...s directly from memory card To use a memory card find the card slot on the device and then insert the memory card into the slot in the correct orientation To access the files stored in the memory card...

Page 7: ...ightwards before you continue to use the device Home Screen The Extended Home Screen The Home Screen consists five separate screens for positioning the shortcuts widgets etc Slide your finger left or...

Page 8: ...ght it drag it to the recycle bin X Remove and then release your finger Changing the wallpaper Hold your tap on the Home screen till a menu appears Tap on Wallpaper and then choose a picture as the de...

Page 9: ...k you have configured the device will attempt to make a connection Make WI FI Connection Before launching an Internet application such as the web browser you first need to activate the Wi Fi and confi...

Page 10: ...mpatibility of different types you are still suggested to buy one only when you have tested it OK Launching the Web browser To launch the Web browser you tap the Browser icon in the Home screen To dis...

Page 11: ...left and right on the book shelf to browse e books 3 Tap an e book to start reading immediately Search for E book 1 Tap on the Menu icon and then Search 2 Input the e book name or author then tap ENT...

Page 12: ...t music files by artist Album List music files by album Songs List all music files Playlists List your favorite songs Now Playing Go to the Now Playing screen Playback Screen Playback menu During play...

Page 13: ...ayback Screen Note Some video files may not be played correctly with the device Refer to the Technical Specifications at the end of the manual and make sure the video resolution encoding format or fil...

Page 14: ...ion and switch its Source mode to HDMI 3 Connect the device to the digital television through HDMI cable 4 Once the connection is built enjoy the sharpest image quality on the wide screen of televisio...

Page 15: ...Tap the Camera icon in the apps page to launch the Camera Exploring Files You can explore files and folders with either the Explorer or ASTRO application Using the Explorer Navigate through Files and...

Page 16: ...n choose Paste Delete Files and Folders 1 In the file list scroll up and down the list by sliding finger to select the file folder that you want to delete 2 Hold the selected file folder until a pop u...

Page 17: ...select multiple items by tapping To deselect the item s tap the Cancel icon 3 Select Copy or Move from the pop up menu 4 Navigate to the location where you wish to copy or move the file folder to 5 S...

Page 18: ...ain the information from the service provider network administrator or the Internet 6 Choose the server type for outgoing emails and input required server information 7 Click Next to continue Your tab...

Page 19: ...s it is produced at the factory and you can also copy some from other resources download or purchase them from the Internet Install Applications You can install applications following these steps 1 Op...

Page 20: ...tasks that you don t use at the moment 1 Tap to display applications that you used recently 2 Hold your tap on the application that you want to stop and then select Remove from list 3 You can also ru...

Page 21: ...LC and AAC HE 8 48KHZ File Format AVI 3GP MP4 RM RMVB FLV MKV MOV VOB ASF DAT 1920 1088pixels 30FPS Max AVI MPEG4 XVID DIV X3 4 5 6 MS MPEG4 V3 Audio Codec MP2 MP3 AC3 AAC PCM MPEG4 XVID DIVX3 4 5 6...

Page 22: ...browsing Display 10 1 inch LCD Touchpad capacitive touch pad 1024x800 pixels SNR 80dB Frequency Response Range 20Hz 20KHz Power Supply Rechargeable lithium ion polymer battery AC Adapter AC Input 100...

Page 23: ...iate radio frequency energy and if not installed and used in accordance with the instructions may cause harmful interference to radio communications However there is no guarantee that interference wil...

Reviews: