1
DESCRIPTION:
Assembly
Instruction
3 of 12
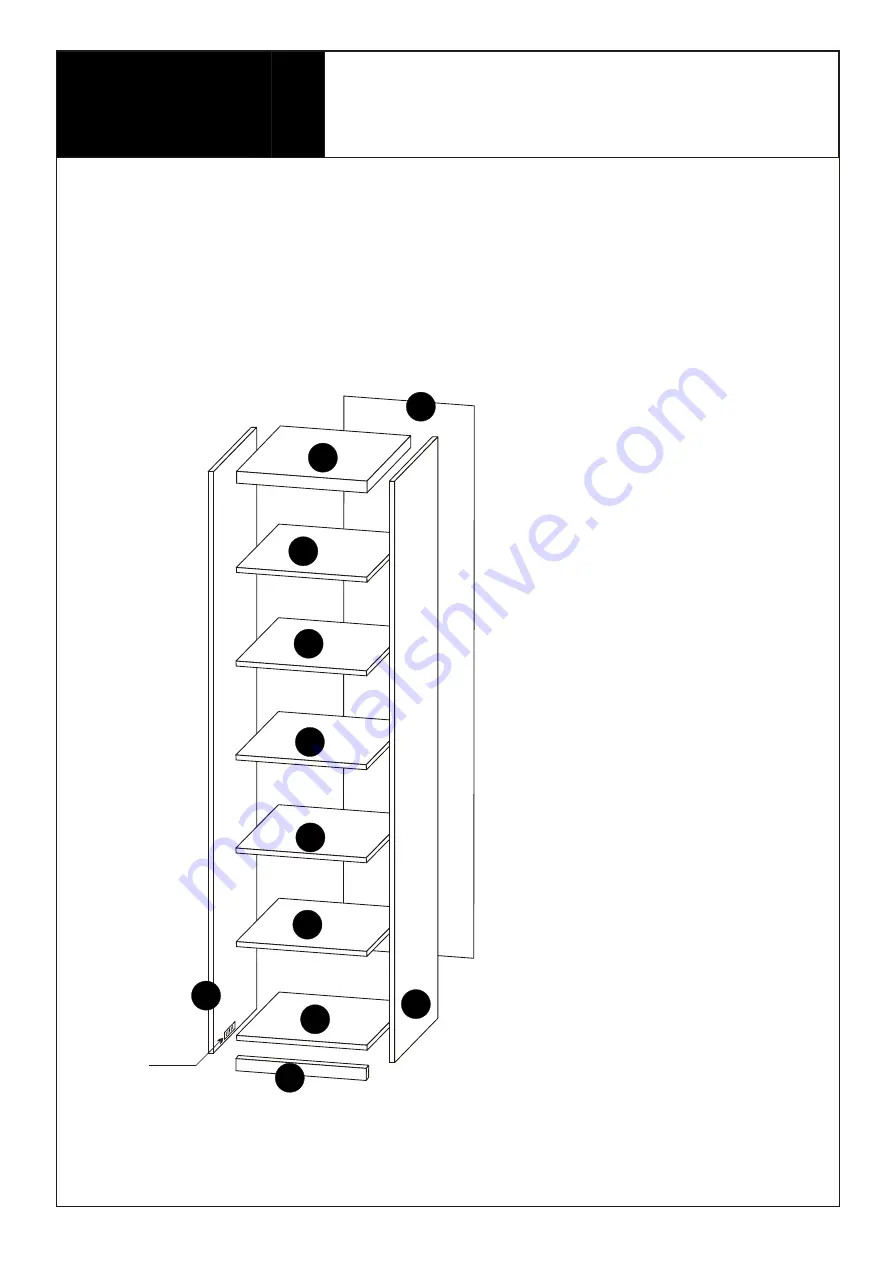
PARTS LIST
NO. PART LIST QTY
(1) BOTTOM PANEL
(2) PLINTH
(3) LEFT SIDE PANEL
(4) HORIZONTAL DIVIDER
(5) TOP PANEL
(6) BACK PANEL
(7) RIGHT SIDE PANEL
(8) SHELF
1
1
1
1
1
1
1
4
P5--MKK1
2
3
5
4
6
7
8
8
8
8
861767 LOFT SINGLE CARCASS
CODE


