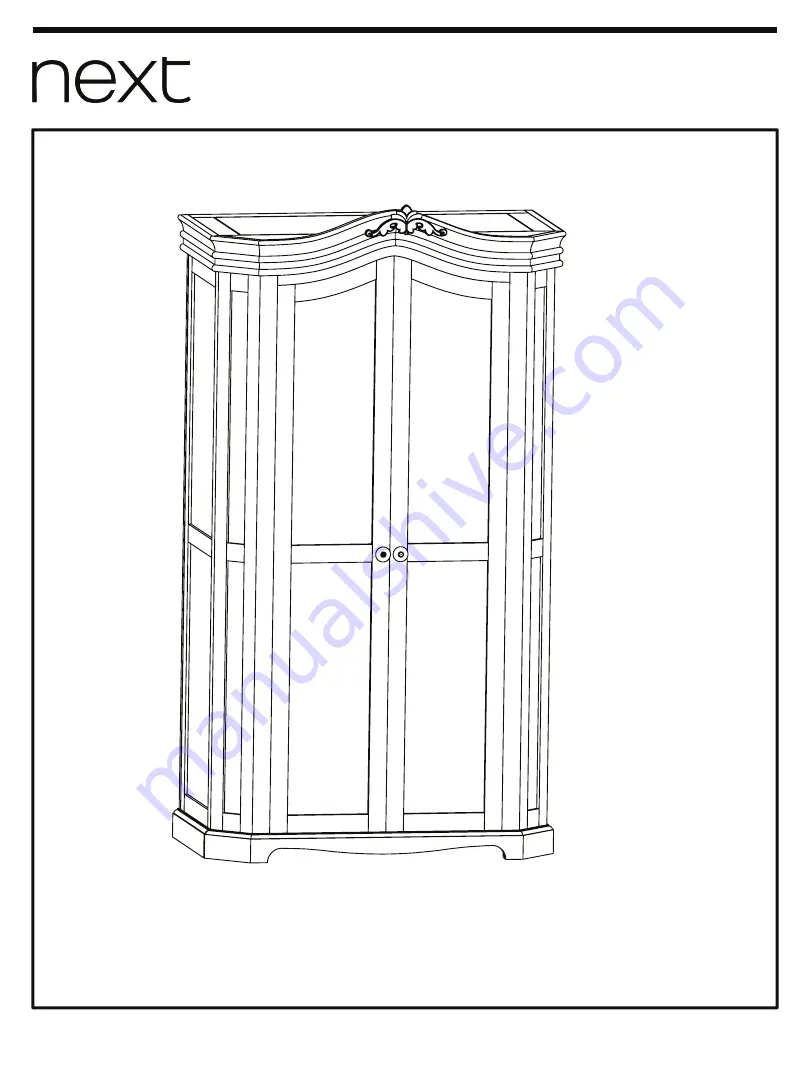
Next BRIGITTE T15867 Assembly Instructions Manual Download Page 2

BRIGITTE ROBE

T15867

Assembly instructions

Actual product size:

H185 x W101.5 x D56cm

Need Help?

With: Assembly instructions

Missing or damaged parts

CALL: 0333 777 8999

IMPORTANT 

 RETAIN FOR FUTURE REFERENCE

Produced in India for Next Retail Ltd.

T15867-2022-V1

2

Summary of Contents for BRIGITTE T15867

Page 1: ......

Page 2: ...y instructions Actual product size H185 x W101 5 x D56cm Need Help With Assembly instructions Missing or damaged parts CALL 0333 777 8999 IMPORTANT RETAIN FOR FUTURE REFERENCE Produced in India for Next Retail Ltd T15867 2022 V1 2 ...

Page 3: ... across the floor as this will cause damage to the joints Apply Adhesive substrates for example sticky tape to the product Do not use silicone based furniture polish Silicone in furniture polishes can break down the lacquer finish Ensure that the product is protected with mats coasters when items are placed on to its surface Never put hot dishes directly onto wooden or glass surfaces as this may m...

Page 4: ...T15867 Assembly instructions GETTING TO KNOW YOUR PRODUCT Produced in India for Next Retail Ltd T15867 2022 V1 V1 4 BRIGITTE ROBE ...

Page 5: ...KNOW YOUR PRODUCT Produced in India for Next Retail Ltd T15867 2022 V1 V1 5 BRIGITTE ROBE SN 1 2 95 9 X 165 7 cm 51 5 X 165 7 cm 3 90 3 X 40 cm 4 101 5 X 56 cm 5 99 5 X 55 cm 6 7 99 5 X 55 cm 167 5 X 76 2 cm 1 2 1 1 1 1 1 SIZE DESCRIPTION QTY ...

Page 6: ...1 6 Fixtures and fittings supplied actual size Ref Dimensions Qty Extra A 6 x 30mm 5 1 B 6 x 35mm 26 1 C 6 x 40mm 12 1 mm 10 20 30 40 50 60 70 80 90 100 Fixtures and fittings supplied not to scale Ref Visual Dimensions Qty Extra E BRIGITTE ROBE D Ø6 x Ø16 43 1 N A 2 N A N A 1 N A F ...

Page 7: ...allen bolt with washer in holes of back panel 1 nos and side panel 2nos to connect the back panel side panels Note Do not fully tighten until all fittings are in position Step 2 Place the door with frame and tighten the allen bolt with washer from inside of wardrobe to connect the door frame with side panels assembly B x 12 Nos D x 12 Nos A DETAIL A SCALE 1 1 A DETAIL A SCALE 1 1 C x 12 Nos D x 12 ...

Page 8: ...ep 3 tighten the allen bolt with washer from bottom side of bottom part to connect assembly with bottom A DETAIL A SCALE 1 1 A D E tighten bolt B 6x35 with washer D Step 4 tighten the allen bolt with washer from bottom side of bottom part to connect assembly with bottom A DETAIL A SCALE 1 1 B D E A x 3 Nos D x 3 Nos B x 10 Nos D x 10 Nos ...

Page 9: ...D tighten bolt A 6x30 with washer D Step 6 Tighten the allen bolt with washer from inner side of wardrobe Step 5 Place the top part to connect the top part with assembly tighten the allen bolt with washer from top edge hole in back side panel A DETAIL A SCALE 1 1 A D E A DETAIL A SCALE 1 1 A D E B x 4 Nos D x 4 Nos A x 2 Nos D x 4 Nos ...

Page 10: ...mbly instructions Produced in India for Next Retail Ltd T15867 2022 V1 10 7 8 Step 7 Place the self panel removable at given rest edge of assembly Step 8 Place the Round rail removable at given rail blocks of sides of assembly ...

Page 11: ...BRIGITTE ROBE T15867 Assembly instructions Produced in India for Next Retail Ltd T15867 2022 V1 11 9 10 Step 9 Fully tighten all the bolts and close the door 101 5cm 56cm 185cm ...

Page 12: ...N B Wall fixings are not included please source suitable fixings for your wall type If in doubt please consult a qualified tradesperson WARNING Always ensure the wall to be drilled is free from hidden electrical wires water and gas pipes Periodically check all fittings and wall fixings to ensure they have not come loose and re tighten as necessary Note Fit the anti tip on both top corners of the rear s...

Reviews: