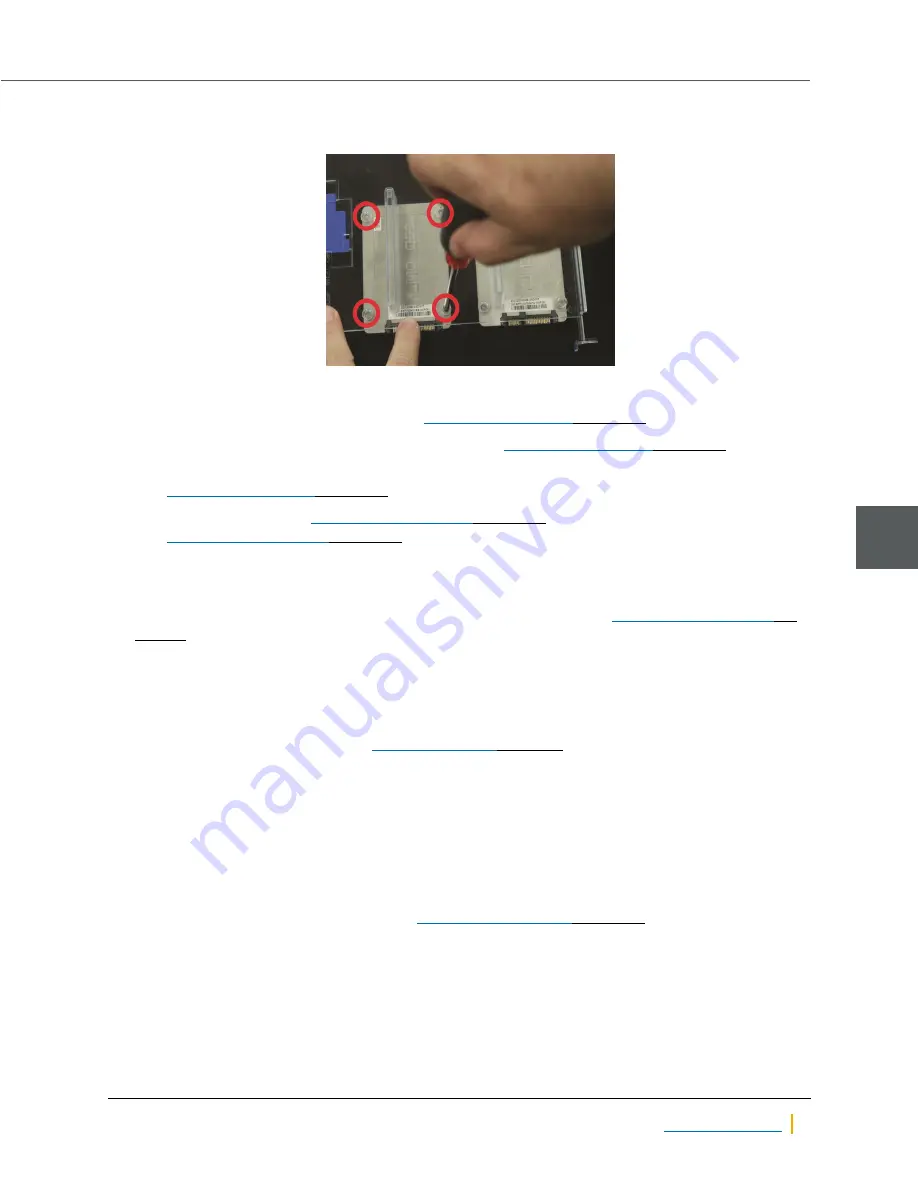
5. Turn the shelf over and unscrew the old OS SSD drive to remove it.
Figure 5-13: Removing the old OS SSD drive
6. Attach the new OS SSD drive to the shelf.
7. Place the plastic shelf back into the unit (see
8. Re-attach the power and data cables to the OS SSD (see
9. Thread the FASTier data cables back through the plastic guides and re-attach them to the motherboard
(see
10. Replace the top cover (see
on page 41) and secure it with the cover screws
(see
11. Return the unit to the rack.
12. Replace all communication cables on the unit.
Note
Be sure to put all cables back into the proper ports. See Step 4 under
13. Re-attach the power cables to the power supply units (PSUs) to turn the unit back on.
Transfer data to the new OS SSD
When the passive controller comes back online, Technical Support must then transfer data to the new OS
SSD. To contact Technical Support, see
When the OS SSD data has been restored, you may then continue to the next procedure.
Re-enter IPMI settings
►
To re-enter IPMI settings for the restored controller:
1. On the
Unity Dashboard
, click
Cluster Status
.
2. Click
Status > IPMI
.
3. Using the settings you recorded in Step 1 of
on page 68, re-enter the IPMI
settings for this unit.
Chapter 5: Support-Assisted Replacements: Class 3
5
Nexsan Unity
71


