


Chassis
Use this procedure to diagnose whether the Unity System has a failed chassis.
Identifying a failed chassis
Only Nexsan Support is able to officially diagnose a chassis as failed. If you suspect a failed chassis please
first ensure that no other component may be responsible for the failure; see:
Identifying failed disk drives
Identifying a failed controller
If you have eliminated the possibility of failure in any other component, please contact Nexsan Support for
assistance.
Replacing a chassis
This procedure is only to be followed if the chassis was officially diagnosed as failed by Nexsan Support. For
more information, see
►
To remove a chassis:
CAUTION:
A minimum of two people are required for safe removal and replacement of the chassis.
1. Shut down both controllers using Nexsan Unity. See "Shutting down the cluster or individual cluster
nodes" in the
Nexsan Unity Software User Guide
for details.
2. Remove all cables, being certain to label each with the name and number of the port to which it was
attached.
3. Remove both controllers from the failed chassis. Take note of the positioning of the controllers.
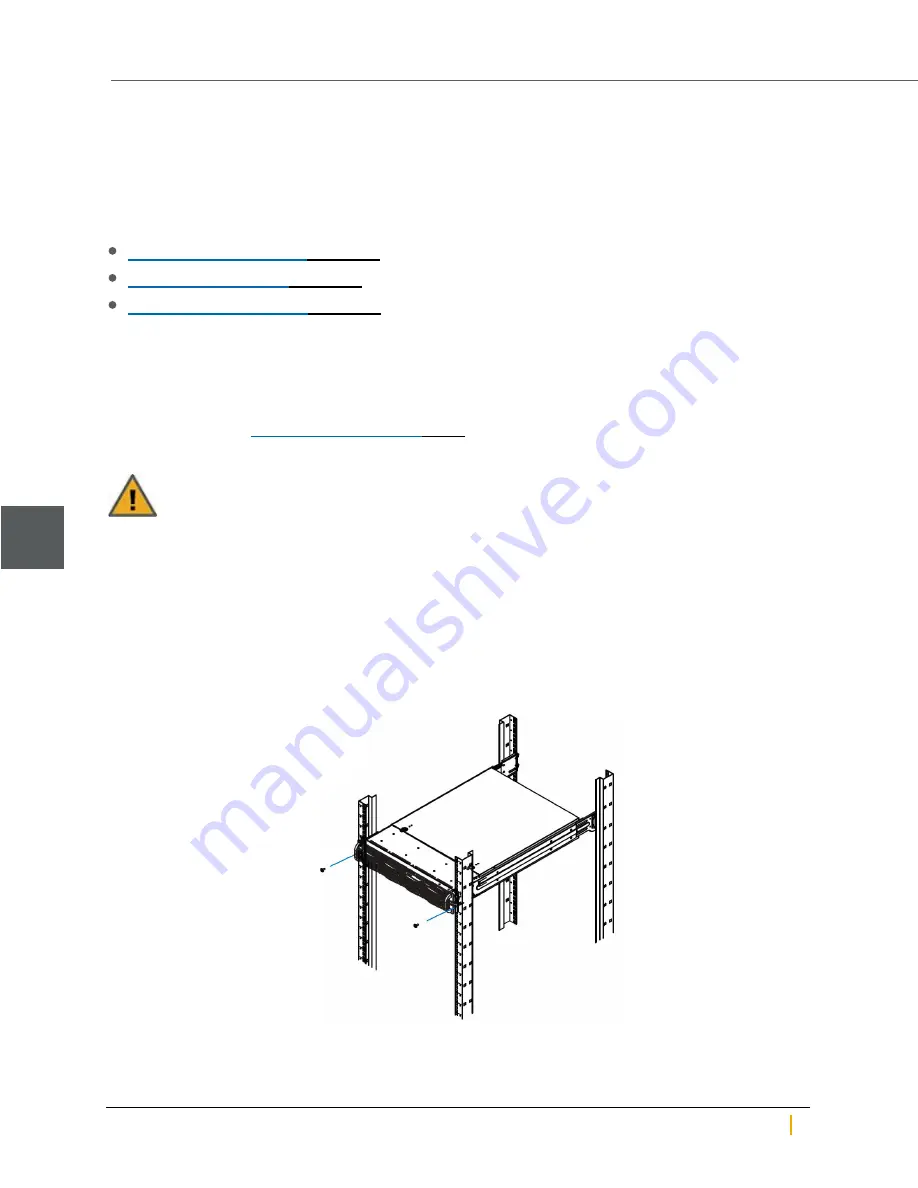
4. Remove the thumbscrews that hold the front of the chassis to the rack.
Figure 5-1: Example - Removing thumbscrews
Chassis
5
Nexsan Unity Hardware Maintenance Guide v. 5.1
Unity
60