


Verify RAID Array
Clicking
Configure RAID > Array Verify
takes you to the
Verify RAID Array
page, which lets you configure
the method and frequency of RAID array verification.
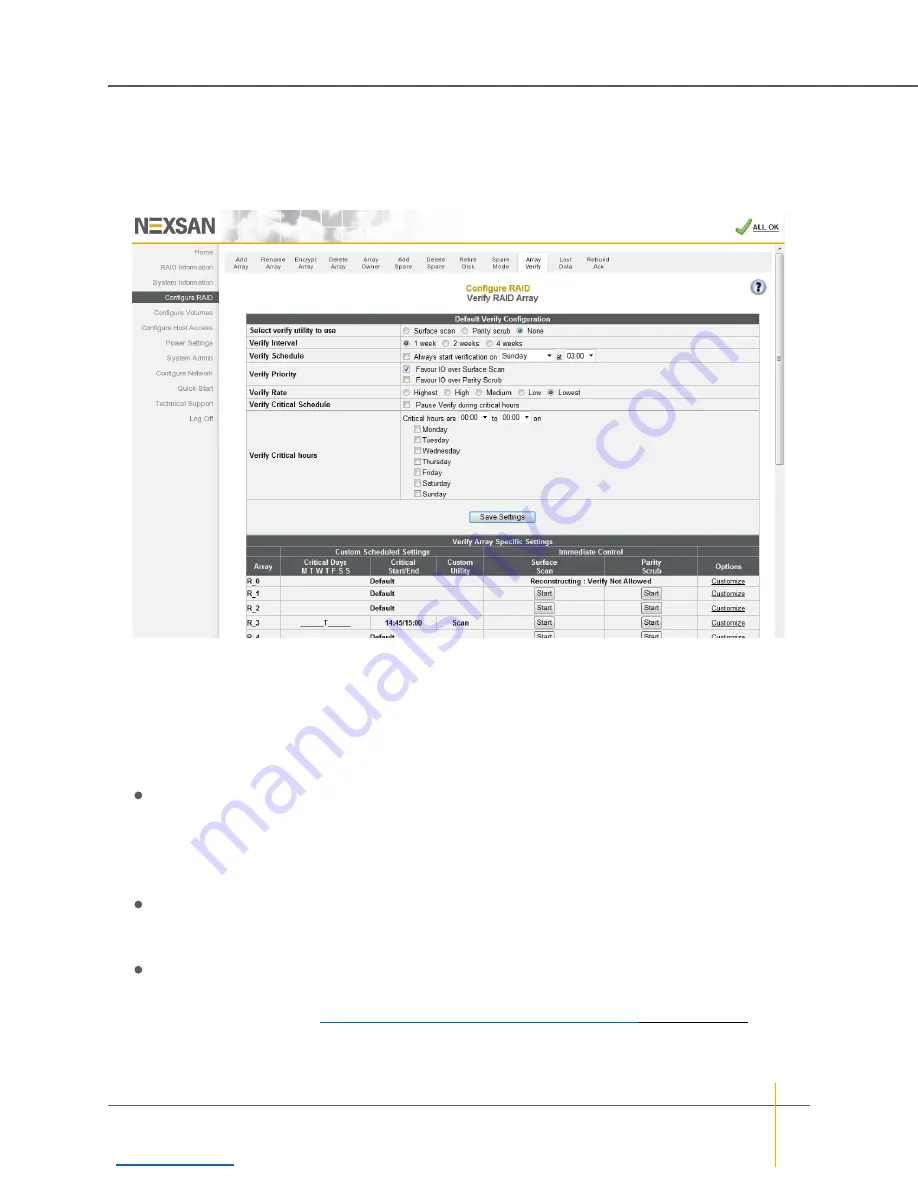
Figure 3-79:
Verify RAID Array
page
Schedule Default RAID Array Verification
Use the
Default Verify Configuration
section to set up the default RAID array verification schedule.
►
To schedule default RAID array verification:
1. For
Select verify utility to use
, select one of the verification utilities. There are three choices available:
Surface scan
,
Parity scrub
, and
None
.
Surface scan
reads all blocks on each disk drive in the array to ensure their integrity. If it encounters
a bad block, it will quarantine that block and rebuild it using mirrored data (for RAID 1 or 10) or parity
data (for RAID 4, 5 or 6).
Note
If bad data blocks occur on arrays configured as RAID 0, Surface scan will not be able to rebuild
the data.
Parity scrub
reads all array data and ensures that the parity data is intact. If it encounters a parity
inconsistency, it will correct the inconsistency. Parity scrub also rebuilds bad data blocks in a similar
fashion to
Surface scan
.
None
: If you do not wish RAID array verification to be scheduled, select
None
.
Note
If you choose
None
, it is still recommended that, at a minimum, you perform a
Surface Scan
at
least once per week. See
Start or Stop RAID Array Verification Immediately
2. For
Verify Interval
, select one of the options:
1 week
(the default),
2 weeks
, or
4 weeks
.
Chapter 3: The Graphical User Interface — Configure RAID
Nexsan High-Density Storage
User Guide
133